
I have always loved the sweet, creamy indulgence of a classic cannoli, but sometimes the idea of frying pastry shells feels like a daunting task. That’s why these Mini Cannoli Cups are one of my favorite bite-sized desserts to whip up. They capture all the flavors and textures of traditional cannoli—crispy shells, rich ricotta filling, and just a touch of chocolate—in an easy-to-make, adorable little package.
Whether I’m hosting a dinner party or bringing something sweet to a potluck, these mini treats never fail to impress. They’re elegant enough for a special occasion but simple enough for everyday cravings. Plus, I love that you can make them ahead of time, giving you more freedom to enjoy the gathering with your guests.
Why You’ll Love This Mini Cannoli Cups Recipe
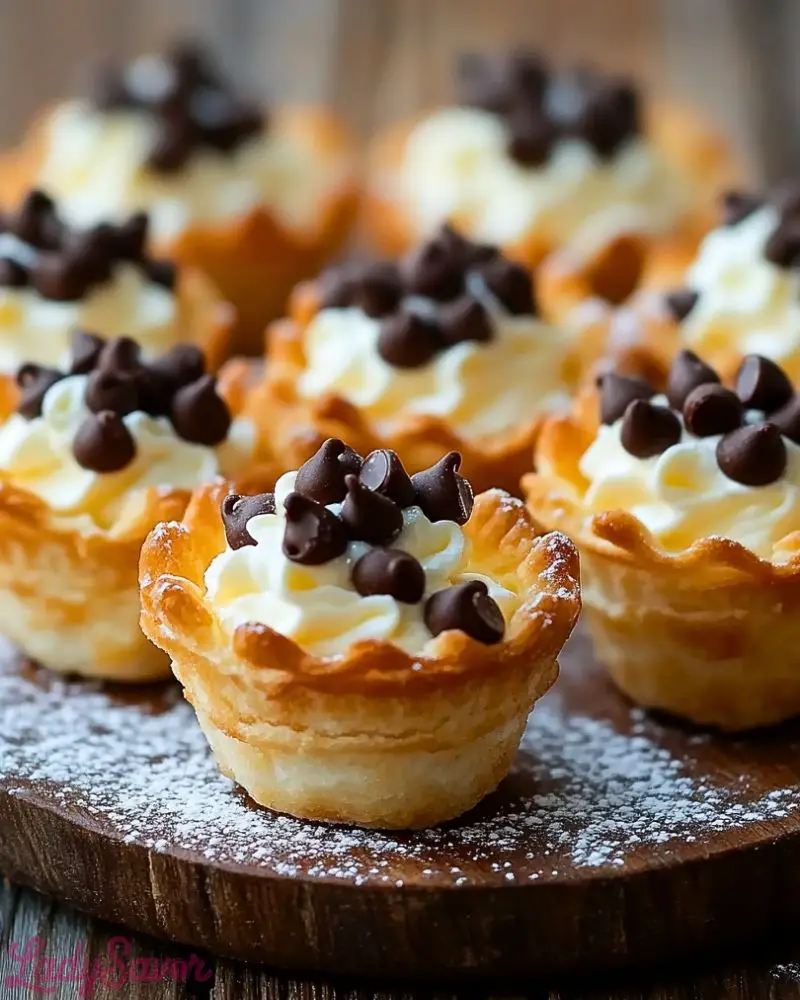
These Mini Cannoli Cups offer the perfect balance of convenience and flavor. They’re baked, not fried, making them lighter and less messy to prepare. The crispy, golden shells paired with the smooth and sweet ricotta filling are simply irresistible. And the mini size means you can indulge in more than one without guilt! Whether you’re a seasoned baker or a kitchen newbie, this recipe is approachable and delivers show-stopping results every time.
What Type of Pastry Should I Use for Mini Cannoli Cups?
I often get asked if you need to make pastry from scratch for these cups. The good news is—you don’t! I like to use pre-made pie crusts or phyllo dough. Both options bake up beautifully crisp and save you time. Pie crusts give you a slightly richer, more buttery bite, while phyllo offers a lighter, ultra-crispy texture. You can even experiment with wonton wrappers for an extra crisp shell with minimal effort. The choice really depends on the texture you love most in a cannoli.
Options for Substitutions
Flexibility is one of the reasons I adore this recipe. If you want to mix things up, here are a few easy swaps:
- Ricotta Cheese: If ricotta isn’t your favorite, try mascarpone for a creamier filling or a blend of both for extra decadence.
- Sugar: Powdered sugar is classic, but you can use honey or maple syrup for a more natural sweetness.
- Chocolate Chips: Swap them with mini white chocolate chips, chopped pistachios, or crushed hazelnuts for variety.
- Pastry Shell: As mentioned, pie crust, phyllo dough, or wonton wrappers all work well—choose your favorite or use what you have on hand.
- Flavorings: Feel free to add orange zest, cinnamon, or vanilla extract to the filling for an extra flavor boost.
Ingredients for Mini Cannoli Cups
Let’s talk about what goes into making these delightful little cups. Each ingredient plays an important role in creating the perfect bite:
-
Pie Crust (or Phyllo Dough/Wonton Wrappers)
This forms the crisp, golden shell that holds the luscious filling. It gives structure and that essential contrast in texture. -
Ricotta Cheese
The heart of the filling! Ricotta is light, creamy, and just the right amount of rich. Be sure to drain it well to avoid a watery filling. -
Powdered Sugar
Sweetens the ricotta filling without making it grainy. It also helps achieve that silky-smooth texture. -
Vanilla Extract
Adds warmth and depth to the flavor of the filling. Just a splash goes a long way. -
Mini Chocolate Chips
A classic cannoli topping! They bring bursts of chocolate flavor and a bit of crunch to each bite. -
Optional Garnishes (Powdered Sugar, Orange Zest, Chopped Nuts)
For a touch of elegance and a little extra flavor, you can dust the finished cups with powdered sugar or sprinkle them with zest or nuts.
Step 1: Prepare the Shells
Start by preheating your oven to 375°F (190°C). If you’re using pie crust, roll it out on a lightly floured surface and cut it into circles that will fit snugly into a mini muffin tin. Gently press the circles into each well to form a cup shape. If using phyllo dough, layer a few sheets with melted butter between them, then cut and press them into the muffin tin. For wonton wrappers, simply press them in as they are.
Step 2: Bake the Shells
Place the muffin tin in the oven and bake for about 8 to 10 minutes, or until the shells turn golden and crisp. Keep an eye on them, as they can brown quickly. Once done, remove them from the oven and let them cool completely in the tin.
Step 3: Prepare the Filling
While the shells are cooling, prepare the filling. In a mixing bowl, combine drained ricotta cheese, powdered sugar, and vanilla extract. Stir until the mixture is smooth and creamy. If you’d like, you can add a bit of orange zest or cinnamon here for extra flavor.
Step 4: Assemble the Mini Cannoli Cups
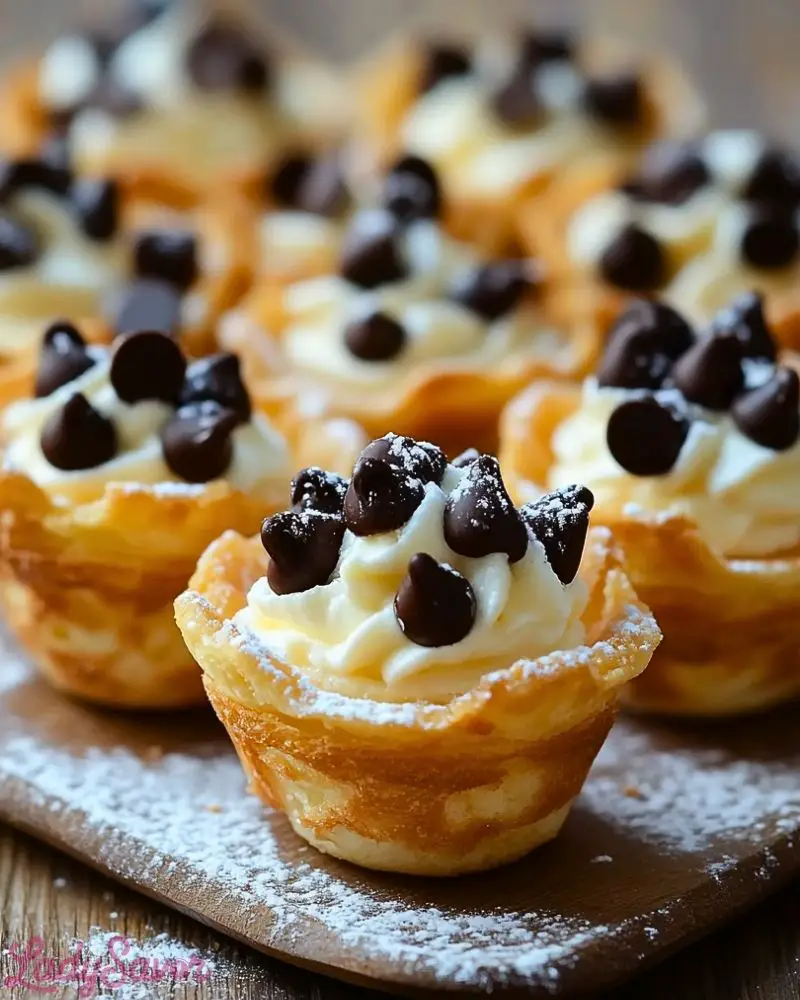
Once the shells are cool, transfer the ricotta mixture to a piping bag or a zip-top bag with the corner snipped off. Pipe the filling into each shell, filling them generously. Top with mini chocolate chips and a light dusting of powdered sugar if desired.
Step 5: Serve and Enjoy
Serve these little delights fresh! The shells stay crispiest if assembled just before serving, though they can be made a couple of hours in advance if needed.
How Long to Cook Mini Cannoli Cups
The shells bake fairly quickly—typically about 8 to 10 minutes in a preheated 375°F (190°C) oven. You want them to turn a beautiful golden color and feel crisp to the touch. The filling itself requires no cooking; simply mix it up while the shells cool, and you’re ready to assemble. Once filled, the cups can be served immediately or chilled for up to a couple of hours before serving.
Tips for Perfect Mini Cannoli Cups
-
Drain the Ricotta Well
This is key for a creamy, thick filling that won’t run. I usually let it drain in a fine mesh strainer lined with cheesecloth for at least an hour—or even overnight in the fridge. -
Use a Piping Bag
For a neat and professional look, pipe the filling into the shells rather than spooning it in. It also makes assembly faster. -
Bake Shells Until Golden
Don’t under-bake the shells. They should be crisp enough to hold the filling without becoming soggy. -
Assemble Just Before Serving
If you want to maintain the crisp texture, assemble the cups shortly before serving. The filling can soften the shells if they sit too long. -
Experiment with Flavors
Don’t be afraid to get creative—add orange zest, cinnamon, a splash of almond extract, or even fold in some mini chocolate chips to the filling itself.
Watch Out for These Mistakes While Cooking
-
Not Draining the Ricotta
Skipping this step can result in a watery filling that will make your shells soggy. Always drain ricotta well for the best texture. -
Overfilling the Shells
It’s tempting to go big with the filling, but too much can cause overflow and mess. Fill them just to the rim of the shell. -
Underbaking the Shells
Shells that are too pale will lack that crisp bite. Make sure they are golden and firm before taking them out of the oven. -
Filling Too Early
Assembling the cups too far in advance can lead to soggy shells. It’s best to fill them close to serving time. -
Skipping the Cool Time
Always let the shells cool completely before adding the filling, or the heat will loosen the creamy mixture.
What to Serve With Mini Cannoli Cups?
Here are a few of my favorite pairings to round out your dessert table:
Espresso or Cappuccino
The rich, bold flavor of coffee complements the sweetness of the cannoli cups beautifully.
Fresh Berries
A simple bowl of strawberries, raspberries, or blueberries adds a refreshing contrast.
Limoncello
This Italian lemon liqueur is a delightful sipper alongside the creamy dessert.
Sparkling Wine
A crisp Prosecco or other sparkling wine makes a festive pairing.
Dark Chocolate Bark
Serve a few shards of dark chocolate for an extra touch of indulgence.
Pistachio Biscotti
These crunchy cookies echo the flavors of traditional cannoli and pair well.
Vanilla Gelato
A scoop of creamy vanilla gelato is the perfect cold contrast to the crisp cups.
Almond Cookies
Light, nutty, and just sweet enough, these cookies pair nicely with the creamy filling.
Storage Instructions
If you have leftovers or want to prepare in advance, here’s how to store them:
- Unfilled Shells: Store baked, unfilled shells in an airtight container at room temperature for up to 3 days. This helps maintain their crispness.
- Ricotta Filling: Keep the filling refrigerated in an airtight container for up to 3 days. Give it a good stir before using.
- Assembled Cannoli Cups: Once filled, the cups are best enjoyed the same day. If needed, you can store them in the fridge for up to 4 hours, but the shells may soften slightly over time.
Estimated Nutrition
Please note these are approximate values per mini cannoli cup (assuming a yield of 24 cups):
- Calories: ~100
- Fat: ~5 g
- Saturated Fat: ~3 g
- Carbohydrates: ~10 g
- Sugar: ~6 g
- Protein: ~3 g
- Fiber: <1 g
- Sodium: ~60 mg
The exact nutrition will vary depending on the type of pastry used and any added toppings.
Frequently Asked Questions
What type of ricotta should I use?
Use whole milk ricotta for the creamiest, richest filling. Just make sure to drain it well to avoid excess moisture.
Can I make the shells ahead of time?
Yes! You can bake the shells up to 3 days in advance. Store them in an airtight container at room temperature until ready to fill.
How long will the filled cannoli cups stay crisp?
They are best enjoyed within a few hours of filling. After a few hours, the shells may start to soften.
Can I freeze mini cannoli cups?
It’s best not to freeze assembled cannoli cups as the texture of both the shells and filling can change. You can, however, freeze the unfilled shells and thaw them before using.
What can I use if I don’t have a mini muffin tin?
You can bake the pastry circles on an inverted muffin tin to create little cups or even use ramekins for larger portions.
Can I flavor the filling?
Absolutely! Add orange zest, cinnamon, almond extract, or even liqueur (like Amaretto) to customize the flavor.
Are mini cannoli cups gluten-free?
They can be if you use gluten-free pie crust or gluten-free pastry alternatives.
What’s the best way to garnish them?
Top with mini chocolate chips, chopped pistachios, candied fruit, or simply a dusting of powdered sugar for a classic look.
Conclusion
Mini Cannoli Cups are a fun, elegant twist on the beloved Italian dessert. They’re simple to make, easy to customize, and perfect for sharing at any occasion. Whether you stick to the classic version or get creative with flavors and toppings, these little treats are sure to impress your family and friends. Once you try them, I bet they’ll become a regular part of your dessert rotation—just as they have in mine!

Mini Cannoli Cups
- Total Time: 28 minutes
- Yield: 24 mini cups 1x
Description
These Mini Cannoli Cups offer all the delicious flavors of a classic Italian cannoli—crispy pastry shells filled with creamy, sweet ricotta—without the fuss of frying. Perfect for parties, holidays, or anytime you crave a bite-sized indulgence!
Ingredients
- 1 package refrigerated pie crusts (or phyllo dough or wonton wrappers)
- 1 1/2 cups whole milk ricotta cheese, drained
- 3/4 cup powdered sugar, plus extra for dusting
- 1 teaspoon vanilla extract
- 1/3 cup mini chocolate chips
- Optional: orange zest, cinnamon, chopped nuts for garnish
Instructions
-
Preheat the oven to 375°F (190°C).
-
Roll out the pie crust and cut into circles to fit a mini muffin tin (or prepare phyllo/wonton wrappers).
-
Press the circles or wrappers into the wells of the mini muffin tin to form cup shapes.
-
Bake for 8 to 10 minutes or until golden and crisp. Remove and cool completely.
-
In a bowl, mix the drained ricotta, powdered sugar, and vanilla extract until smooth.
-
Transfer the filling to a piping bag.
-
Pipe filling into each cooled shell.
-
Top with mini chocolate chips and dust with powdered sugar.
-
Serve immediately, or refrigerate for up to 4 hours.
- Prep Time: 20 minutes
- Cook Time: 8 minutes