
 Sally Thompson
If you’re craving a fusion dish that combines the elegance of sushi with the crispy indulgence of fried food, look no further than the Crispy Shrimp Sushi Pizza! This innovative recipe brings together nori, creamy sushi rice, and golden-fried triangles topped with succulent shrimp and fresh avocado. It’s an incredibly easy appetizer to prepare, making it perfect for impressing guests at dinner parties or enjoying as a fun weeknight snack.
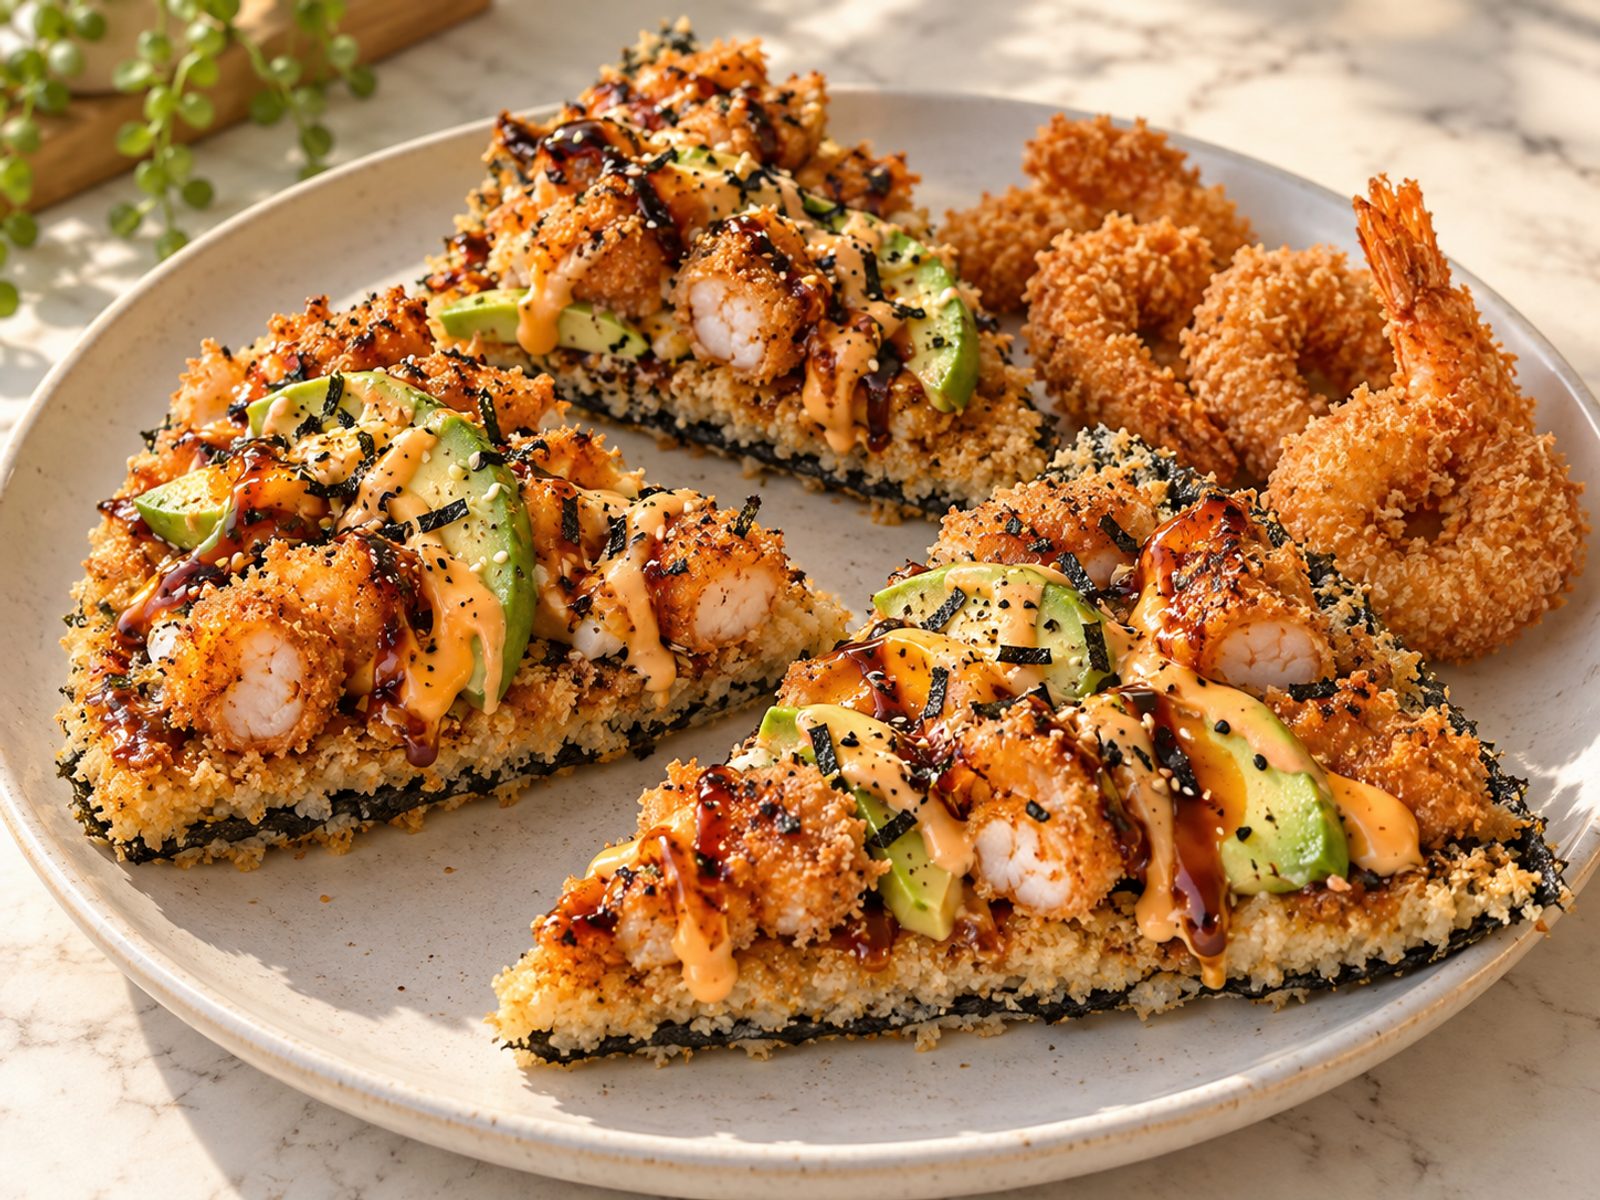
Did you know that sushi pizza is a modern Japanese-American invention that reimagines traditional sushi in playful, unexpected ways? With just a handful of simple ingredients and a quick frying technique, you can create a crispy, restaurant-quality dish that combines umami-rich flavors with satisfying texture.
Let’s dive into the ingredients, preparation, and some tips to make this dish truly shine!
Ingredients for Crispy Shrimp Sushi Pizza
To create the perfect sushi pizza, you’ll need the following ingredients:
Essential Ingredients
- 2 cups cooked sushi rice seasoned with sushi vinegar and cooled to room temperature
- 4 nori sheets for the crispy base
- 3 ounces cream cheese softened for easy spreading
- 1/2 cup all-purpose flour for the coating
- 1/4 cup cornstarch to create a crispy exterior
- 1/2 cup water for the flour slurry
- 1 cup Japanese panko breadcrumbs for maximum crunch
- 2 cups oil for frying, such as vegetable or canola oil
- 1 pound crispy shrimp cut into small bite-sized pieces
- 1 ripe avocado sliced thin
- 1/4 cup sriracha mayo or make your own by mixing sriracha and mayo
- 1/4 cup eel sauce for signature sushi pizza flavor
- 2 tablespoons furikake for garnish
Optional Ingredients
- Sesame seeds white or black for extra garnish
- Green onion thinly sliced for freshness
- Spicy mayo as an alternative to sriracha mayo
- Cucumber slices for added crunch and color
How to Prepare the Sushi Rice Base
The foundation of your sushi pizza starts with perfectly seasoned rice:
- Cook the rice: Prepare sushi rice according to package directions, typically using a 1:1 ratio of rice to water. Once cooked, transfer to a large bowl.
- Season with vinegar: Drizzle sushi vinegar over the warm rice and gently fold it in using a wooden spoon until evenly distributed and cooled to room temperature, about 10-15 minutes.
- Cool completely: Spread the seasoned rice on a clean surface or shallow dish to cool faster, ensuring it reaches room temperature before assembly.
- Make the slurry: In a shallow bowl, combine 1/2 cup all-purpose flour and 1/4 cup cornstarch with 1/2 cup water, stirring until you reach a smooth, lump-free consistency.
- Set up panko station: Pour 1 cup Japanese panko breadcrumbs into a separate shallow bowl for easy dipping.
- Cut nori sheets: Cut your 4 nori sheets into large triangle shapes, roughly 4-5 inches on each side.
- Layer the rice: Spread a thin layer of cooled sushi rice over the lower portion of each nori triangle, leaving about 1/2 inch at the bottom edge.
- Add cream cheese: Place a small dollop of softened cream cheese on the upper part of the nori triangle, about 1 teaspoon per piece.
- Fold and press: Gently fold the triangle in half so the cream cheese side meets the rice, then press lightly to secure without crushing the rice.
- Coat for frying: Dip each folded triangle into the flour slurry to coat completely on all sides, then immediately coat with panko breadcrumbs, pressing gently to adhere.
- Fry until golden: Heat 2 cups of oil in a medium skillet over medium-high heat to approximately 350 degrees Fahrenheit, then carefully place triangles in the hot oil and fry for 2-3 minutes per side until golden brown and crispy.
- Drain on paper towels: Transfer fried triangles to a paper towel-lined plate to remove excess oil while still warm.
- Add shrimp: Top each crispy triangle with a generous handful of crispy shrimp pieces, distributing evenly across the rice side.
- Layer avocado: Arrange thin slices of ripe avocado on top of the shrimp, slightly overlapping for visual appeal.
- Drizzle sauces: Drizzle 1 teaspoon of sriracha mayo and 1 teaspoon of eel sauce over each pizza, creating a balanced flavor profile.
- Finish with furikake: Sprinkle approximately 1/2 teaspoon of furikake over each triangle for a pop of color and umami flavor.
Preparing the Crispy Coating
While the rice cools, prepare your coating station for the sushi triangles:
Assembly: Building Your Sushi Pizza Triangles
Now it’s time to assemble and fry your crispy creations!
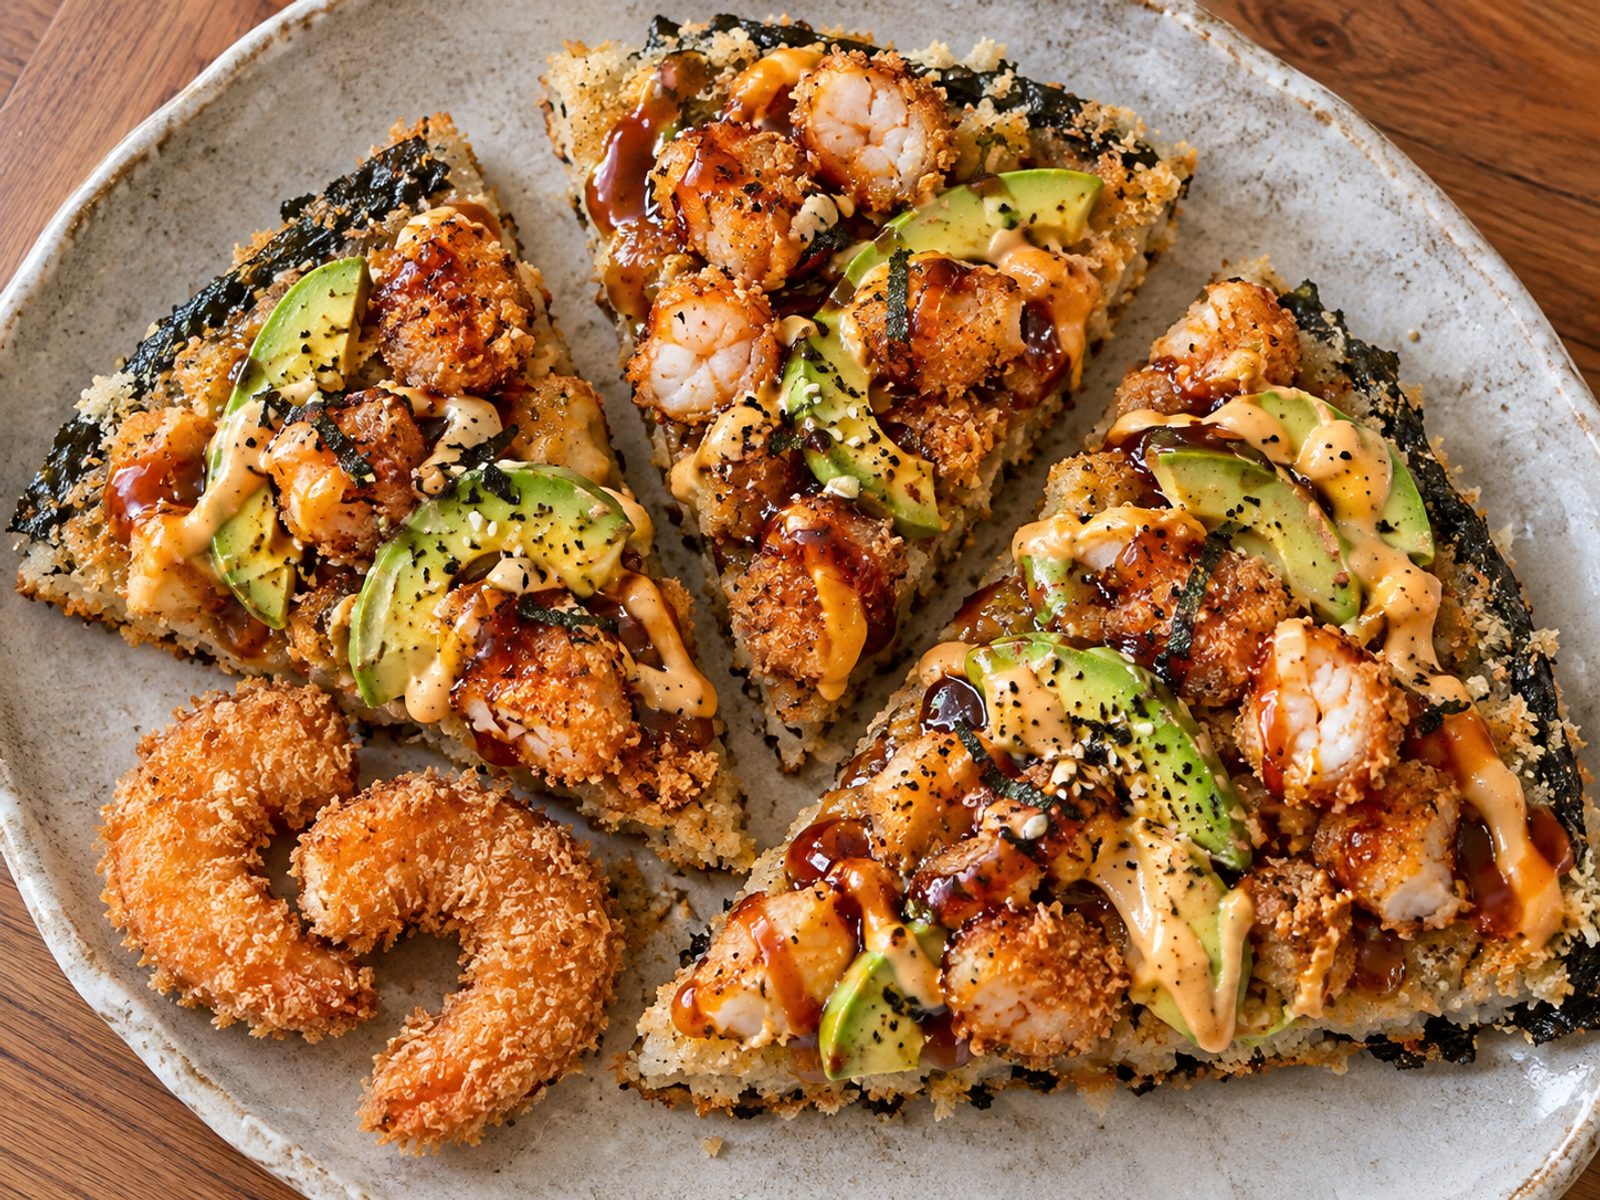
Topping Your Crispy Sushi Pizza
Once the triangles are fried and slightly cooled, crown them with delicious toppings:
Variations and Customizations
One of the great things about the crispy shrimp sushi pizza is its versatility!
- Protein swaps: Replace crispy shrimp with cooked crab, baked fish flakes, or even tempura vegetables for a vegetarian twist.
- Sauce options: Try spicy mayo, wasabi mayo, or a drizzle of hot honey instead of sriracha mayo for different flavor profiles.
- Fresh toppings: Add cucumber slices, thinly sliced green onion, pickled ginger, or sesame seeds for extra texture and flavor.
- Cheese variations: Experiment with Philadelphia cream cheese, mascarpone, or even a light ricotta for different creamy bases.
Serving Suggestions
These crispy sushi pizzas pair beautifully with tangy cucumber kimchi on the side, which adds a refreshing contrast to the rich, fried texture.
Serve alongside a cold Japanese beer, sake, or a crisp ginger ale to complement the umami flavors and help cut through the richness of the fried coating.
Conclusion
In just a few simple steps, you’ve created a vibrant and uniquely satisfying fusion appetizer that combines traditional sushi elements with crispy fried goodness!
This dish is perfect for impressing dinner guests, serving at parties, or even enjoying as a fun weekend snack when you want something a little different.
Don’t hesitate to get creative with your toppings and sauces, there’s virtually no limit to how you can customize this recipe to suit your preferences!
Try it today and experience the deliciousness of crispy shrimp sushi pizza for yourself!
Recipe FAQ’s
Can I make the sushi rice ahead of time?
Yes, you can prepare the sushi rice up to 4 hours in advance and store it in an airtight container at room temperature. However, avoid refrigerating it as cold rice becomes stiff and harder to work with.
What if I don’t have panko breadcrumbs?
Regular breadcrumbs will work, but panko creates a noticeably crispier exterior since the flakes are larger and toast more effectively. If you’re in a pinch, you can also use crushed tempura flakes or even finely crushed crackers.
How should I store leftover sushi pizza?
Store leftovers in an airtight container in the refrigerator for up to 2 days, though they’re best enjoyed immediately while the crispy coating is still at peak crunch. You can reheat them briefly in a 350-degree Fahrenheit oven for 5 minutes to restore some crispiness.
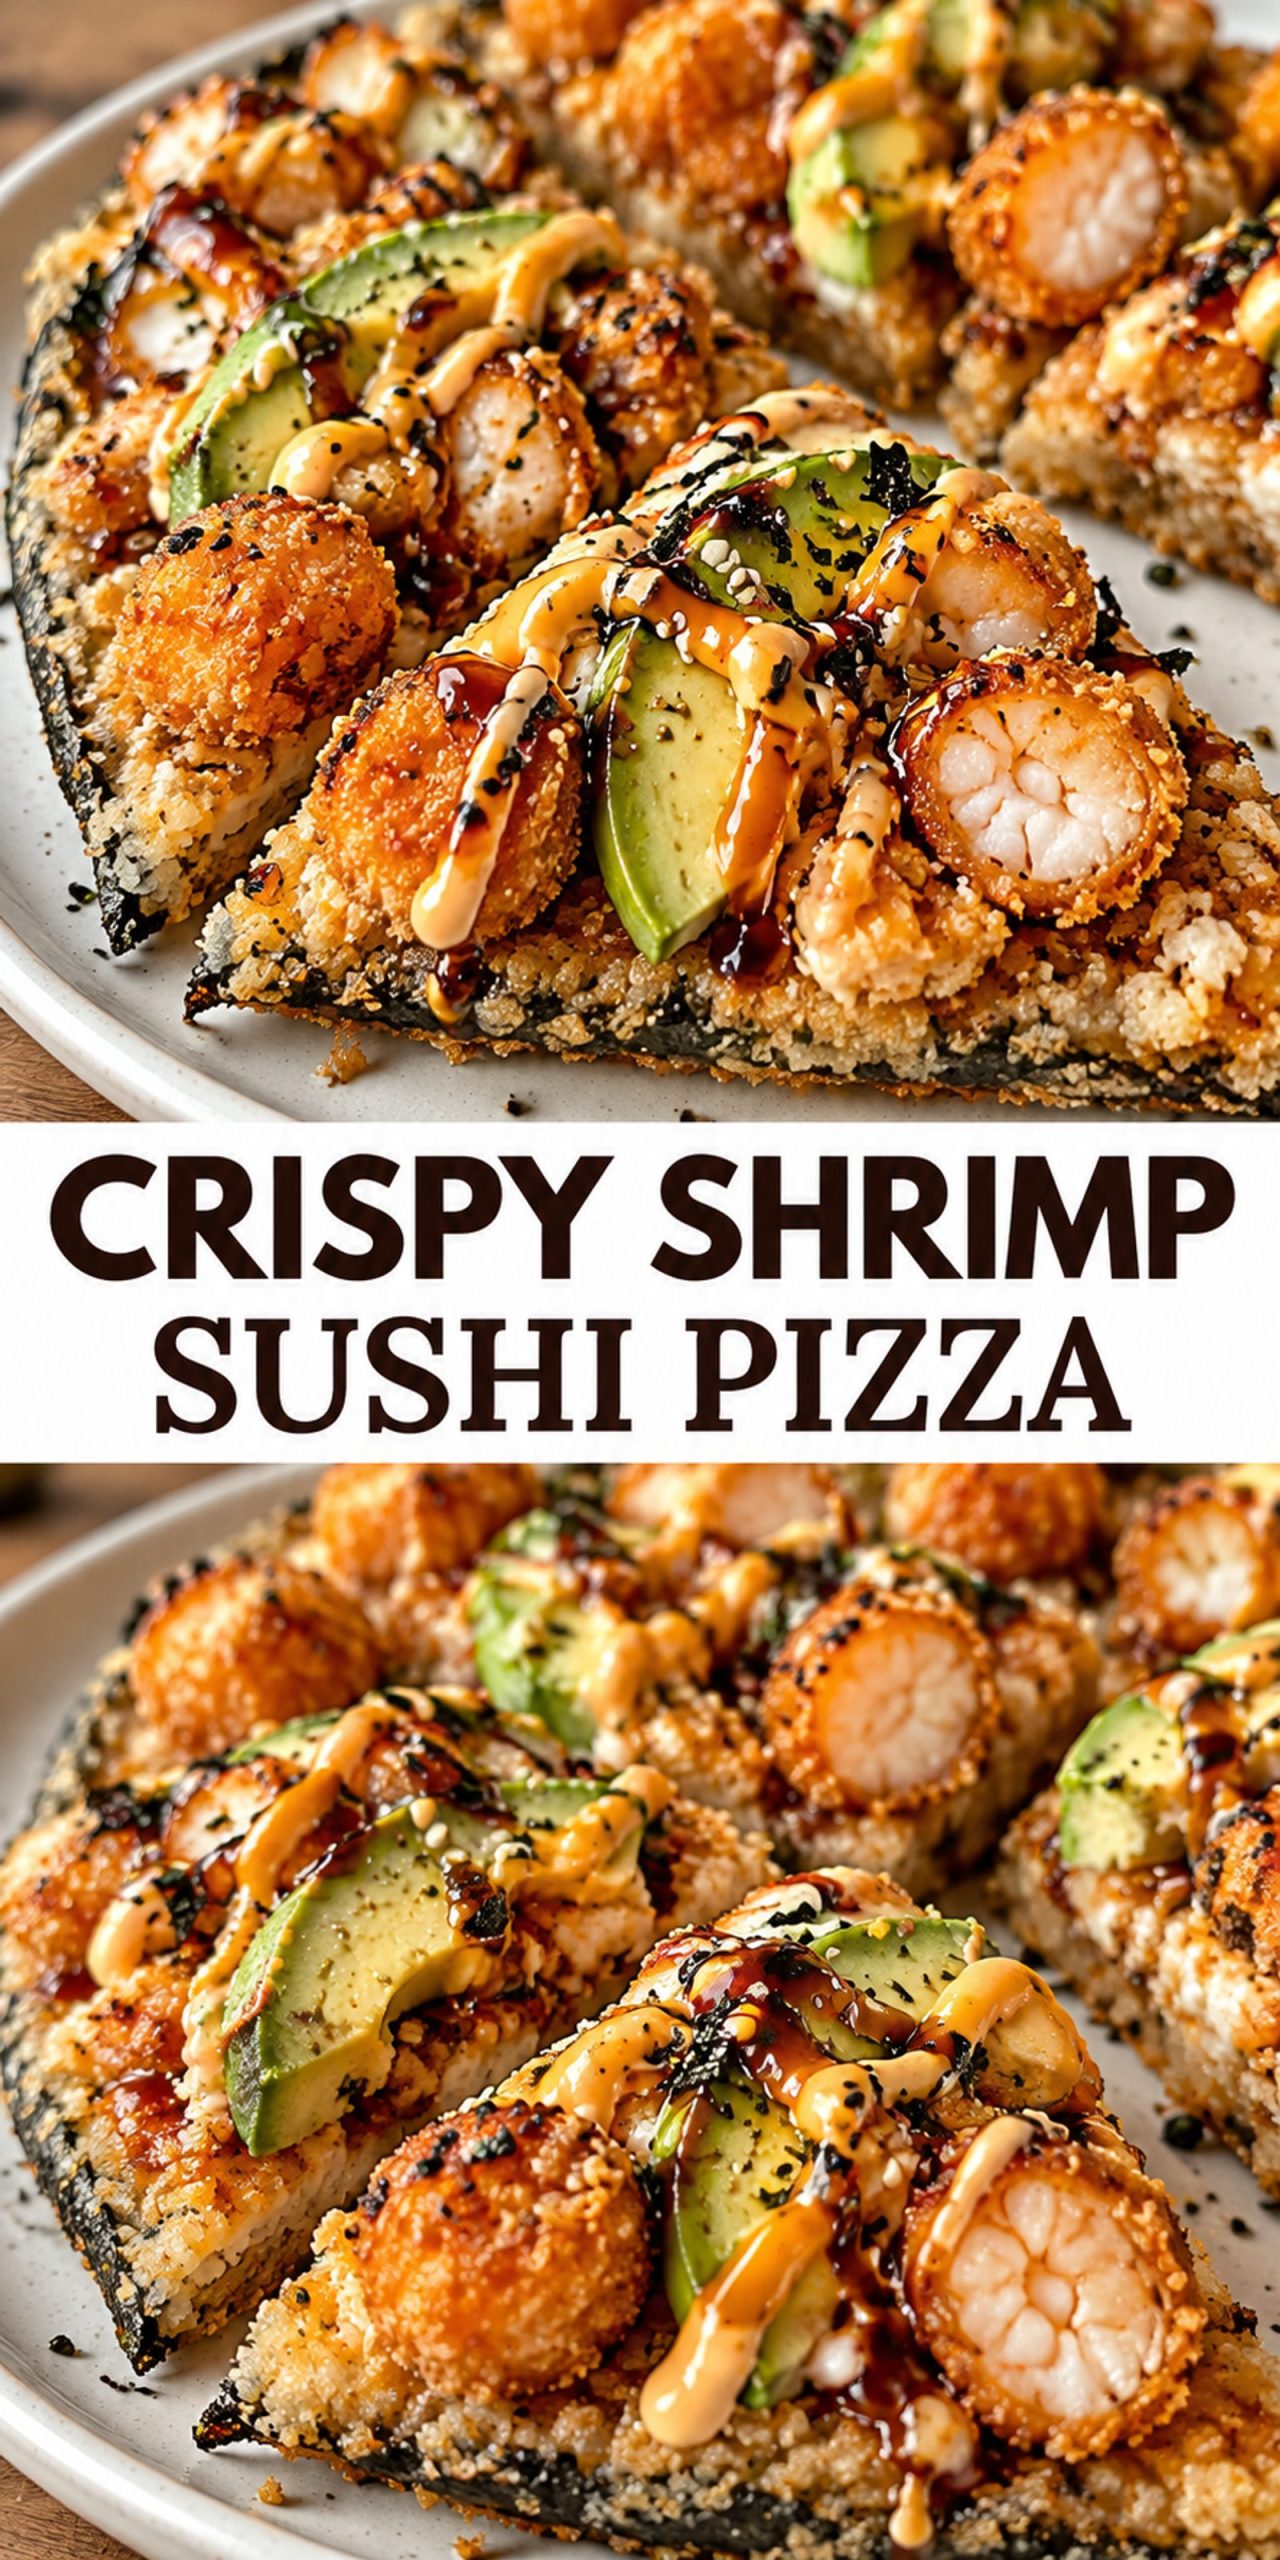
Crispy Shrimp Sushi Pizza
- Total Time: 45 minutes
- Yield: 4 servings 1x
Description
Crispy Shrimp Sushi Pizza features golden-fried nori triangles filled with seasoned sushi rice and creamy cheese, topped with succulent crispy shrimp, fresh avocado, and drizzled with sriracha mayo and eel sauce for an unforgettable fusion appetizer. This innovative dish is perfect for impressing guests at dinner parties or enjoying as a fun snack that combines traditional sushi elements with crispy indulgence.
Ingredients
- 2 cups cooked sushi rice, seasoned with sushi vinegar and cooled to room temperature
- 4 nori sheets
- 3 ounces cream cheese, softened for easy spreading
- 1/2 cup all-purpose flour, for the coating
- 1/4 cup cornstarch, to create a crispy exterior
- 1/2 cup water, for the flour slurry
- 1 cup Japanese panko breadcrumbs, for maximum crunch
- 2 cups oil, vegetable or canola oil for frying
- 1 pound crispy shrimp, cut into small bite-sized pieces
- 1 ripe avocado, sliced thin
- 1/4 cup sriracha mayo, or make your own by mixing sriracha and mayo
- 1/4 cup eel sauce, for signature sushi pizza flavor
- 2 tablespoons furikake, for garnish
- Optional toppings, sesame seeds, green onion, spicy mayo, or cucumber slices
Instructions
- Cook and Season the Rice
- 1. Prepare sushi rice according to package directions, typically using a 1:1 ratio of rice to water.
- 2. Drizzle sushi vinegar over the warm rice and gently fold it in using a wooden spoon until evenly distributed.
- 3. Spread the seasoned rice on a clean surface to cool to room temperature, about 10-15 minutes.
- Prepare the Coating
- 1. In a shallow bowl, combine 1/2 cup all-purpose flour and 1/4 cup cornstarch with 1/2 cup water, stirring until you reach a smooth, lump-free consistency.
- 2. Pour 1 cup Japanese panko breadcrumbs into a separate shallow bowl for easy dipping.
- 3. Cut 4 nori sheets into large triangle shapes, roughly 4-5 inches on each side.
- Assemble the Triangles
- 1. Spread a thin layer of cooled sushi rice over the lower portion of each nori triangle, leaving about 1/2 inch at the bottom edge.
- 2. Place approximately 1 teaspoon of softened cream cheese on the upper part of each nori triangle.
- 3. Gently fold the triangle in half so the cream cheese side meets the rice, then press lightly to secure without crushing the rice.
- 4. Dip each folded triangle into the flour slurry to coat completely on all sides, then immediately coat with panko breadcrumbs, pressing gently to adhere.
- Fry Until Golden
- 1. Heat 2 cups of oil in a medium skillet over medium-high heat to approximately 350 degrees Fahrenheit.
- 2. Carefully place triangles in the hot oil and fry for 2-3 minutes per side until golden brown and crispy.
- 3. Transfer fried triangles to a paper towel-lined plate to remove excess oil while still warm.
- Top and Serve
- 1. Top each crispy triangle with a generous handful of crispy shrimp pieces, distributing evenly across the rice side.
- 2. Arrange thin slices of ripe avocado on top of the shrimp, slightly overlapping for visual appeal.
- 3. Drizzle 1 teaspoon of sriracha mayo and 1 teaspoon of eel sauce over each pizza.
- 4. Sprinkle approximately 1/2 teaspoon of furikake over each triangle and serve immediately while crispy.
- Prep Time: 20 minutes
- Cook Time: 25 minutes