
 Sally Thompson
If you’re looking for a fun and inventive appetizer that combines Japanese flavors with an interactive eating experience, look no further than Crispy Sushi Tacos! These hand-held delights feature all the beloved elements of sushi packed into a crispy, fried nori shell that shatters between your teeth. Creative seafood appetizers have never been easier to execute at home.
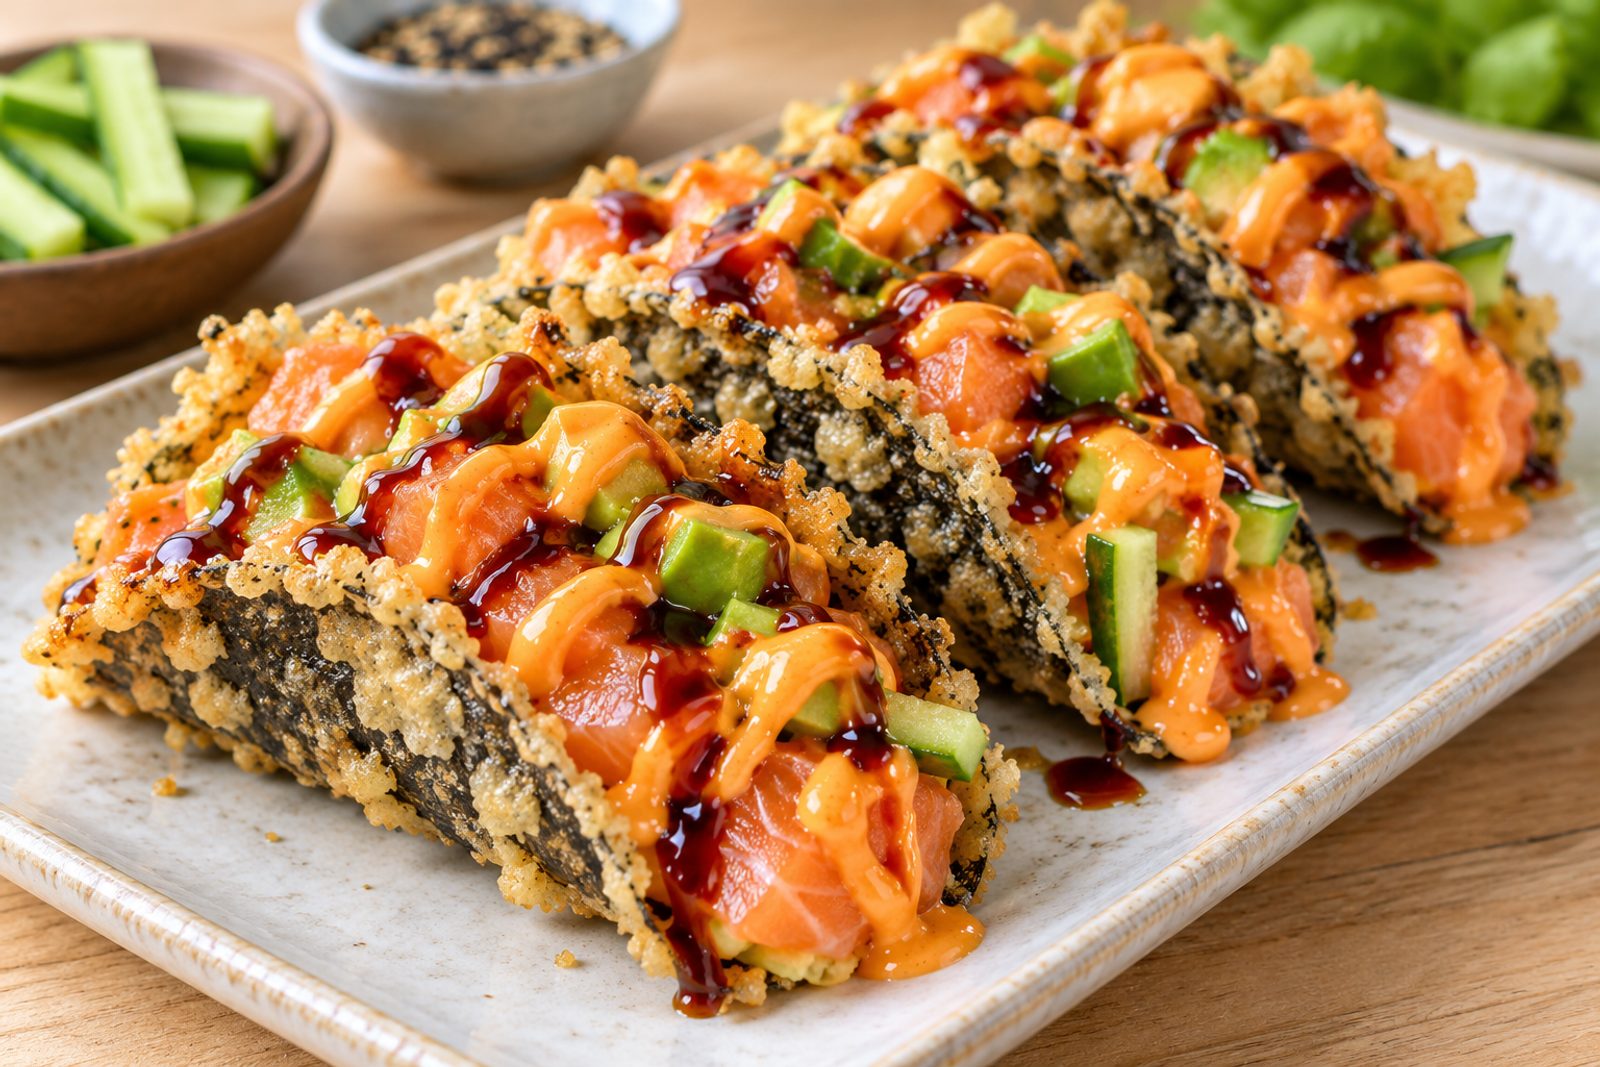
What makes crispy sushi tacos so special is the contrast of textures: the crunch of the panko-crusted nori shell against the soft, creamy fillings inside.
Did you know that while traditional sushi rolls have been enjoyed for centuries in Japan, the inventive sushi taco is a modern fusion creation that perfectly bridges Japanese culinary traditions with casual, shareable dining? The beauty of this dish is that you can customize every layer to suit your preferences, making it ideal for entertaining guests with interactive appetizers.
Let’s dive into the ingredients, preparation, and tips to make these crispy shells absolutely perfect!
Ingredients for Crispy Sushi Tacos
To create the perfect crispy sushi tacos, you’ll need the following ingredients:
Essential Ingredients
- 2 sheets nori the seaweed foundation for your taco shells
- 2 cups cooked sushi rice prepared and cooled to room temperature
- 2 tablespoons sushi vinegar for seasoning the rice
- 1/2 cup all-purpose flour for the binding slurry
- 2 tablespoons cornstarch mixed with the flour for extra crispness
- 1/2 cup water to create a smooth slurry consistency
- 1 cup Japanese panko breadcrumbs for that signature golden crust
- Oil for frying vegetable or canola oil works best
- 1 cucumber thinly sliced for freshness and crunch
- 1 ripe avocado sliced just before assembly
- 2 ounces cream cheese softened for easy spreading
- 4 ounces sashimi-grade salmon thinly sliced or hand-torn into bite-sized pieces
Optional Ingredients
- Sriracha mayo for a spicy kick and creaminess
- Eel sauce adds authentic umami depth
- Furikake sesame seeds, seaweed flakes, and fish powder for garnish
- Alternative proteins cooked shrimp, crab, or even cooked imitation crab for a budget-friendly option
- Extra vegetables pickled ginger, thinly sliced carrots, or scallions
How to Prepare the Sushi Rice Base
Your rice is the foundation of these tacos, so getting it right is essential:
- Cook the rice Use sushi rice or short-grain white rice. Prepare according to package directions, then cool it to room temperature. This usually takes about 15 to 20 minutes after cooking.
- Season with vinegar Once cooled, gently fold in 2 tablespoons of sushi vinegar to the rice, stirring with a wooden spoon to distribute evenly without crushing the grains. The rice should taste slightly tangy and sweet.
- Keep it ready Set the seasoned rice aside in a shallow bowl so it stays fresh and at the right temperature for assembly.
Creating the Crispy Taco Shells
This is where the magic happens, transforming delicate nori into crispy, golden shells:
- Cut the nori: Using a round cutter or a small bowl (roughly 4 inches in diameter), cut out circles from the nori sheets. You should be able to get 6 to 8 circles from 2 sheets.
- Prepare the coating station: In one shallow bowl, whisk together the flour, cornstarch, and water until you have a smooth, lump-free slurry that coats a spoon. In a separate bowl, place your Japanese panko breadcrumbs.
- Coat the nori: Spread a thin layer of sushi rice over one half of each nori circle, leaving the other half plain. Dip only the plain half into the flour slurry, then immediately coat it with panko breadcrumbs, pressing gently so they adhere.
- Fry to golden: Heat about 2 inches of oil in a deep pan to 350 degrees Fahrenheit. Carefully place one coated nori circle into the hot oil, rice-side up. As it begins to cook, after about 20 to 30 seconds, use tongs to gently fold it in half into a taco shape, holding it closed for another 30 to 40 seconds until the panko turns golden brown and crispy. Repeat with remaining shells.
- Drain and cool slightly: Transfer each shell to a paper towel-lined plate. Let them cool for just 1 to 2 minutes so they become completely crispy without becoming brittle.
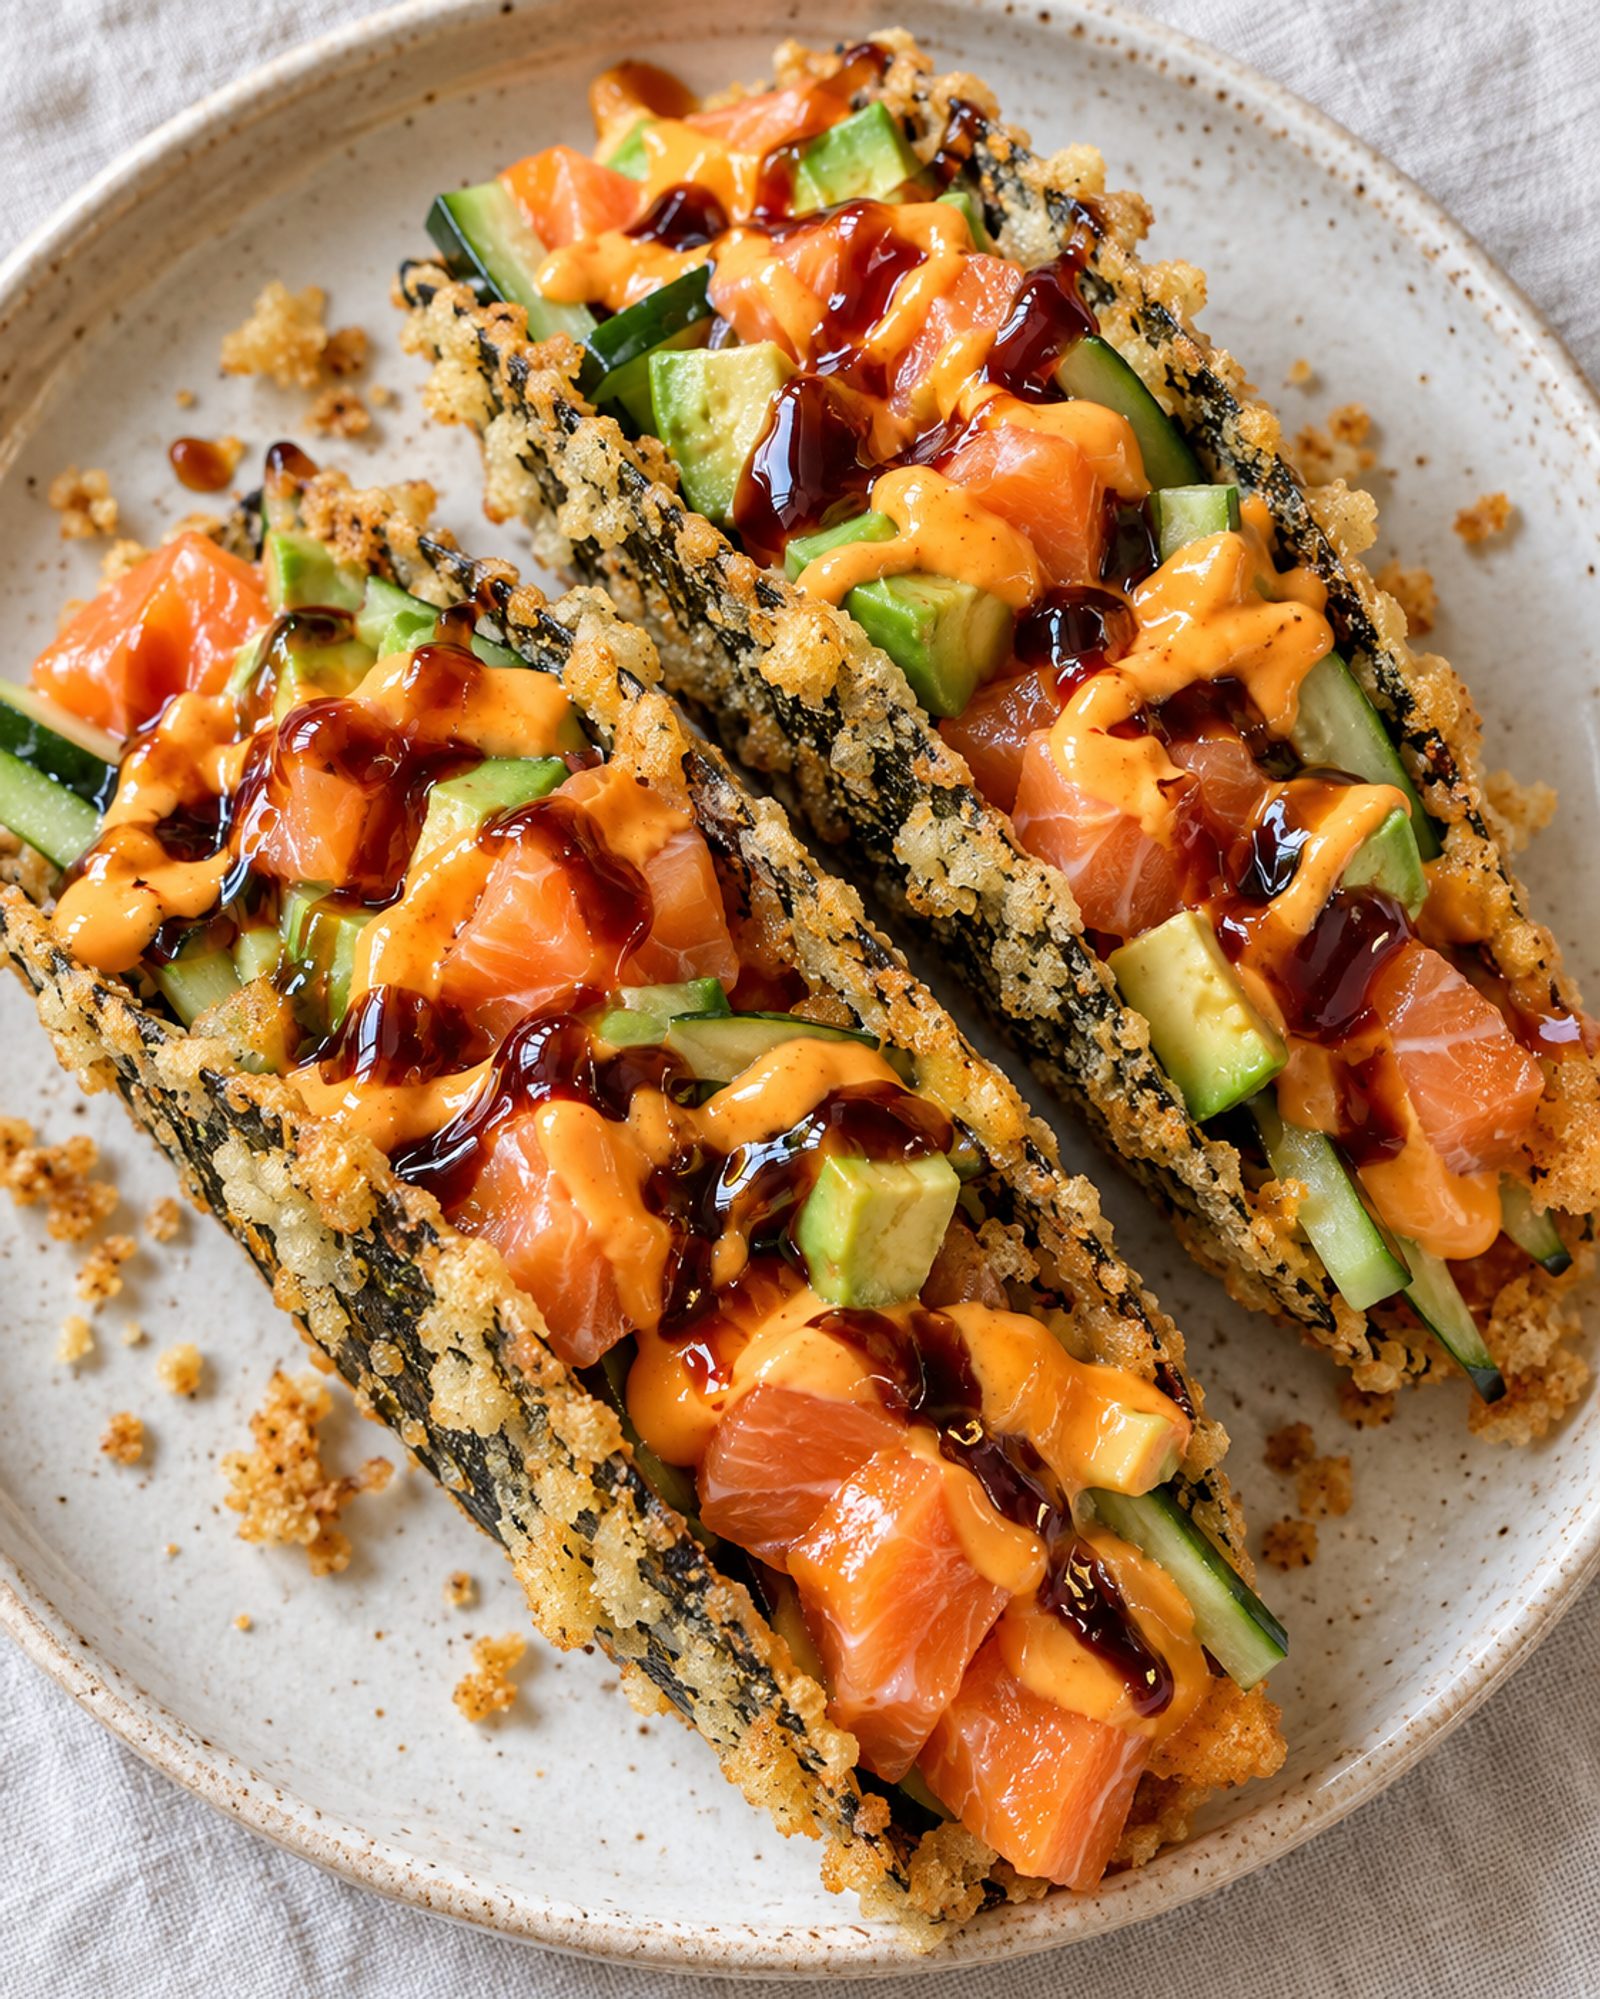
Assembly: Building Your Crispy Sushi Taco
Once your shells are cooled and ready, it’s time to fill and finish these delightful bites!
- Prepare your fillings: Arrange all your fillings in small bowls so they’re easy to access. Slice the avocado just before assembly to prevent browning, and have your cream cheese at room temperature for easy spreading.
- Layer the fillings: Hold each crispy taco shell gently in one hand. Spread a small amount of cream cheese inside, then add a few slices of cucumber, avocado, and salmon, distributing them evenly so each bite has a balance of flavors.
- Add the sauces: Drizzle sriracha mayo and eel sauce over the fillings, using just enough so it doesn’t overflow when you pick up the taco.
- Garnish and serve: Sprinkle furikake over the top of each taco for color, texture, and authentic Japanese flavor. Serve immediately while the shells are still warm and crispy.
Variations and Customizations
One of the great things about crispy sushi tacos is their versatility!
- Protein swaps: Try cooked shrimp, lump crab meat, or cooked imitation crab for a different flavor profile. Vegetarians can use tofu or extra vegetables layered with avocado and cream cheese.
- Sauce options: Mix up your condiments with spicy mayo, wasabi mayo, or a drizzle of ponzu sauce instead of the traditional eel sauce.
- Vegetable additions: Include pickled ginger, thinly sliced carrots, scallions, or even crispy tempura vegetables for extra texture and freshness.
- Cheese variations: Swap cream cheese for a light spread of mascarpone or substitute with a dab of Japanese mayo for a tangier finish.
Serving Suggestions
Crispy sushi tacos are best served immediately as an appetizer, alongside a refreshing light side salad to balance the richness of the fillings.
Pair these tacos with a crisp sake, a chilled Japanese beer, or even a light cucumber-infused water to cleanse the palate between bites.
Conclusion
In just a few simple steps, you’ve created an elegant and fun appetizer that looks far more complicated than it actually is.
These tacos are perfect for dinner parties, casual entertaining, or as a show-stopping addition to any sushi-themed meal.
Don’t hesitate to get creative with your fillings and sauces. There’s no limit to how you can customize this recipe to match your taste preferences and whatever fresh ingredients you have on hand.
Try it today and experience the delightful contrast of crispy, creamy, and fresh flavors all in one handheld bite!
Recipe FAQ’s
Can I make the taco shells in advance?
Yes, you can fry the nori shells up to 2 hours ahead and store them in an airtight container at room temperature. Fill them just before serving to keep the shells crispy and prevent the fillings from making them soggy.
What if I don’t have sashimi-grade salmon?
You can use cooked shrimp, crab meat, or even smoked salmon as a substitute. You can also add cooked imitation crab for a more budget-friendly option that still tastes delicious.
How do I keep the avocado from browning?
Slice the avocado just before you begin assembly, or toss the slices lightly in fresh lemon juice to prevent oxidation and browning. This keeps your tacos looking beautiful and tasting fresh.
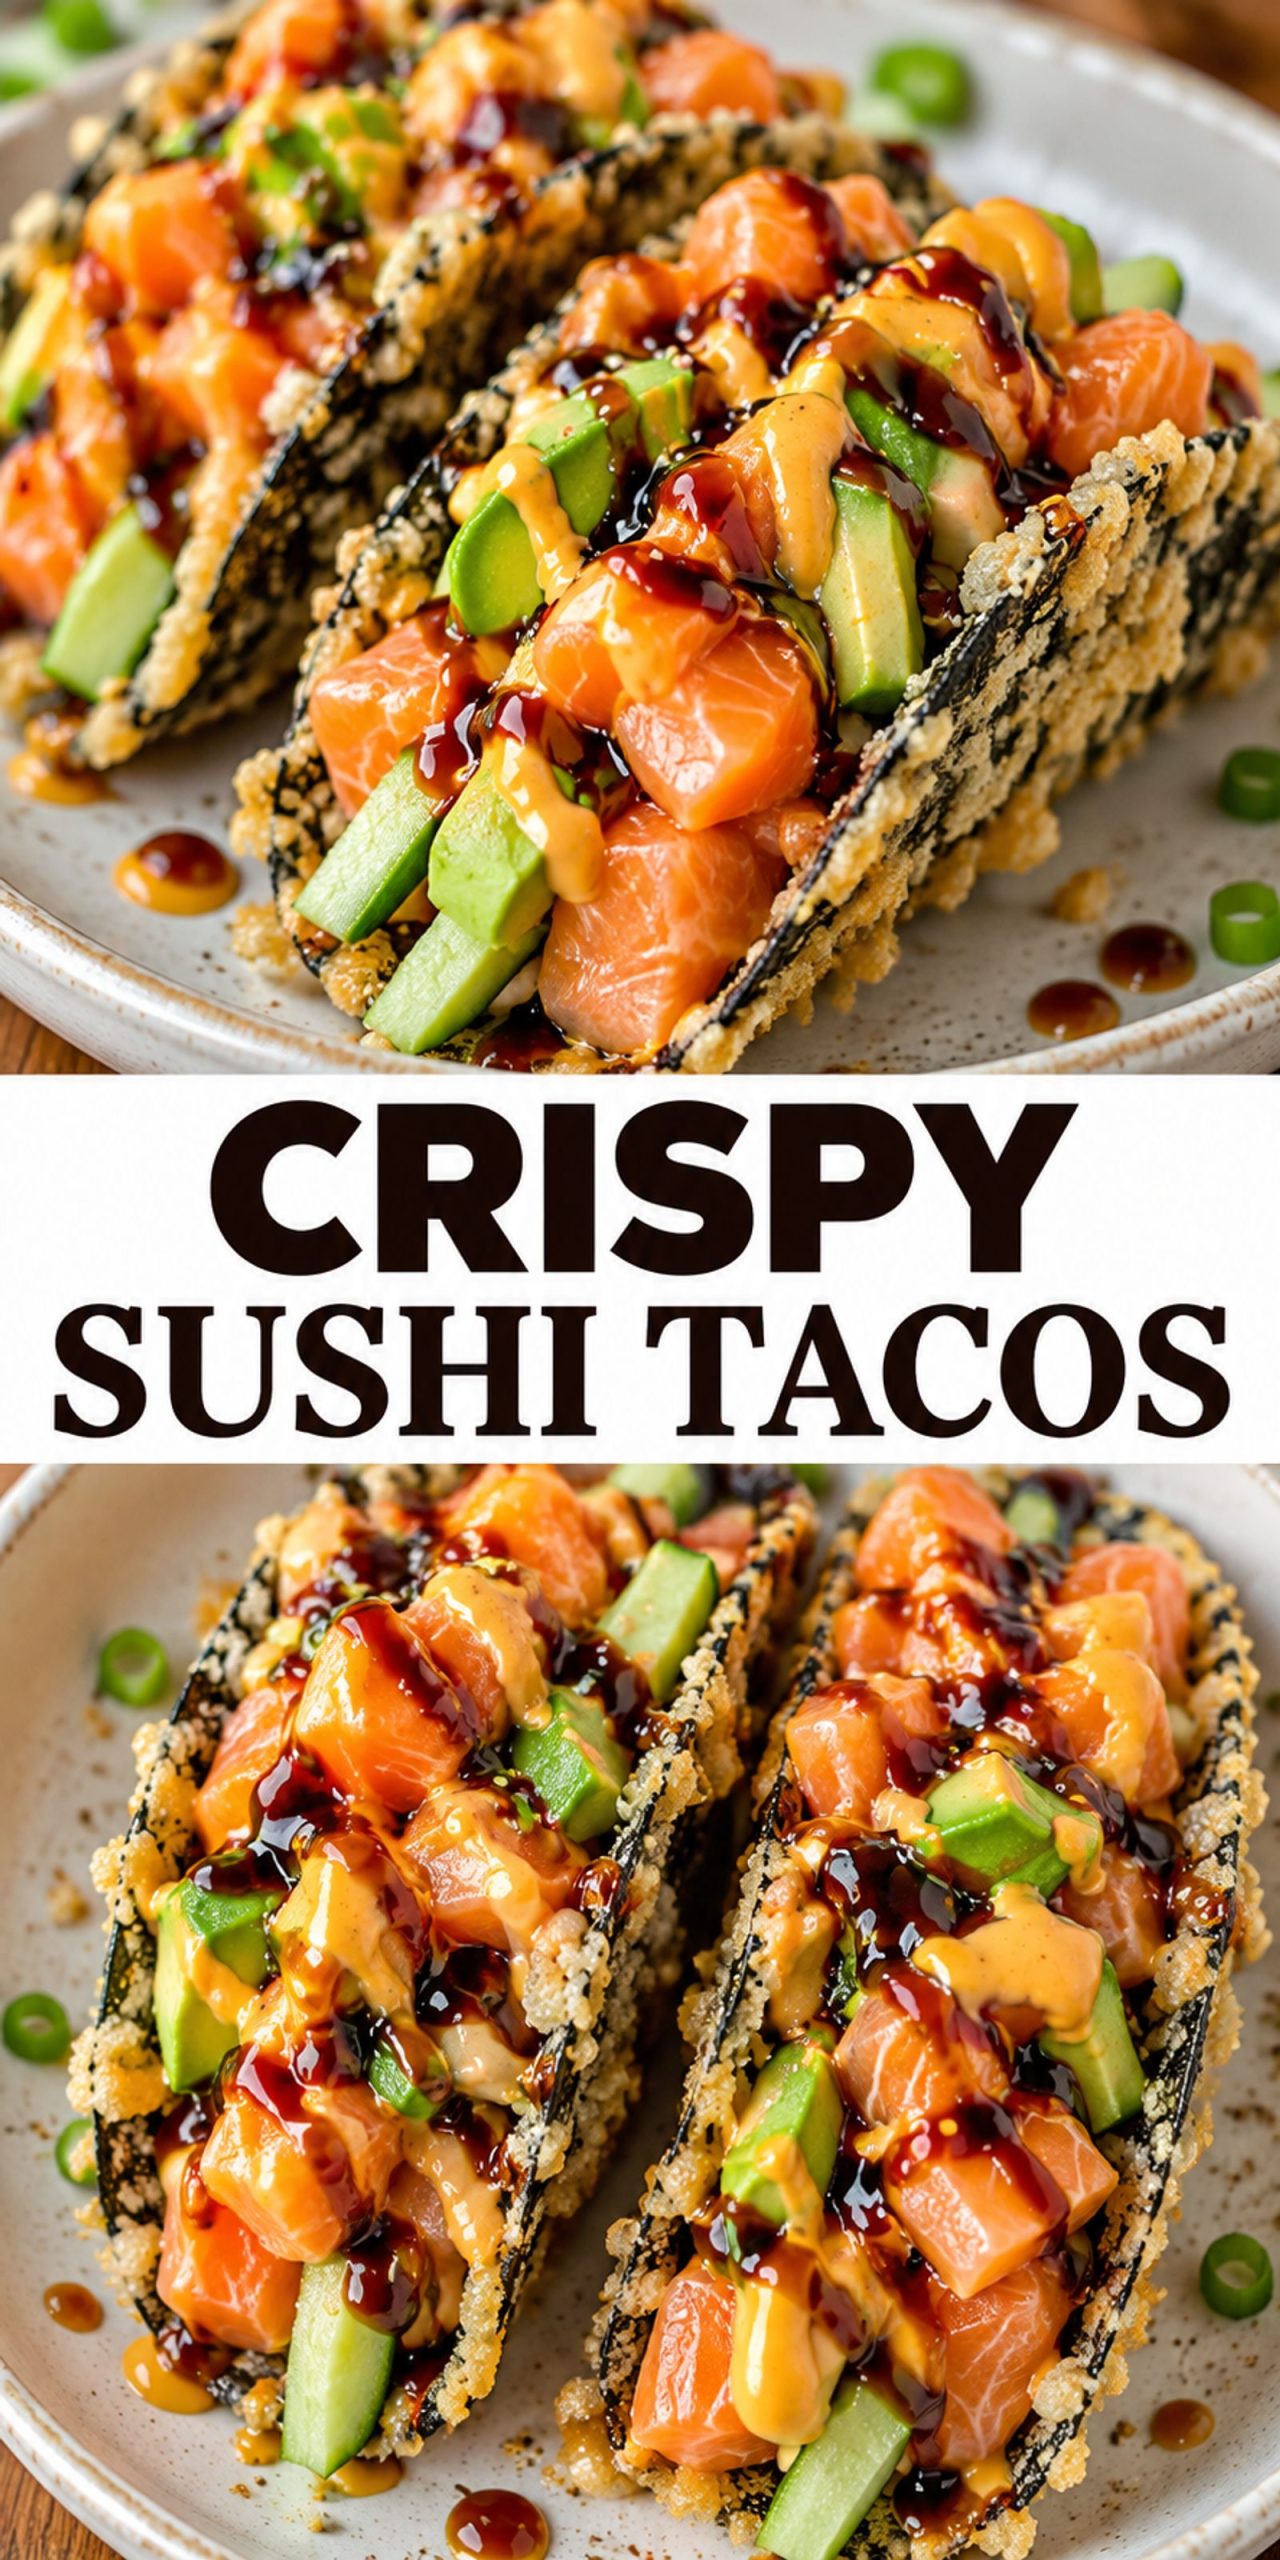
Crispy Sushi Tacos
- Total Time: 45 minutes
- Yield: 4 servings 1x
Description
Crispy sushi tacos feature a golden, panko-crusted nori shell filled with seasoned sushi rice, creamy avocado, cucumber, sashimi-grade salmon, and cream cheese, finished with sriracha mayo, eel sauce, and furikake for a perfect contrast of textures and flavors.
These innovative appetizers are perfect for entertaining guests, dinner parties, or any occasion where you want to serve something fun, interactive, and absolutely delicious that feels restaurant-quality at home.
Ingredients
- 2 sheets nori, the seaweed foundation for your taco shells
- 2 cups cooked sushi rice, prepared and cooled to room temperature
- 2 tablespoons sushi vinegar, for seasoning the rice
- 1/2 cup all-purpose flour, for the binding slurry
- 2 tablespoons cornstarch, mixed with the flour for extra crispness
- 1/2 cup water, to create a smooth slurry consistency
- 1 cup Japanese panko breadcrumbs, for that signature golden crust
- as needed oil for frying, vegetable or canola oil works best
- 1 medium cucumber, thinly sliced for freshness and crunch
- 1 ripe avocado, sliced just before assembly
- 2 ounces cream cheese, softened for easy spreading
- 4 ounces sashimi-grade salmon, thinly sliced or hand-torn into bite-sized pieces
- Sriracha mayo, for a spicy kick and creaminess
- Eel sauce, adds authentic umami depth
- Furikake, sesame seeds, seaweed flakes, and fish powder for garnish
Instructions
- Prepare the Rice: Cook sushi rice or short-grain white rice according to package directions. Once cooked, allow it to cool to room temperature, about 15 to 20 minutes. Gently fold in 2 tablespoons of sushi vinegar to the rice, stirring with a wooden spoon to distribute evenly without crushing the grains. Set the seasoned rice aside in a shallow bowl.
- Cut the Nori: Using a round cutter or a small bowl (roughly 4 inches in diameter), cut out circles from the nori sheets. You should be able to get 6 to 8 circles from 2 sheets.
- Prepare the Coating Station: In one shallow bowl, whisk together the flour, cornstarch, and water until you have a smooth, lump-free slurry that coats a spoon. In a separate bowl, place your Japanese panko breadcrumbs.
- Coat the Nori: Spread a thin layer of sushi rice over one half of each nori circle, leaving the other half plain. Dip only the plain half into the flour slurry, then immediately coat it with panko breadcrumbs, pressing gently so they adhere.
- Fry to Golden: Heat about 2 inches of oil in a deep pan to 350 degrees Fahrenheit. Carefully place one coated nori circle into the hot oil, rice-side up. As it begins to cook, after about 20 to 30 seconds, use tongs to gently fold it in half into a taco shape, holding it closed for another 30 to 40 seconds until the panko turns golden brown and crispy. Repeat with remaining shells.
- Drain and Cool: Transfer each shell to a paper towel-lined plate. Let them cool for just 1 to 2 minutes so they become completely crispy without becoming brittle.
- Prepare Fillings: Arrange all your fillings in small bowls so they're easy to access. Slice the avocado just before assembly to prevent browning, and have your cream cheese at room temperature for easy spreading.
- Layer the Fillings: Hold each crispy taco shell gently in one hand. Spread a small amount of cream cheese inside, then add a few slices of cucumber, avocado, and salmon, distributing them evenly so each bite has a balance of flavors.
- Add the Sauces: Drizzle sriracha mayo and eel sauce over the fillings, using just enough so it doesn't overflow when you pick up the taco.
- Garnish and Serve: Sprinkle furikake over the top of each taco for color, texture, and authentic Japanese flavor. Serve immediately while the shells are still warm and crispy.
- Prep Time: 20 minutes
- Cook Time: 25 minutes