
 Sally Thompson
If you’re craving a Japanese-inspired dish that’s crispy on the outside and bursting with fresh, delicious flavors on the inside, look no further than the Crispy Sushi Burrito!
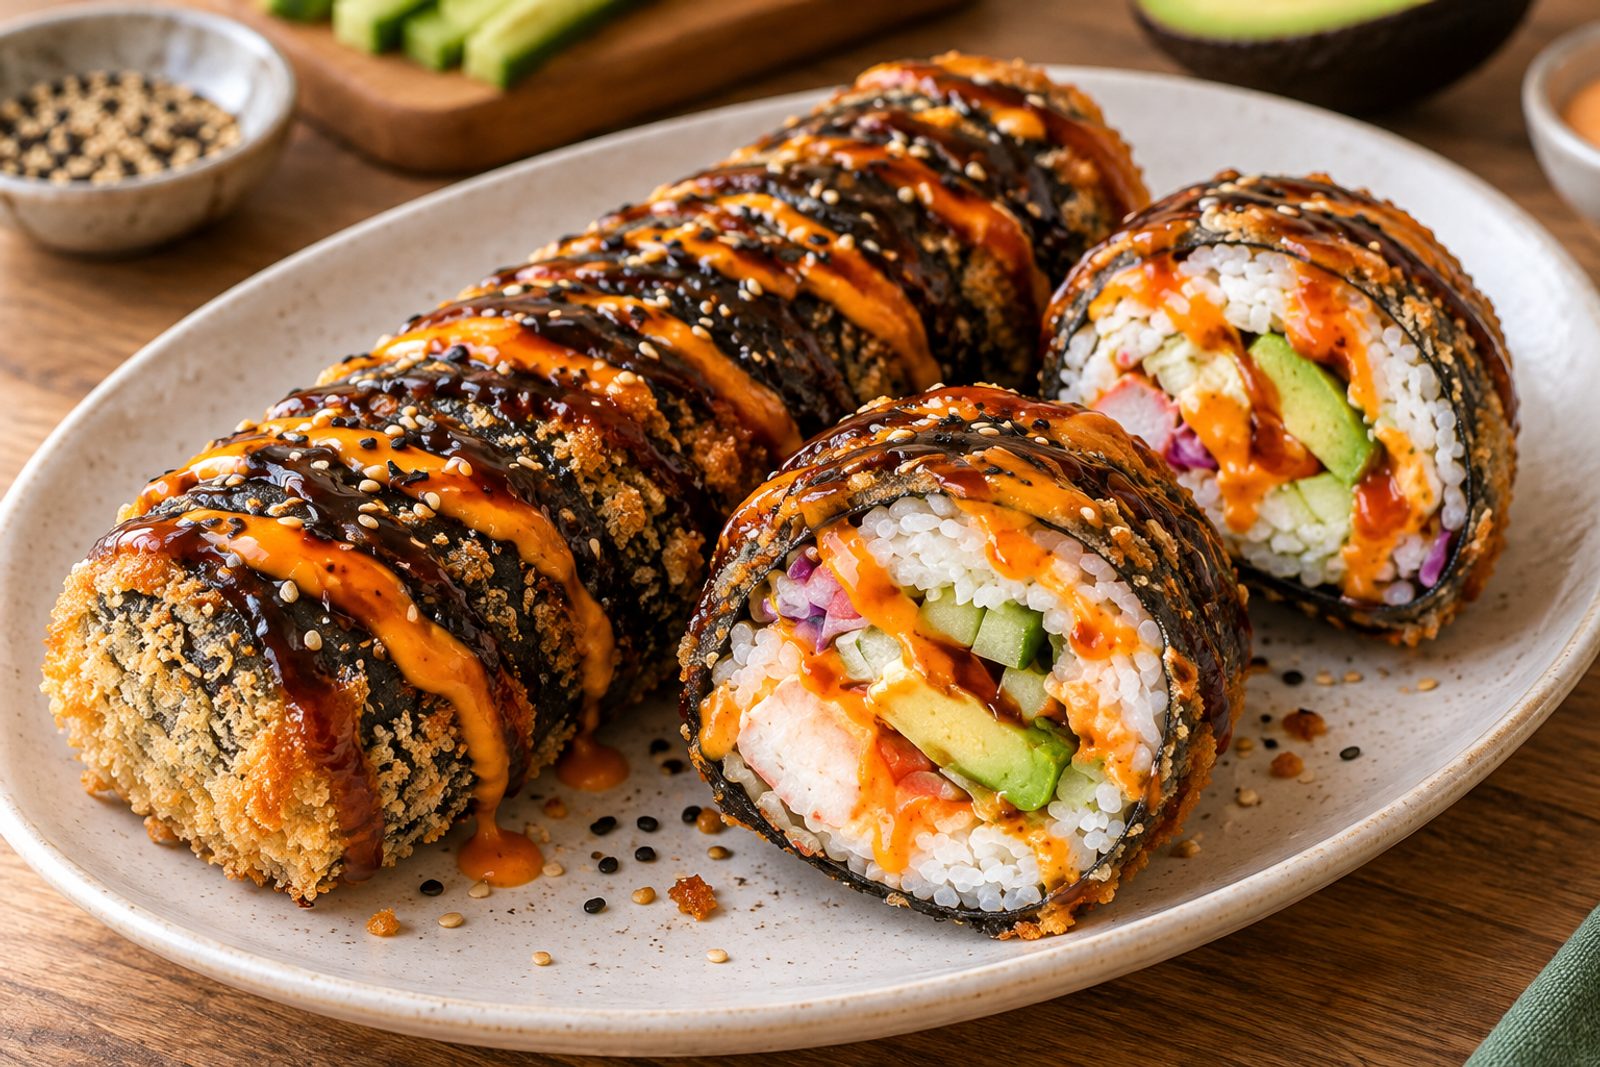
This ingenious fusion creation takes everything you love about sushi and transforms it into a handheld masterpiece that’s incredibly fun to make and even better to eat.
Did you know that while sushi burritos are a modern invention born from creative chefs experimenting with traditional rolls, they’ve become wildly popular in fusion cuisine worldwide? The deep-fried version adds an irresistible textural contrast that elevates sushi to an entirely new level of indulgence.
Let’s dive into the ingredients, preparation, and some tips to make this dish truly shine!
Ingredients for Crispy Sushi Burrito
To create the perfect crispy sushi burrito, you’ll need the following ingredients:
Essential Ingredients
- 2 nori sheets the seaweed foundation for your burrito
- 2 cups cooked sushi rice seasoned with sushi vinegar and cooled to room temperature
- 1/3 cup all-purpose flour for the binding slurry
- 2 tablespoons cornstarch helps create a smooth, even coating
- 3 to 4 tablespoons water adjust as needed for slurry consistency
- 1 cup Japanese panko breadcrumbs for maximum crispiness
- Oil for frying vegetable or neutral oil works best
- 1 cucumber julienned into thin strips
- 1 ripe avocado sliced thinly
- 4 ounces cream cheese adds richness and creaminess
- 6 ounces sashimi-grade salmon sliced into thin strips
Optional Toppings and Sauces
- Sriracha mayo for a spicy kick
- Eel sauce adds traditional sushi sweetness and umami
- Furikake sesame seeds and seaweed sprinkle for garnish
How to Prepare the Sushi Rice
Start by cooking and seasoning your rice properly:
- Cook the Rice: Prepare 2 cups of sushi rice according to package directions, using a rice cooker or stovetop method. Once cooked, transfer to a large bowl.
- Season with Vinegar: While the rice is still warm, gently fold in the sushi vinegar using a rice paddle or wooden spoon, being careful not to mash the grains. Allow the rice to cool to room temperature before assembling your burritos, about 20 to 30 minutes.
Preparing the Coating Station
Setting up your breading station makes the assembly process smooth and efficient:
- Make the Slurry: In a shallow bowl, whisk together the all-purpose flour and cornstarch. Add water a little at a time, stirring until you achieve a smooth, pancake-batter-like consistency that will coat the burritos evenly.
- Set Up Panko Bowl: Pour the Japanese panko breadcrumbs into a separate shallow bowl. This two-step breading process creates the signature crispiness.
Assembly: Bringing It All Together
Once your rice has cooled, it’s time to assemble your burritos!
- Layer the Rice: Place one nori sheet on a clean, dry surface with the shiny side down. Spread a thin, even layer of sushi rice across the entire sheet, leaving about 1 inch uncovered at the top edge.
- Add the Fillings: Arrange the julienned cucumber, sliced avocado, cream cheese strips, and sashimi-grade salmon in a horizontal line across the center of the rice. Don’t overstuff, as this makes rolling more difficult.
- Roll Tightly: Starting from the bottom edge, roll the nori tightly into a burrito shape, tucking in the sides as you go. When you reach the top, seal the edge with a light brush of the flour slurry to hold it closed.
Coating and Frying
The breading and frying process is what makes these burritos irresistible:
- Apply the Slurry: Working with one burrito at a time, use your hands or a brush to coat the entire surface with the flour slurry, ensuring no dry spots remain.
- Roll in Panko: Immediately transfer the slurry-coated burrito to the panko bowl and roll it until all sides are evenly coated with breadcrumbs. Press gently so the panko adheres properly.
- Fry Until Golden: Heat oil in a deep skillet or wok to 350 degrees Fahrenheit. Carefully place the breaded burrito into the hot oil and fry for 4 to 5 minutes total, turning frequently with tongs to ensure even browning on all sides until it reaches a deep golden-brown color. Transfer to a paper towel-lined plate to drain excess oil.
Finishing Touches
Complete your crispy sushi burrito with these final steps:
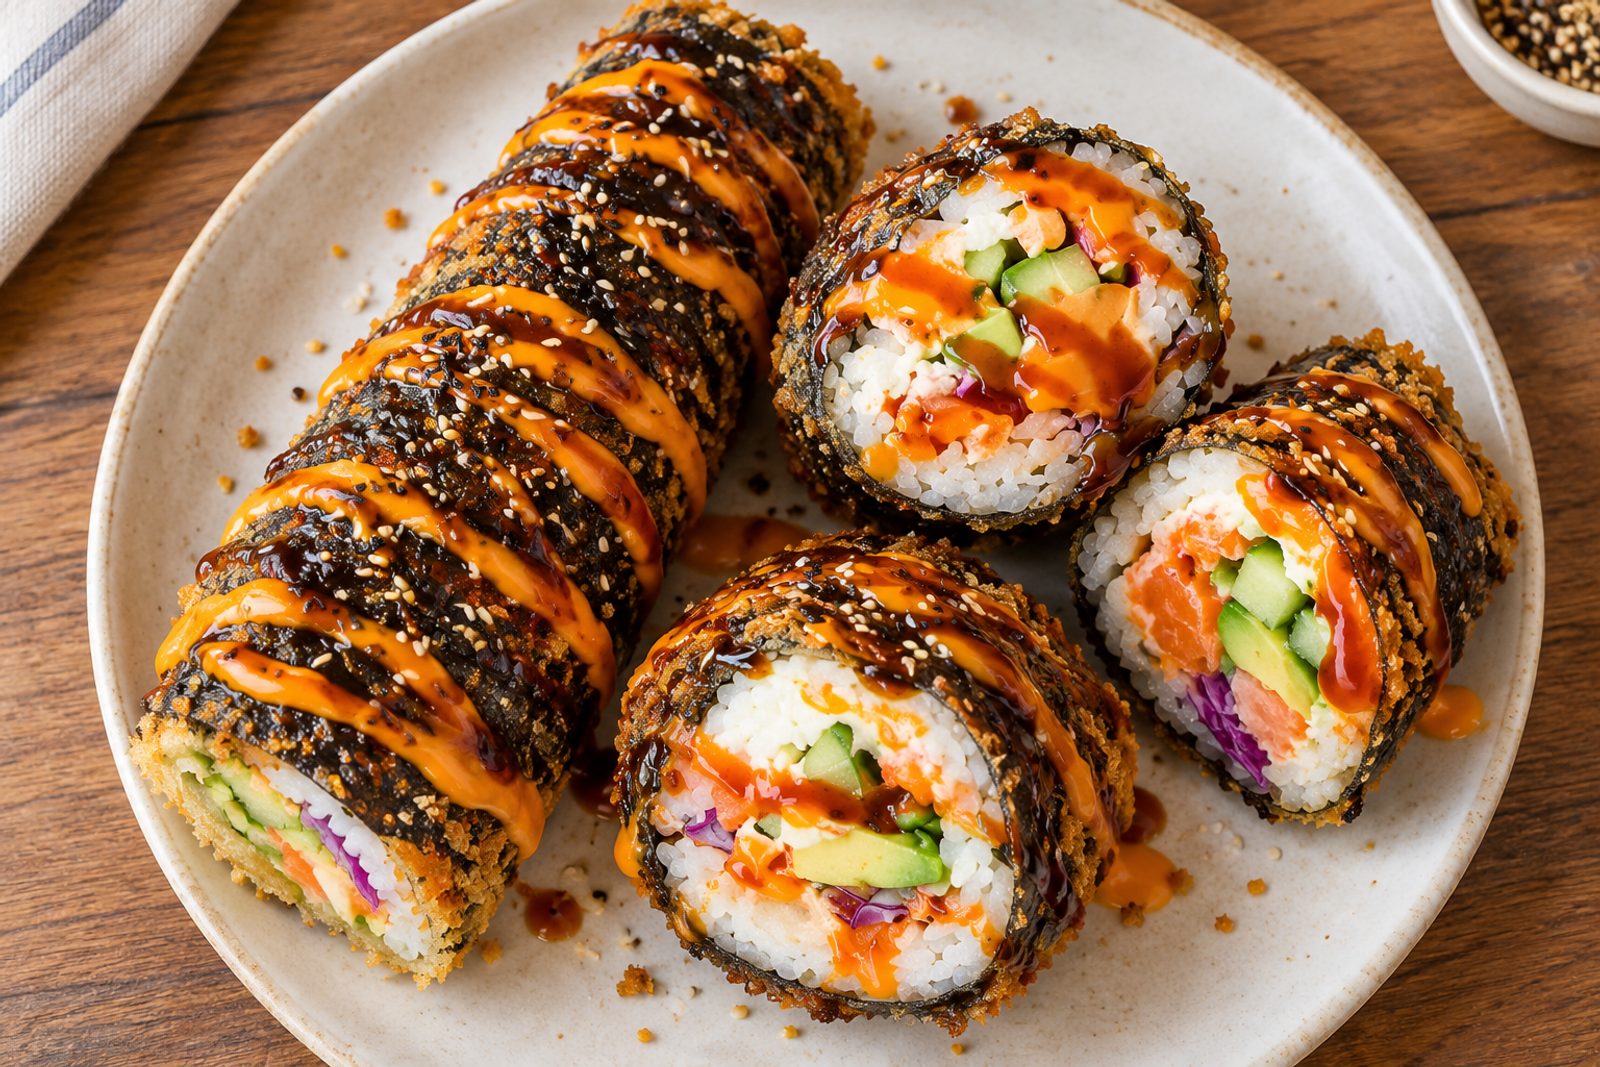
- Slice and Plate: Allow the burrito to cool for 1 to 2 minutes so the filling sets slightly. Using a sharp, wet knife, carefully slice the burrito in half at a slight angle for an attractive presentation.
- Drizzle and Garnish: Arrange the halves on a plate and drizzle generously with sriracha mayo and eel sauce. Finish with a sprinkle of furikake for color and extra flavor.
- Serve Immediately: Enjoy your crispy sushi burrito right away while the exterior is still wonderfully crunchy and the interior remains creamy and fresh.
Variations and Customizations
One of the great things about the crispy sushi burrito is its versatility!
- Protein Swaps: Substitute sashimi-grade salmon with cooked shrimp, crab, yellowtail, or even teriyaki chicken for a different flavor profile.
- Vegetable Additions: Add fresh vegetables like julienned carrot, thinly sliced bell peppers, cucumber varieties, or pickled ginger for extra crunch and brightness.
- Sauce Variations: Try spicy mayo mixed with gochujang, ponzu sauce, or a simple soy-based dipping sauce instead of the traditional sriracha mayo and eel sauce.
- Creamy Additions: Layer in spicy mayo, regular mayo, or even a touch of sesame paste to add richness to your filling.
Serving Suggestions
Pair your crispy sushi burrito with fresh cucumber kimchi or a simple pickled vegetable medley to complement the rich, fried exterior with bright, refreshing flavors.
A cold Japanese lager, crisp sauvignon blanc, or even sparkling yuzu juice pairs beautifully with this indulgent fusion creation.
Conclusion
In just a few simple steps, you’ve created a stunning fusion dish that combines the best of traditional sushi with an irresistible crispy coating.
This recipe is perfect for impressing guests at dinner parties, enjoying as a fun weeknight meal, or even preparing ahead for meal prep, since you can fry the burritos fresh just before serving.
Don’t hesitate to get creative with your protein choices, vegetable additions, and sauce combinations. There’s no limit to how you can customize this recipe to suit your taste preferences!
Try it today and experience the delightful contrast of crispy, crunchy exterior and fresh, creamy interior for yourself!
Recipe FAQ’s
Can I prepare the burritos ahead of time?
Yes, you can assemble and coat the burritos several hours in advance, then refrigerate them on a parchment-lined plate until you’re ready to fry. Just fry them fresh before serving for the best crispiness.
What oil temperature is best for frying?
Maintain the oil at 350 degrees Fahrenheit for optimal results. If it’s too hot, the breadcrumbs will brown too quickly before the filling heats through. Too cool, and the burrito will absorb excess oil and become greasy.
Can I bake these instead of frying?
While baking at 400 degrees Fahrenheit for 15 to 18 minutes will produce a less crispy result, it’s a viable lower-fat option. For best texture, spray the baked burritos lightly with cooking oil before baking.
Recipe Card
Crispy Sushi Burrito
- Total Time: 30 minutes
- Yield: 2 servings 1x
Description
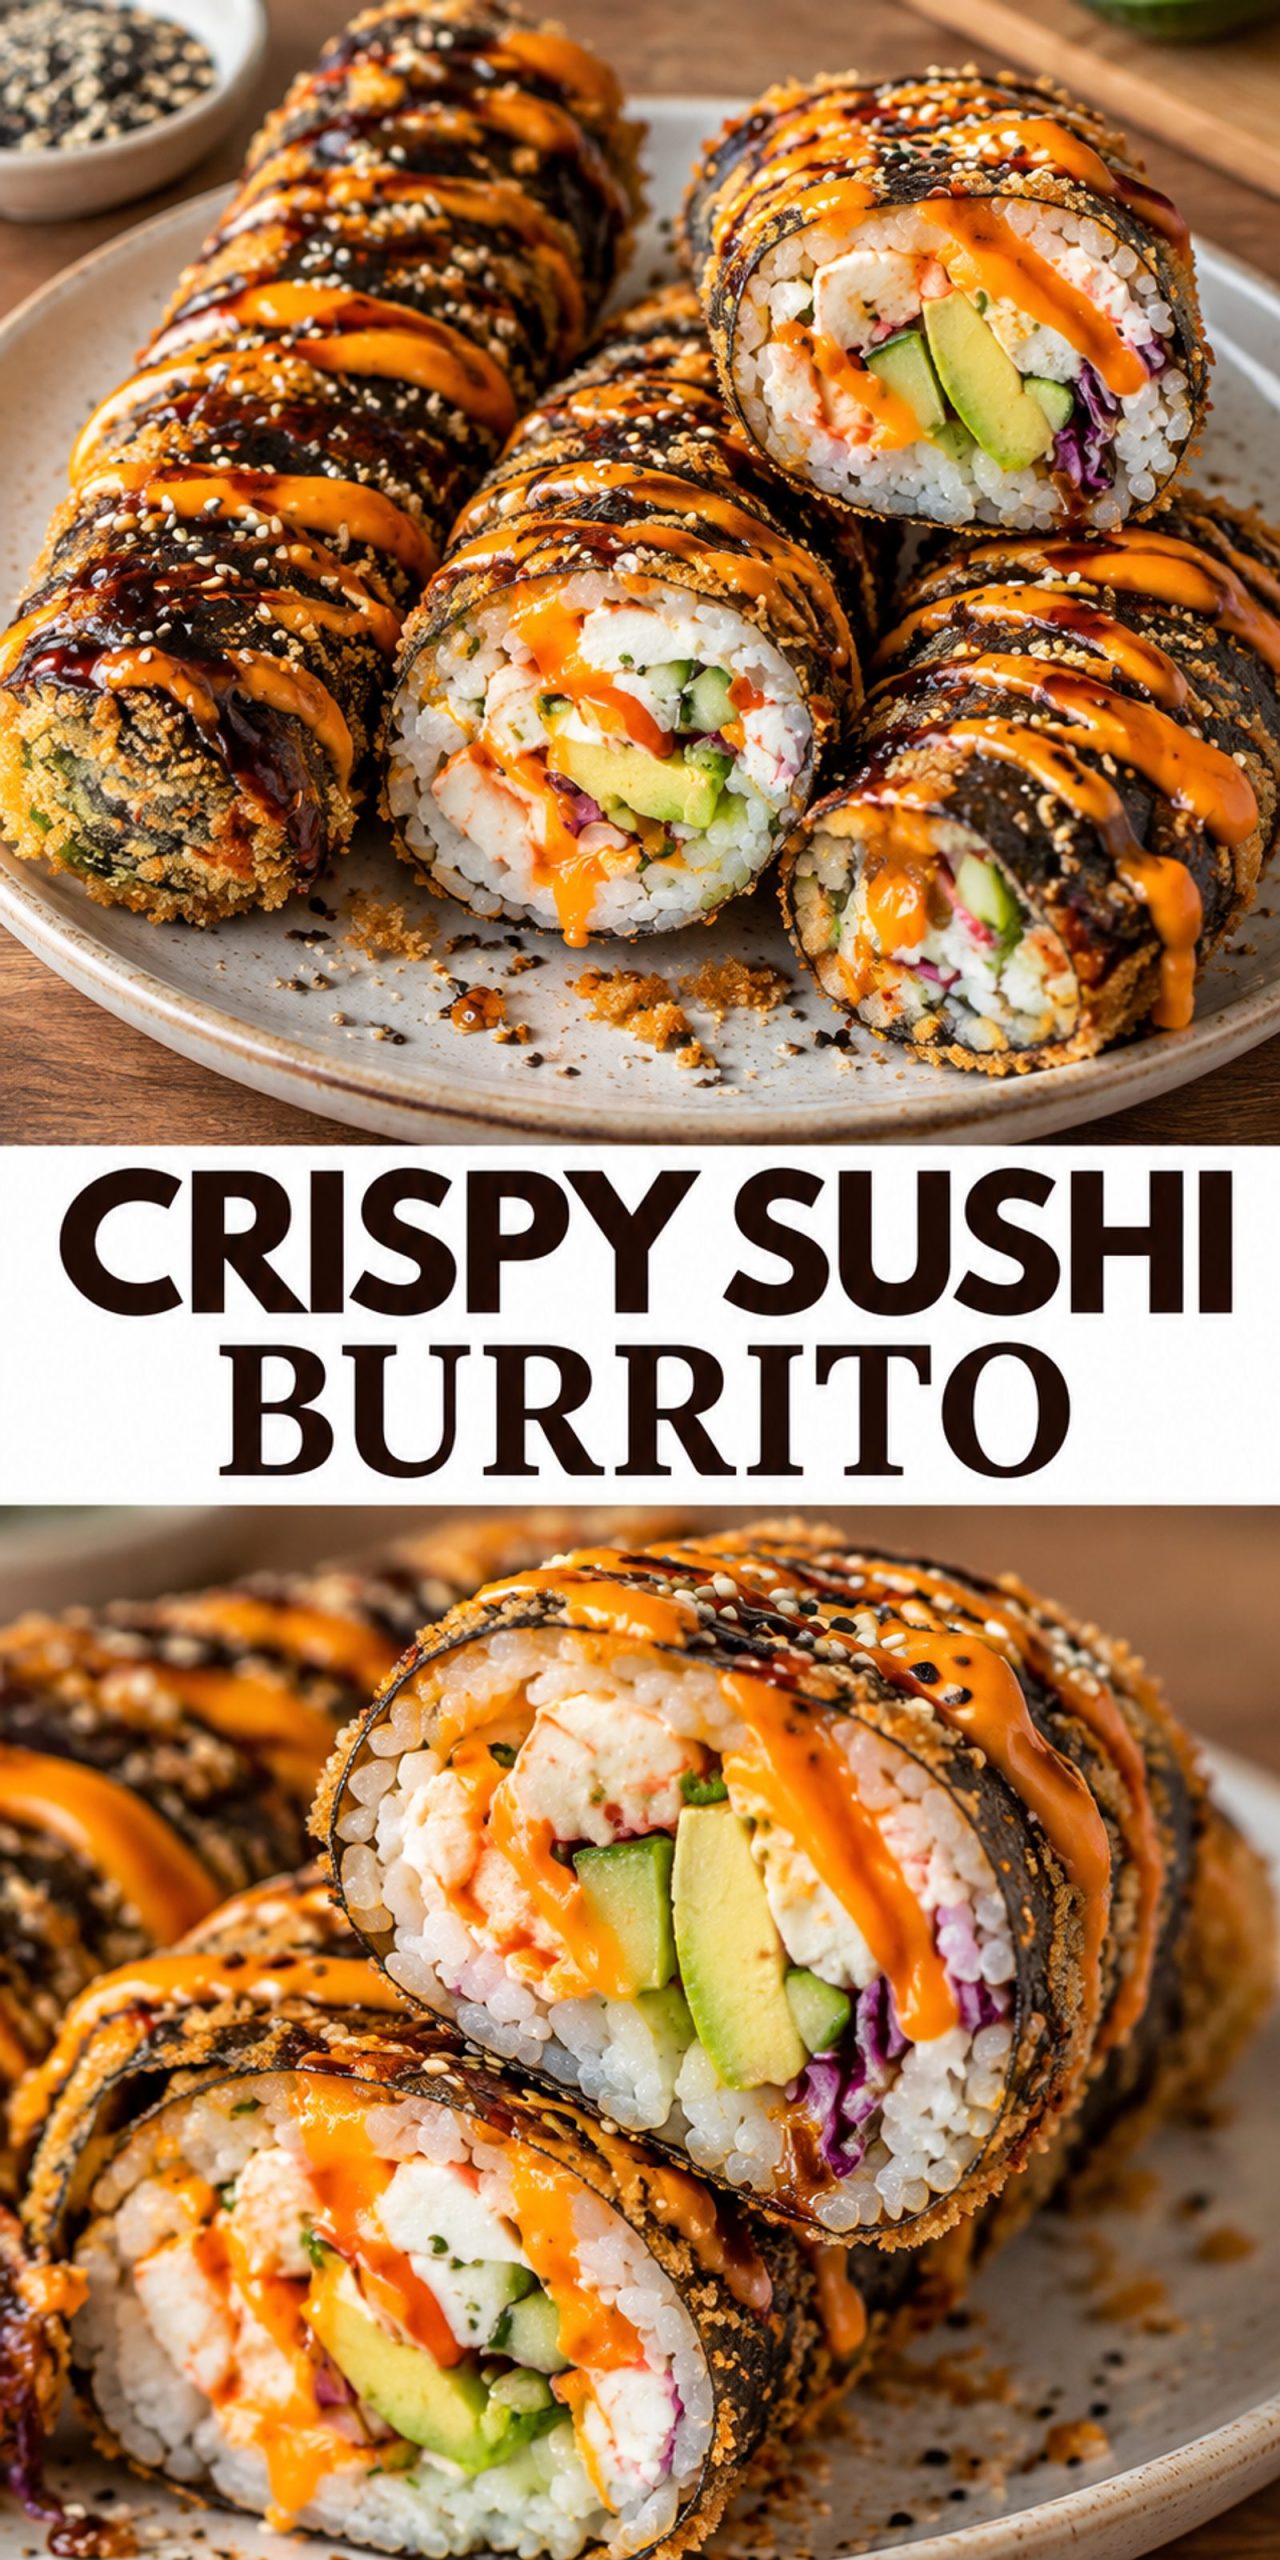
This crispy sushi burrito features sashimi-grade salmon, creamy avocado, and fresh cucumber wrapped in seasoned sushi rice and nori, then coated in a crunchy panko crust and deep-fried until golden. It’s drizzled with sriracha mayo and eel sauce for an unforgettable fusion experience that’s both impressive and delicious.
Ingredients
- 2 nori sheets, the seaweed foundation for your burrito
- 2 cups cooked sushi rice, seasoned with sushi vinegar and cooled to room temperature
- 1/3 cup all-purpose flour, for the binding slurry
- 2 tablespoons cornstarch, helps create a smooth, even coating
- 3 to 4 tablespoons water, adjust as needed for slurry consistency
- 1 cup Japanese panko breadcrumbs, for maximum crispiness
- as needed oil for frying, vegetable or neutral oil works best
- 1 cucumber, julienned into thin strips
- 1 ripe avocado, sliced thinly
- 4 ounces cream cheese, adds richness and creaminess
- 6 ounces sashimi-grade salmon, sliced into thin strips
- to taste sriracha mayo, for a spicy kick
- to taste eel sauce, adds traditional sushi sweetness and umami
- to taste furikake, sesame seeds and seaweed sprinkle for garnish
Instructions
- Prepare the Rice: Cook 2 cups of sushi rice according to package directions using a rice cooker or stovetop method. Transfer to a large bowl.
- Season with Vinegar: While the rice is still warm, gently fold in the sushi vinegar using a rice paddle or wooden spoon, being careful not to mash the grains. Allow the rice to cool to room temperature, about 20 to 30 minutes.
- Make the Slurry: In a shallow bowl, whisk together the all-purpose flour and cornstarch. Add water a little at a time, stirring until you achieve a smooth, pancake-batter-like consistency that will coat the burritos evenly.
- Set Up Panko Bowl: Pour the Japanese panko breadcrumbs into a separate shallow bowl for the two-step breading process.
- Layer the Rice: Place one nori sheet on a clean, dry surface with the shiny side down. Spread a thin, even layer of sushi rice across the entire sheet, leaving about 1 inch uncovered at the top edge.
- Add the Fillings: Arrange the julienned cucumber, sliced avocado, cream cheese strips, and sashimi-grade salmon in a horizontal line across the center of the rice. Avoid overstuffing.
- Roll Tightly: Starting from the bottom edge, roll the nori tightly into a burrito shape, tucking in the sides as you go. When you reach the top, seal the edge with a light brush of flour slurry to hold it closed.
- Apply the Slurry: Working with one burrito at a time, use your hands or a brush to coat the entire surface with the flour slurry, ensuring no dry spots remain.
- Roll in Panko: Immediately transfer the slurry-coated burrito to the panko bowl and roll it until all sides are evenly coated with breadcrumbs, pressing gently so the panko adheres properly.
- Fry Until Golden: Heat oil in a deep skillet or wok to 350 degrees Fahrenheit. Carefully place the breaded burrito into the hot oil and fry for 4 to 5 minutes total, turning frequently with tongs to ensure even browning on all sides until it reaches a deep golden-brown color. Transfer to a paper towel-lined plate to drain excess oil.
- Slice and Plate: Allow the burrito to cool for 1 to 2 minutes so the filling sets slightly. Using a sharp, wet knife, carefully slice the burrito in half at a slight angle for an attractive presentation.
- Drizzle and Garnish: Arrange the halves on a plate and drizzle generously with sriracha mayo and eel sauce. Finish with a sprinkle of furikake for color and extra flavor.
- Serve Immediately: Enjoy your crispy sushi burrito right away while the exterior is still wonderfully crunchy and the interior remains creamy and fresh.
- Prep Time: 15 minutes
- Cook Time: 15 minutes