
 Sally Thompson
If you’re craving something that combines the elegance of sushi with the fun of a burger, look no further than the Crispy Sushi Burger! This innovative dish delivers a crispy, golden-fried exterior that shatters when you bite down, revealing layers of fresh, cool ingredients inside. It’s an impressive meal that seems complicated but comes together more easily than you might think, making it perfect for impressing family and friends or trying something completely new on a weeknight.
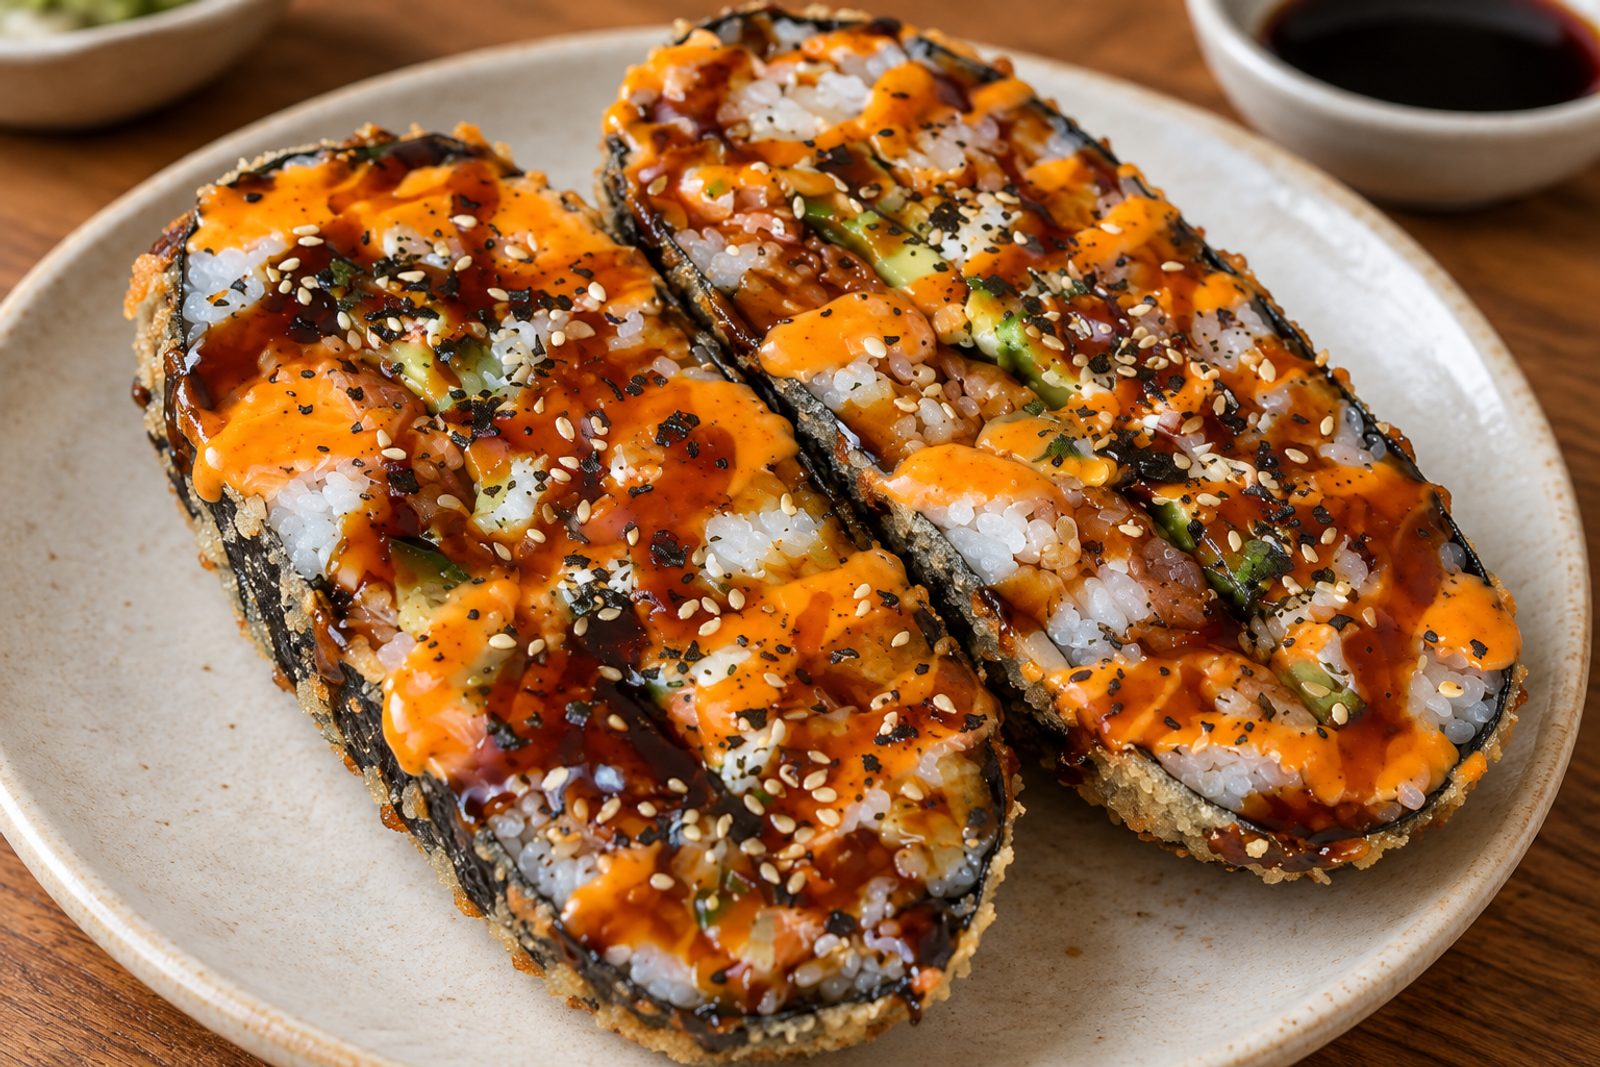
The beauty of this recipe lies in how it brings together Japanese flavors and textures in an unexpected way.
Did you know that sushi burgers are a modern fusion creation that playfully reimagines traditional sushi rolls? By wrapping everything in a crispy fried nori shell, you get the best of both worlds: the textural contrast of something crunchy on the outside and fresh, delicate ingredients within.
Let’s dive into the ingredients, preparation, and some tips to make this impressive fried seafood dish truly shine!
Ingredients for Crispy Sushi Burger
To create the perfect sushi burger, you’ll need the following ingredients:
Essential Ingredients
- 3 nori sheets divided as needed for wrapping
- 2 cups cooked sushi rice cooled to room temperature
- 3 tablespoons sushi vinegar for seasoning the rice
- 1/2 cup all-purpose flour for the binding slurry
- 2 tablespoons cornstarch helps thicken the slurry
- 1/2 cup water approximately, for the slurry
- 1 cup Japanese panko breadcrumbs for the crispy coating
- Oil for frying about 3 to 4 cups, vegetable or canola
- 4 ounces cream cheese softened slightly
- 1 cucumber thinly sliced
- 1 ripe avocado sliced
- 6 ounces sashimi-grade salmon thinly sliced
For Serving
- Sriracha mayo for drizzling
- Eel sauce for drizzling
- Furikake Japanese seasoning blend for garnish
Preparing the Sushi Rice and Coating Ingredients
Start by ensuring your sushi rice is ready and properly seasoned:
- Season the Rice: If using freshly cooked sushi rice, fold in the sushi vinegar gently while the rice is still warm, then spread it on a baking sheet and let it cool to room temperature, about 15 to 20 minutes.
- Make the Slurry: In a bowl, whisk together the flour and cornstarch, then gradually add water while whisking until you reach a smooth, paste-like consistency that coats the back of a spoon.
- Prep the Breading Station: Pour the panko breadcrumbs into a separate shallow bowl, ready for coating.
Building Your Sushi Burger
Creating the layered filling is where the magic happens:
- Start with the Base: Lay a whole nori sheet on a clean, dry surface with the shiny side facing down.
- Add the Rice Layer: Spread a thin, round layer of cooled sushi rice in the center of the nori, about 1/4 inch thick and roughly 4 to 5 inches in diameter.
- Layer the Fillings: Spread a thin layer of softened cream cheese over the rice, then arrange cucumber slices, avocado slices, and sashimi-grade salmon in the center.
- Seal with Rice: Top the fillings with another thin layer of sushi rice, then brush the edges of the nori with the flour slurry.
- Wrap Tightly: Fold and wrap the nori around the filling, sealing with more slurry if needed; use a second nori sheet if the first doesn’t completely enclose the burger.
Chilling and Preparing for Frying
Chilling is crucial for holding the burger together during frying:
- Shape and Wrap: Gently shape the wrapped burger into a round, flat disc about 3 inches in diameter, then wrap it tightly with cling wrap.
- Chill: Refrigerate for 15 to 20 minutes so the rice and fillings firm up and the burger holds its shape.
- Prepare for Coating: Remove the cling wrap carefully, then dip the entire sushi burger into the flour slurry, coating all sides evenly.
- Coat with Panko: Roll the slurry-coated burger in panko breadcrumbs, pressing gently so the crumbs adhere, then place it on a plate.
Frying to Golden Perfection
Getting the right temperature and timing ensures a crispy exterior and fresh interior:
- Heat the Oil: In a deep skillet or pot, heat the oil to 350°F (175°C), using a thermometer to ensure accuracy.
- Fry the Burger: Carefully place the sushi burger into the hot oil and fry for 3 to 4 minutes, turning once halfway through, until golden brown and crispy on all sides.
- Drain: Transfer the fried sushi burger to a paper towel-lined plate and let it rest for 2 to 3 minutes to drain excess oil.
Finishing and Serving
The final touches bring all the flavors together:
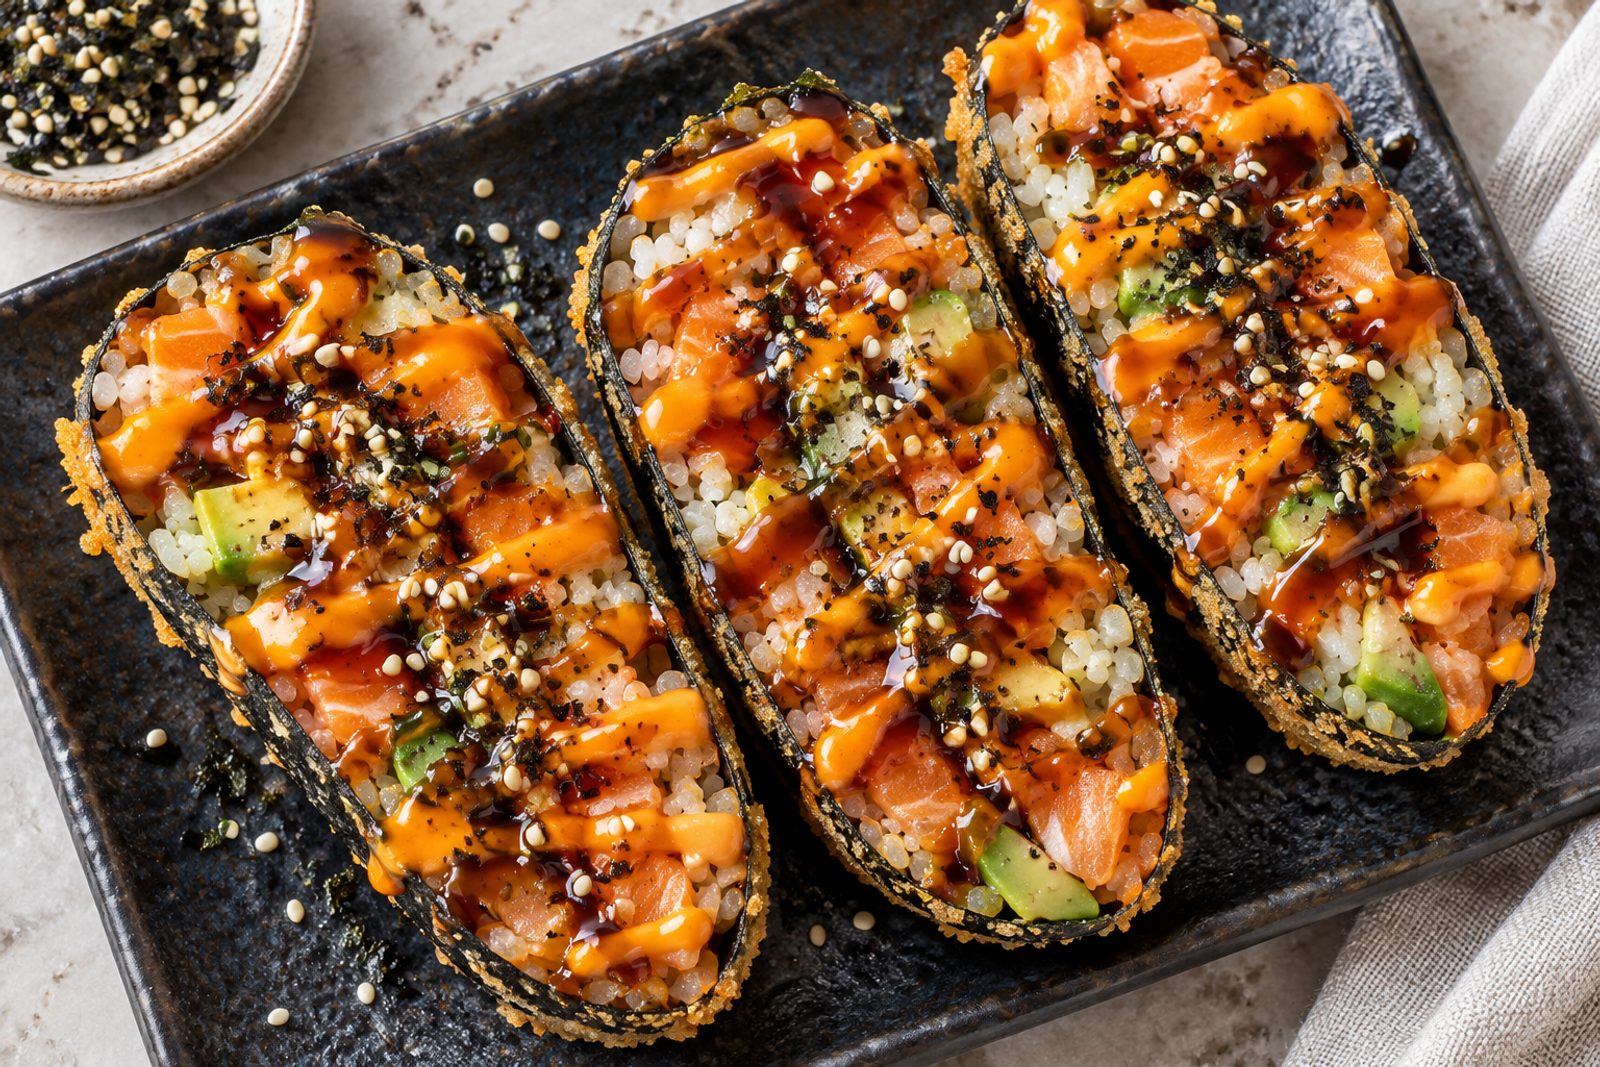
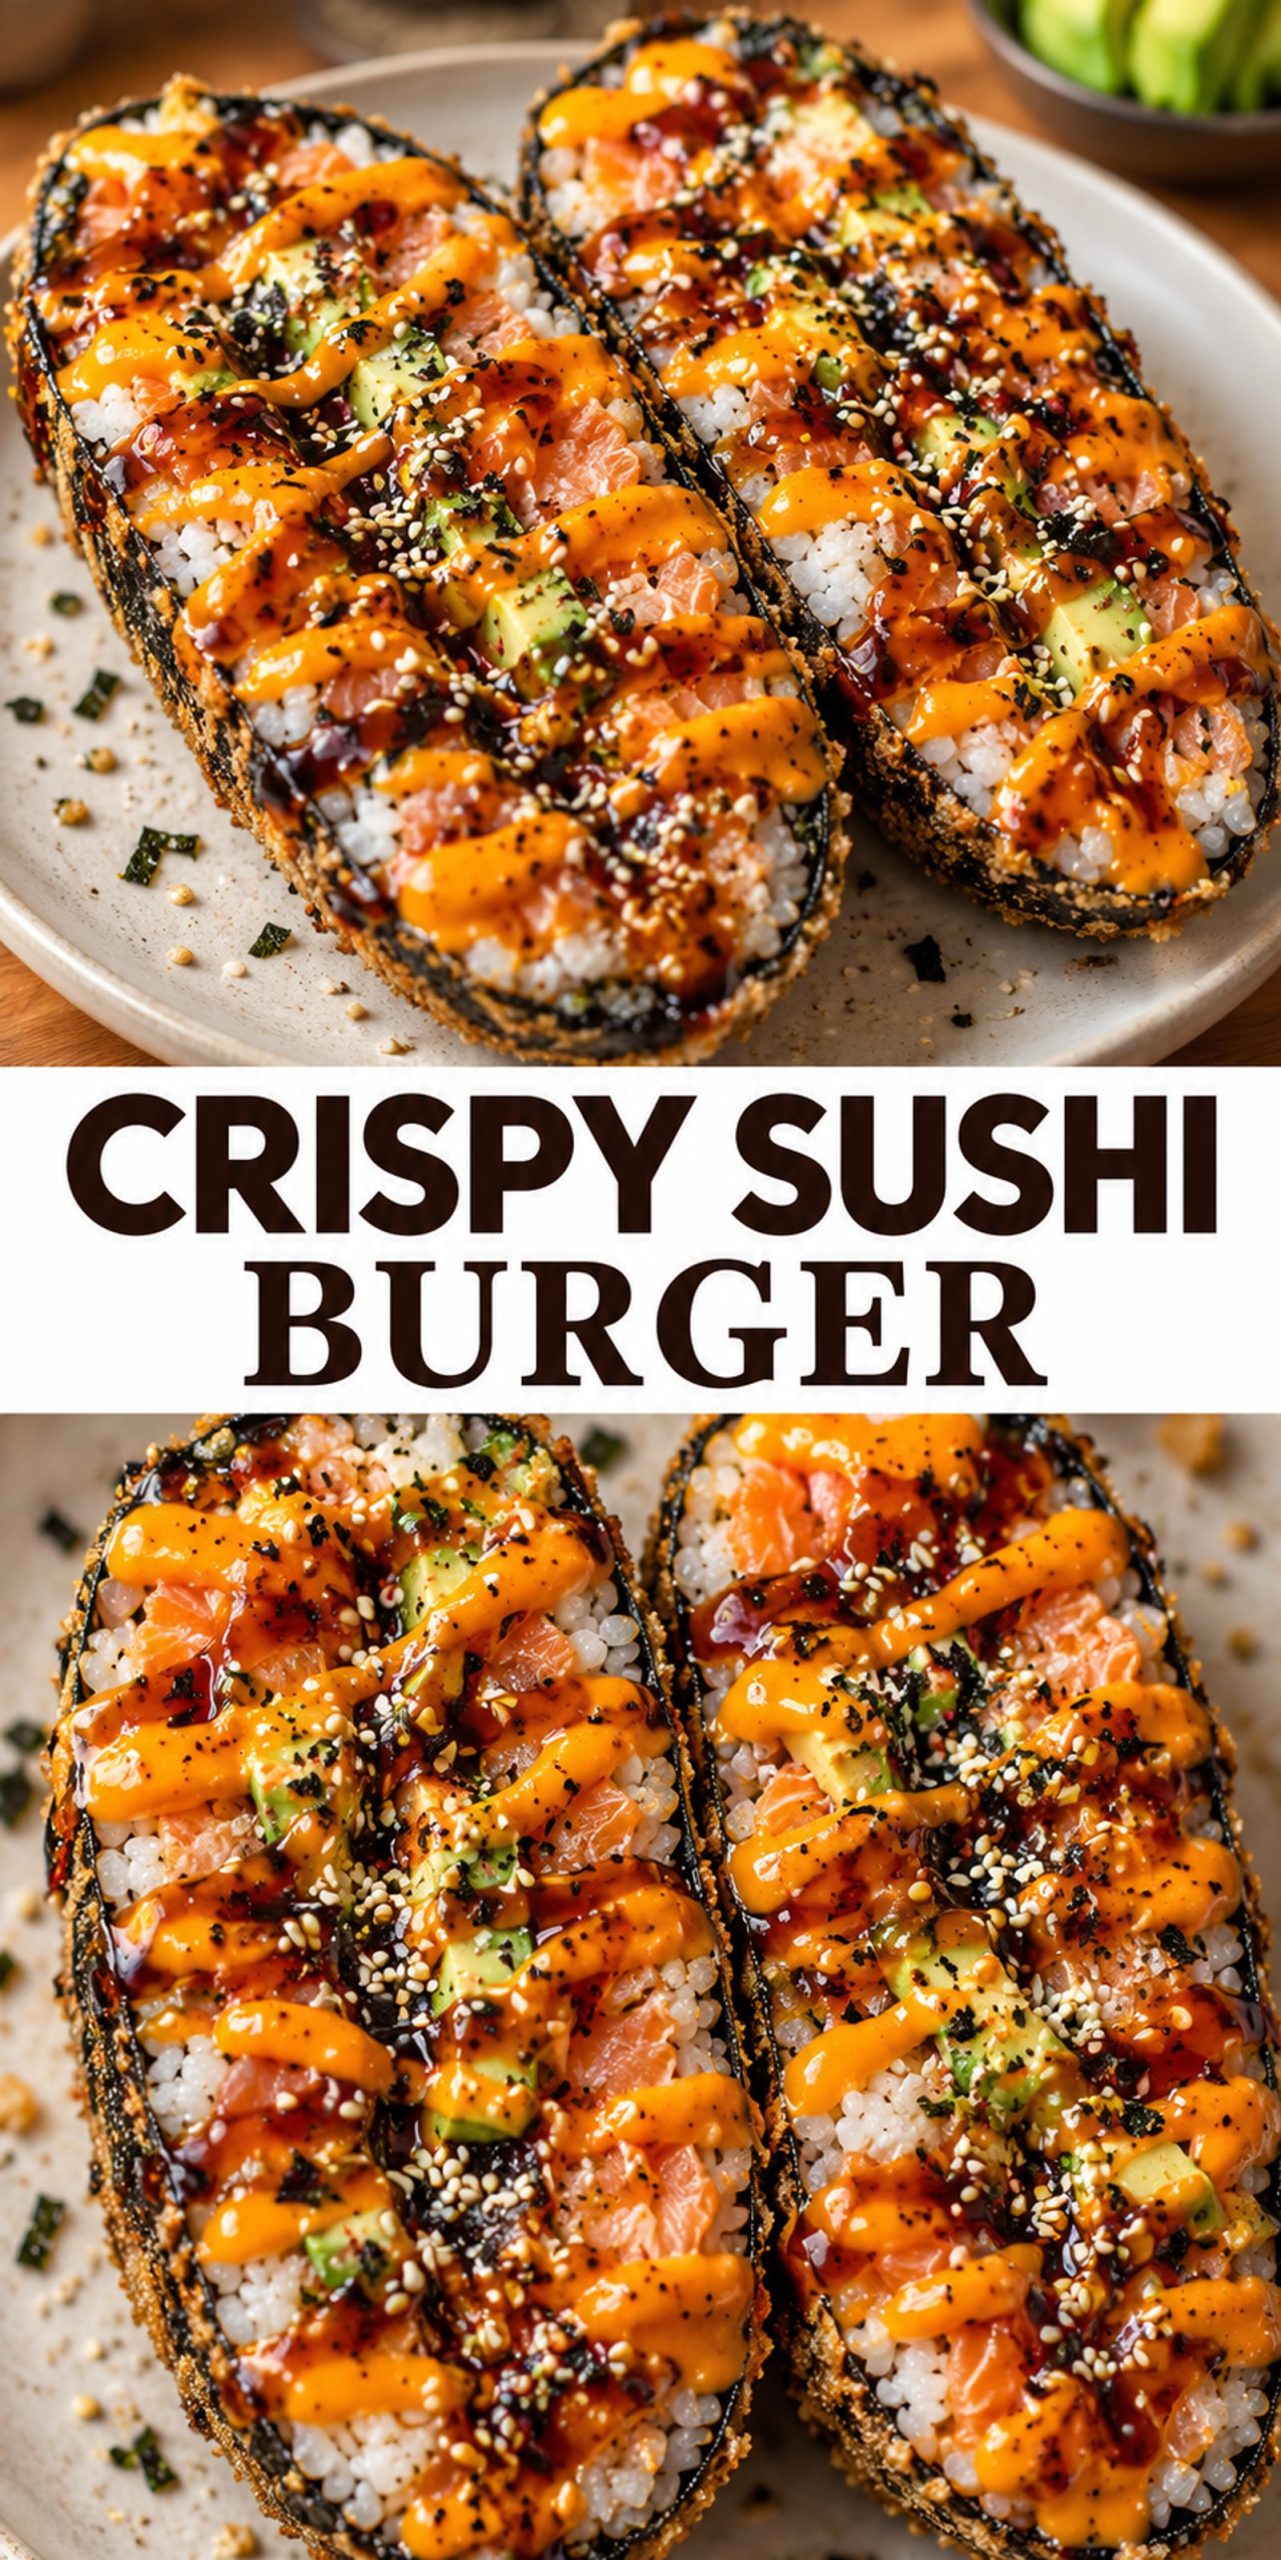
- Slice Carefully: Using a sharp knife, slice the sushi burger in half, revealing the beautiful layers inside.
- Dress It Up: Drizzle sriracha mayo and eel sauce over the cut sides and around the plate.
- Garnish and Serve: Sprinkle furikake over the top, then serve immediately while the outside is still crispy and the inside remains cool and fresh.
Variations and Customizations
One of the great things about the crispy sushi burger is its versatility!
- Protein Swaps: Use cooked shrimp, crab meat, or cooked spicy tuna instead of raw salmon for a different flavor profile.
- Vegetable Additions: Add thinly sliced carrots, bell peppers, or pick vegetables like daikon radish to change the flavor and color.
- Spicy Kick: Mix sriracha directly into the cream cheese layer or add thin slices of jalapeño between the fillings.
- Sauce Variations: Experiment with spicy mayo, wasabi mayo, or a ginger ponzu sauce instead of traditional eel sauce.
Serving Suggestions
Pair your crispy sushi burger with a fresh cucumber kimchi for a tangy contrast that cuts through the richness of the fried exterior.
A light Japanese beer, crisp white wine, or even a refreshing yuzu lemonade complements the delicate seafood and crispy coating beautifully.
Conclusion
In just a few straightforward steps, you’ve created a show-stopping sushi burger that is sure to become a favorite for special dinners and entertaining.
This recipe works wonderfully for impressing guests or treating yourself to something restaurant-quality at home.
Don’t hesitate to get creative with your fillings and sauce combinations.
Try it today and experience the delightful contrast of crispy and fresh for yourself!
Recipe FAQ’s
Can I make the sushi burgers ahead of time?
You can prepare the burgers up to the point of frying and refrigerate them overnight, covered, before coating and frying. However, fry them fresh just before serving for the best crispy texture.
What if I don’t have sashimi-grade salmon?
You can substitute with cooked shrimp, crab meat, or even cooked spicy tuna. Just make sure any protein you use is fresh and properly handled.
Is there a way to make this less deep-fried?
While deep-frying is traditional for this recipe and gives the signature crispy texture, you can try a light pan-fry in a shallow amount of oil, though the result will be less crispy and may require more careful turning.
Crispy Sushi Burger
- Total Time: 45 minutes
- Yield: 2 servings 1x
Description
A golden-fried nori shell encases layers of cool sushi rice, creamy avocado, fresh salmon, cucumber, and cream cheese in this innovative fusion dish. Perfect for impressing guests or enjoying a restaurant-quality meal at home any night of the week.
Ingredients
- 2 nori sheets, divided as needed for wrapping
- 2 cups cooked sushi rice, cooled to room temperature
- 3 tablespoons sushi vinegar, for seasoning the rice
- 0.5 cup all-purpose flour, for the binding slurry
- 2 tablespoons cornstarch, helps thicken the slurry
- 0.5 cup water, approximately, for the slurry
- 1 cup Japanese panko breadcrumbs, for the crispy coating
- 3-4 cups oil for frying, vegetable or canola
- 4 ounces cream cheese, softened slightly
- 1 cucumber, thinly sliced
- 1 ripe avocado, sliced
- 6 ounces sashimi-grade salmon, thinly sliced
- Sriracha mayo, for drizzling
- Eel sauce, for drizzling
- Furikake, Japanese seasoning blend for garnish
Instructions
- Season the Rice: If using freshly cooked sushi rice, fold in the sushi vinegar gently while the rice is still warm, then spread it on a baking sheet and let it cool to room temperature, about 15 to 20 minutes.
- Make the Slurry: In a bowl, whisk together the flour and cornstarch, then gradually add water while whisking until you reach a smooth, paste-like consistency that coats the back of a spoon.
- Prep the Breading Station: Pour the panko breadcrumbs into a separate shallow bowl, ready for coating.
- Start with the Base: Lay a whole nori sheet on a clean, dry surface with the shiny side facing down.
- Add the Rice Layer: Spread a thin, round layer of cooled sushi rice in the center of the nori, about 1/4 inch thick and roughly 4 to 5 inches in diameter.
- Layer the Fillings: Spread a thin layer of softened cream cheese over the rice, then arrange cucumber slices, avocado slices, and sashimi-grade salmon in the center.
- Seal with Rice: Top the fillings with another thin layer of sushi rice, then brush the edges of the nori with the flour slurry.
- Wrap Tightly: Fold and wrap the nori around the filling, sealing with more slurry if needed; use a second nori sheet if the first doesn't completely enclose the burger.
- Shape and Wrap: Gently shape the wrapped burger into a round, flat disc about 3 inches in diameter, then wrap it tightly with cling wrap.
- Chill: Refrigerate for 15 to 20 minutes so the rice and fillings firm up and the burger holds its shape.
- Prepare for Coating: Remove the cling wrap carefully, then dip the entire sushi burger into the flour slurry, coating all sides evenly.
- Coat with Panko: Roll the slurry-coated burger in panko breadcrumbs, pressing gently so the crumbs adhere, then place it on a plate.
- Heat the Oil: In a deep skillet or pot, heat the oil to 350°F (175°C), using a thermometer to ensure accuracy.
- Fry the Burger: Carefully place the sushi burger into the hot oil and fry for 3 to 4 minutes, turning once halfway through, until golden brown and crispy on all sides.
- Drain: Transfer the fried sushi burger to a paper towel-lined plate and let it rest for 2 to 3 minutes to drain excess oil.
- Slice Carefully: Using a sharp knife, slice the sushi burger in half, revealing the beautiful layers inside.
- Dress It Up: Drizzle sriracha mayo and eel sauce over the cut sides and around the plate.
- Garnish and Serve: Sprinkle furikake over the top, then serve immediately while the outside is still crispy and the inside remains cool and fresh.
- Prep Time: 15 minutes
- Cook Time: 30 minutes