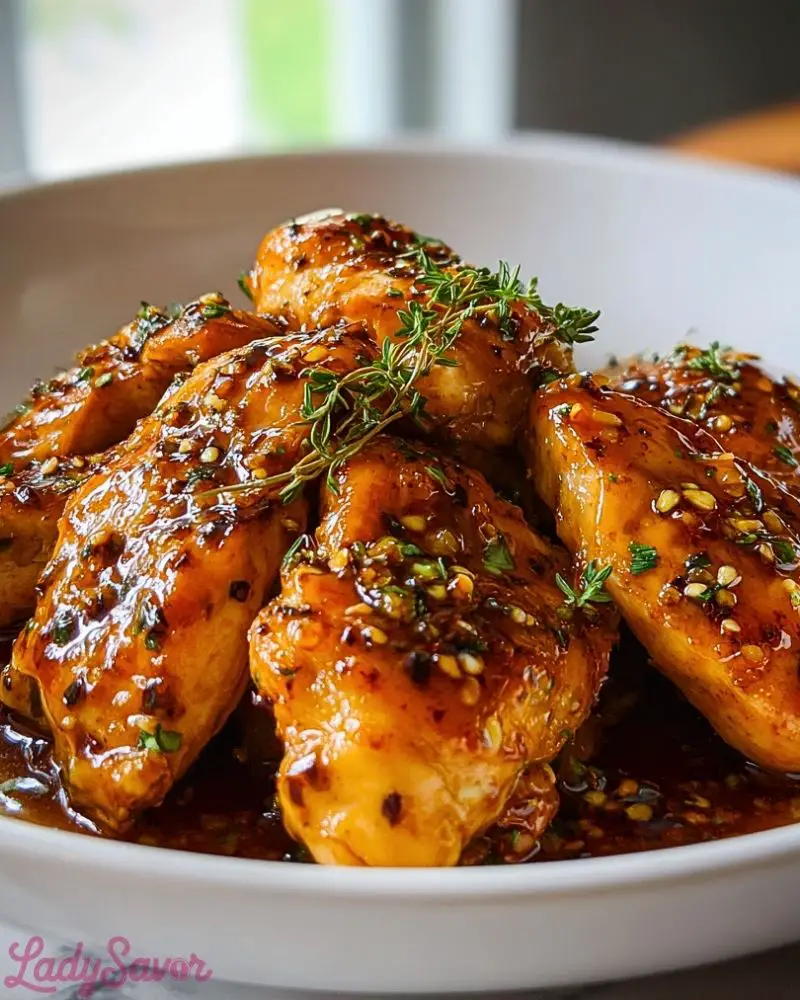
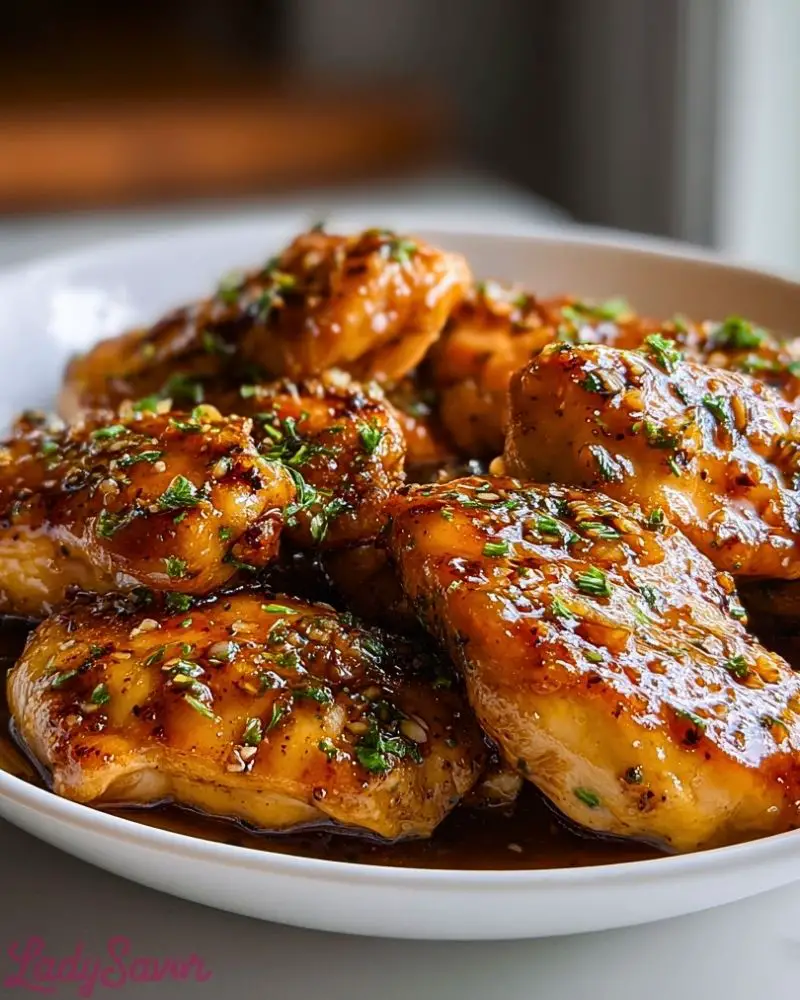
I’ve made countless chicken recipes over the years, but this Honey Garlic Chicken is one I always come back to when I want something bold, sticky, and unbelievably flavorful with minimal effort. The way the garlic hits the hot pan and fills the kitchen with its toasty aroma is a clear sign that something special is cooking. Then you pour in the honey, soy sauce, and a splash of vinegar, and the transformation happens — the sauce turns glossy, thick, and irresistibly rich.

I love this recipe not just because it’s delicious, but because it fits into so many parts of life. I’ve made it on busy weeknights, for casual dinners with friends, and even prepped it ahead to stash in the freezer. It always delivers. The balance of sweet, savory, and just a little heat is comforting but never boring — and it’s all done in one skillet.
Why You’ll Love This Honey Garlic Chicken
This dish brings restaurant-level flavor with just a handful of pantry ingredients and no fuss. It’s a one-pan wonder that caramelizes perfectly, sticks to the chicken like a glaze, and is always a hit with adults and kids alike. Whether you’re serving it with rice, noodles, or a fresh salad, it elevates even the simplest meal into something you’ll crave again and again.
What Kind of Chicken Should I Use?
For Honey Garlic Chicken, boneless, skinless chicken thighs are my go-to. They stay juicy, absorb the sauce beautifully, and cook quickly. That said, chicken breasts work wonderfully if you prefer leaner meat — just be careful not to overcook them, as they can dry out faster. You can also use bone-in cuts if that’s what you have, though they’ll need a bit more time in the pan.
Options for Substitutions
One of the best things about this recipe is how adaptable it is:
- Soy Sauce: Use tamari or coconut aminos for a gluten-free version.
- Honey: Maple syrup or brown sugar can be used if you’re out of honey — just expect a slightly different flavor profile.
- Garlic: Fresh is best, but garlic powder can do in a pinch.
- Vinegar: Rice vinegar gives a mellow tang, but apple cider vinegar or white wine vinegar work too.
- Spice: A pinch of red pepper flakes or a dash of sriracha can add a subtle kick.
Feel free to tweak based on what you have or prefer — this dish is forgiving and still turns out delicious every time.
Ingredients for This Honey Garlic Chicken
- Chicken Thighs or Breasts
These are the heart of the dish — tender, juicy, and the perfect canvas for the sticky honey garlic glaze. - Garlic
You’ll need several fresh cloves. Garlic is essential here, giving the sauce its deep, savory backbone. - Honey
This provides the signature sweetness and helps create that beautiful glossy coating on the chicken. - Soy Sauce
It balances the honey with saltiness and umami, deepening the flavor of the sauce. - Vinegar (Rice or Apple Cider)
A small splash of acid brightens the sauce and cuts through the richness. - Sesame Seeds (Optional)
These add a little texture and a toasty note to finish the dish. - Fresh Herbs (like parsley or green onion)
A final sprinkle gives a fresh contrast to the rich glaze and makes the dish pop visually. - Oil for Cooking
A neutral oil like canola or vegetable oil is perfect for searing the chicken to golden-brown perfection.

Step 1: Prep the Chicken
Pat your chicken dry and season it lightly with salt and pepper. This helps it sear better and builds the first layer of flavor.
Step 2: Sear the Chicken
Heat oil in a large skillet over medium-high heat. Add the chicken in a single layer, letting it cook undisturbed for 3–4 minutes on each side until golden brown and nearly cooked through. Remove the chicken from the pan and set aside.
Step 3: Make the Sauce
In the same pan, lower the heat to medium and add minced garlic. Cook for about 30 seconds until fragrant — don’t let it brown. Pour in the honey, soy sauce, and vinegar. Stir everything together and let the sauce simmer for 2–3 minutes until it starts to thicken slightly.
Step 4: Return Chicken to Pan
Add the chicken back into the skillet, tossing to coat it in the sauce. Let it simmer for another 5–7 minutes, spooning the sauce over the top as it cooks, until the chicken is fully cooked and the sauce has reduced to a sticky glaze.
Step 5: Finish and Serve
Sprinkle with sesame seeds and chopped herbs right before serving. Spoon extra sauce over each piece and serve hot.
How Long to Cook the Honey Garlic Chicken
Cooking time depends slightly on the cut and thickness of the chicken. Boneless thighs or breasts generally take about 15–20 minutes total:
- 5–8 minutes to sear and brown
- 7–10 minutes to finish simmering in the sauce
Make sure the internal temperature hits 165°F (74°C) for fully cooked, juicy chicken.
Tips for Perfect Honey Garlic Chicken
- Don’t overcrowd the pan. This helps get that beautiful golden sear on the chicken rather than steaming it.
- Use fresh garlic. It makes a big difference in the depth of flavor versus jarred or powdered.
- Let the sauce reduce. Simmer it long enough so it thickens into a glaze — it should coat the back of a spoon.
- Taste and adjust. Depending on your soy sauce and honey, you might want a bit more acid or salt.
- Finish with fresh herbs. A pop of color and freshness takes the whole dish up a notch.
Watch Out for These Mistakes While Cooking
- Using high heat for too long. Garlic burns fast — always reduce the heat before adding it to the pan.
- Skipping the sauce simmer. If you don’t let the sauce reduce, it’ll stay runny instead of becoming that thick, sticky glaze.
- Crowding the skillet. Overcrowding causes steaming, not searing. Cook in batches if needed.
- Not drying the chicken. Moisture on the surface prevents proper browning.
- Overcooking. Especially if using chicken breasts — check for doneness and pull them off the heat right at 165°F.
What to Serve With Honey Garlic Chicken?
Steamed Jasmine Rice
The classic choice. It soaks up all the delicious sauce and balances the bold flavors perfectly.
Stir-Fried Vegetables
Crunchy broccoli, bell peppers, or snap peas add freshness and color to your plate.
Garlic Noodles
Toss some noodles with sesame oil and garlic for a quick, flavorful side that complements the glaze.
Mashed Sweet Potatoes
The creamy texture and subtle sweetness work beautifully with the savory-sweet chicken.
Cucumber Salad
Cool and refreshing, it cuts through the richness of the dish.
Roasted Brussels Sprouts
A slightly bitter, crispy side that plays off the sweetness of the sauce.
Coconut Rice
Rich and fragrant, it pairs especially well with the honey and garlic combo.
Kimchi or Pickled Veggies
If you want a punchy, tangy counterpoint, these are a bold and tasty option.
Storage Instructions
Let the chicken cool completely before storing. Transfer leftovers to an airtight container and refrigerate for up to 4 days. When reheating, do it gently in a skillet over low heat, adding a splash of water to loosen the sauce if needed.
For longer storage, freeze the cooked chicken (in sauce) in a freezer-safe container for up to 2 months. Thaw overnight in the fridge before reheating.
Estimated Nutrition
Here’s a general estimate per serving (based on 4 servings):
- Calories: ~320
- Protein: 26g
- Fat: 14g
- Carbohydrates: 22g
- Sugar: 18g
- Sodium: 780mg
- Fiber: 0g
These numbers can vary depending on the cut of chicken used and exact ingredient brands, especially with soy sauce and honey.
Frequently Asked Questions
How do I know when the chicken is done?
Use a meat thermometer — the chicken should reach an internal temperature of 165°F (74°C). You can also cut into the thickest piece to check that it’s no longer pink inside.
Can I make this ahead of time?
Yes! You can prep the sauce in advance and store it in the fridge. You can also cook the entire dish and reheat it gently when ready to serve.
Can I use chicken wings or drumsticks instead?
Absolutely. Just increase the cooking time slightly and make sure the sauce has time to reduce. Wings, in particular, turn out deliciously sticky.
What if my sauce is too thin?
Let it simmer longer to reduce. If it still doesn’t thicken, mix a teaspoon of cornstarch with a splash of water and stir it into the sauce.
Is this recipe gluten-free?
It can be! Just substitute regular soy sauce with gluten-free tamari or coconut aminos.
How spicy is this dish?
The base recipe isn’t spicy, but you can add a pinch of red pepper flakes, sriracha, or chili paste if you like heat.
Can I use frozen chicken?
Yes, but make sure it’s fully thawed and patted dry before cooking to ensure proper searing and sauce absorption.
What’s the best way to reheat leftovers?
Reheat gently in a skillet over low heat or microwave in short bursts, adding a spoonful of water if needed to loosen the sauce.
Conclusion
Honey Garlic Chicken is one of those recipes that checks every box: simple to make, packed with flavor, and endlessly satisfying. Whether it’s your first time making it or your tenth, it always comes out glossy, garlicky, and tender with that irresistible sticky glaze. Try it once, and you’ll want it on repeat in your weeknight dinner rotation.

Honey Garlic Chicken
- Total Time: 30 minutes
- Yield: 4 servings 1x
Description
Sticky, savory, and sweet all in one bite, this Honey Garlic Chicken is pan-seared to golden perfection and simmered in a glossy sauce made with honey, garlic, soy sauce, and vinegar. A fast and flavorful dish perfect for any night of the week.
Ingredients
- 1.5 lbs boneless, skinless chicken thighs (or breasts)
- 4 cloves garlic, minced
- 1/3 cup honey
- 1/4 cup soy sauce
- 1 tablespoon rice vinegar (or apple cider vinegar)
- 1 tablespoon cooking oil
- Salt and pepper, to taste
- Sesame seeds and chopped green onion, for garnish (optional)
Instructions
- Pat chicken dry and season with salt and pepper.
- Heat oil in a skillet over medium-high heat.
- Sear chicken 3–4 minutes per side until golden and nearly cooked through. Remove from pan.
- Lower heat to medium, add garlic, and sauté for 30 seconds.
- Stir in honey, soy sauce, and vinegar. Simmer 2–3 minutes.
- Return chicken to pan. Simmer 5–7 minutes, spooning sauce over chicken until cooked through and coated.
- Garnish with sesame seeds and green onion. Serve hot.
- Prep Time: 10 minutes
- Cook Time: 20 minutes

