
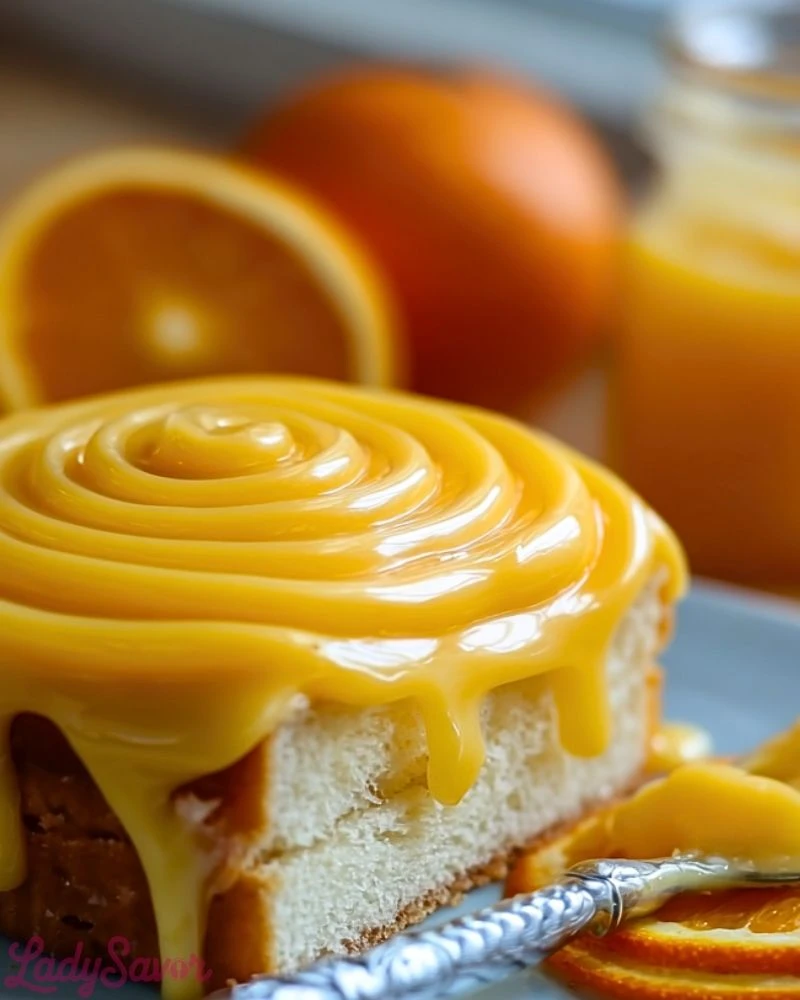
Bright, tangy, and irresistibly creamy, Orange Curd is the kind of dessert that makes you pause and savor each bite. The rich citrus flavor bursts through the silky texture, wrapping your palate in a comforting sweetness and sunshine-like freshness. Whether layered between sponge cake or spread generously over toast, this orange curd adds a gourmet touch to even the simplest treats.
What sets this version apart is its deep orange essence, achieved without overpowering tartness. Balanced with a hint of butter and the subtle richness of egg yolks, it’s a silky-smooth custard that can elevate breakfasts, desserts, or afternoon tea into something truly memorable.
Why You’ll Love This Orange Curd
- It has a velvety, luscious texture that spreads beautifully.
- Perfect for filling cakes, tarts, or just spooning over scones.
- A unique twist from traditional lemon curd with its sweet citrusy flair.
- Quick and easy to prepare with just a handful of ingredients.
- Stores well for days, giving you bright flavor whenever needed.
Preparation Phase & Tools to Use
To make the best Orange Curd, having the right tools ensures a smooth process and perfect results:
- Heavy-bottomed saucepan: Prevents scorching and ensures even heat distribution.
- Whisk: Essential for continuously stirring the mixture to achieve that silky texture without curdling.
- Fine mesh strainer: Removes any cooked egg bits or pulp for an ultra-smooth finish.
- Citrus zester and juicer: Helps extract maximum flavor and juice from the oranges.
- Heat-proof spatula or wooden spoon: Great for gentle stirring and scraping the sides clean.
Each tool contributes to texture, consistency, and flavor, so it’s worth using them all for a professional-quality result.
Preparation Tips
Use fresh, ripe oranges with a vibrant aroma and unblemished skin. Zest them before juicing to preserve all the flavorful oils. Keep the heat low and stir constantly to avoid curdling; patience is key. Don’t skip straining—it’s what gives the curd that luxurious, glossy finish. Once done, pour into sterilized jars and place plastic wrap directly on the surface to prevent a skin from forming while it cools. Let it chill completely before using or storing.
Ingredients for this Orange Curd
- 1 tablespoon finely grated orange zest (from about 2 oranges)
- 3/4 cup (180 ml) freshly squeezed orange juice (preferably from sweet, ripe oranges)
- 1 tablespoon lemon juice (to balance sweetness)
- 3/4 cup (150 g) granulated sugar
- 4 large egg yolks
- 1 large whole egg
- 1/2 cup (115 g) unsalted butter, cut into cubes
- Pinch of salt
Step 1: Zest and Juice the Oranges
Begin by thoroughly washing your oranges. Using a microplane or fine zester, remove only the brightly colored outer layer of the orange peel—avoid the bitter white pith. Then juice the oranges until you have 3/4 cup of juice. Strain the juice through a fine mesh sieve to remove pulp and seeds. Add lemon juice for balance.
Step 2: Combine Ingredients in Saucepan
In a medium heavy-bottomed saucepan, whisk together the orange zest, orange juice, lemon juice, sugar, egg yolks, whole egg, and a pinch of salt until well combined. Place the pan over medium-low heat.
Step 3: Cook Gently and Stir Constantly
Cook the mixture slowly over medium-low heat, stirring constantly with a heatproof spatula or wooden spoon. Make sure to scrape the sides and bottom of the pan regularly. This prevents the eggs from curdling. Continue stirring for 8–10 minutes, or until the mixture thickens and coats the back of a spoon. Do not let it boil.
Step 4: Add Butter and Finish
Remove the pan from heat and immediately whisk in the butter, a few cubes at a time. Stir until completely melted and the curd is smooth and glossy.
Step 5: Strain the Curd
Pour the curd through a fine mesh sieve into a clean bowl or jar. This step ensures a silky texture by removing any bits of cooked egg or zest. Use a spatula to press the curd through and scrape off the underside of the strainer.
Step 6: Cool and Store
Place a piece of plastic wrap directly on the surface of the curd to prevent a skin from forming. Let it cool to room temperature, then refrigerate. It will thicken further as it chills. Store in sterilized jars and refrigerate for up to 10 days.
Notes
Orange Curd is a beautifully versatile condiment, but it requires a bit of attention during cooking. Its luxurious texture and vibrant citrus flavor come from a delicate balance of ingredients and temperature. Don’t rush the cooking process—slow, steady heat is key to avoiding scrambled eggs. Fresh ingredients, especially juice and zest, will always yield a brighter, more robust curd.
Watch Out for These Mistakes While Cooking
- Overheating the curd: High heat can scramble the eggs and ruin the texture.
- Skipping the straining step: It may seem optional, but this step removes unwanted lumps and yields a silky finish.
- Using bottled juice: Freshly squeezed juice ensures better flavor and acidity control.
- Not stirring continuously: You must stir constantly to prevent curdling and to cook evenly.
- Adding butter too quickly: Incorporate butter gradually to keep the curd stable and emulsified.
Storage Instructions
Store Orange Curd in sterilized, airtight glass jars. After cooling completely, keep it in the refrigerator for up to 10 days. You can also freeze it for longer storage—up to 3 months. Just thaw overnight in the fridge before using. Always use a clean utensil to scoop it out to extend its shelf life.
Estimated Nutrition (Per Tablespoon)
- Calories: 80
- Total Fat: 6g
- Saturated Fat: 3.5g
- Cholesterol: 45mg
- Sodium: 10mg
- Carbohydrates: 6g
- Sugars: 6g
- Protein: 1g
- Fiber: 0g
Frequently Asked Questions
What can I use Orange Curd for?
It’s delicious as a spread for toast, scones, or pancakes. It also works wonderfully as a filling for cakes, cupcakes, macarons, or tarts.
Can I make this curd without lemon juice?
Yes, but the lemon juice adds acidity that helps balance the sweetness. If omitted, the curd will taste much sweeter.
Why did my curd curdle?
Likely because the heat was too high or it wasn’t stirred continuously. Low, slow cooking with constant stirring helps prevent curdling.
Can I use blood oranges or mandarins?
Absolutely! Blood oranges will give it a beautiful pink hue, while mandarins offer a sweeter and slightly floral flavor.
How do I know when it’s thick enough?
The curd should coat the back of a spoon and hold a line when you drag your finger through it. It also thickens more as it cools.
Can I use a double boiler?
Yes, a double boiler can offer more control over the heat, which is ideal for beginners.
Is this safe for children to eat?
Yes. Once cooked properly, the eggs are fully cooked, and there’s no alcohol involved.
Can I can orange curd for long-term storage?
Because of the eggs and butter, orange curd is not recommended for traditional canning. Stick to refrigeration or freezing.
Conclusion
Orange Curd is a citrus lover’s dream—a silky, sweet-tart spread that instantly brightens whatever it touches. With just a few fresh ingredients and a bit of patience, you can create a gourmet treat that enhances both everyday snacks and elegant desserts. Master the method once, and you’ll keep coming back to this vibrant, homemade delight.

Orange Curd
- Total Time: 20 minutes
- Yield: 1 1/2 cups 1x
- Diet: Vegetarian
Description
Zesty, creamy, and irresistibly smooth—this Orange Curd recipe is the citrus spread your kitchen needs. Whether you’re after quick breakfast ideas, looking for a healthy snack topping, or need an easy recipe to fill cakes or tarts, this orange curd brings sunshine to your plate. Perfect for brunches, desserts, or gourmet food ideas, it delivers bright flavor and a silky finish that’s always a crowd-pleaser.
Ingredients
1 tablespoon orange zest
3/4 cup orange juice
1 tablespoon lemon juice
3/4 cup granulated sugar
4 large egg yolks
1 large whole egg
1/2 cup unsalted butter
1 pinch salt
Instructions
1. Zest and juice your oranges. Strain juice to remove pulp and seeds.
2. In a saucepan, whisk together zest, juices, sugar, egg yolks, whole egg, and salt.
3. Place over medium-low heat, stirring constantly to prevent curdling.
4. Cook 8–10 minutes, until thick enough to coat the back of a spoon.
5. Remove from heat and whisk in cubed butter gradually until smooth.
6. Strain through a fine mesh sieve into a clean container.
7. Cover with plastic wrap touching the surface and let cool.
8. Store in sterilized jars in the fridge for up to 10 days.
Notes
Always cook on low heat and stir constantly to prevent curdling.
Use fresh orange juice and zest—bottled juice won’t give the same vibrant flavor.
Straining the curd is the secret to getting that smooth, professional finish.
- Prep Time: 10 minutes
- Cook Time: 10 minutes
- Category: Spread / Dessert Filling
- Method: Stovetop
- Cuisine: American, British
Nutrition
- Serving Size: 1 tablespoon
- Calories: 80
- Sugar: 6g
- Sodium: 10mg
- Fat: 6g
- Saturated Fat: 3.5g
- Unsaturated Fat: 2.5g
- Trans Fat: 0g
- Carbohydrates: 6g
- Fiber: 0g
- Protein: 1g
- Cholesterol: 45mg