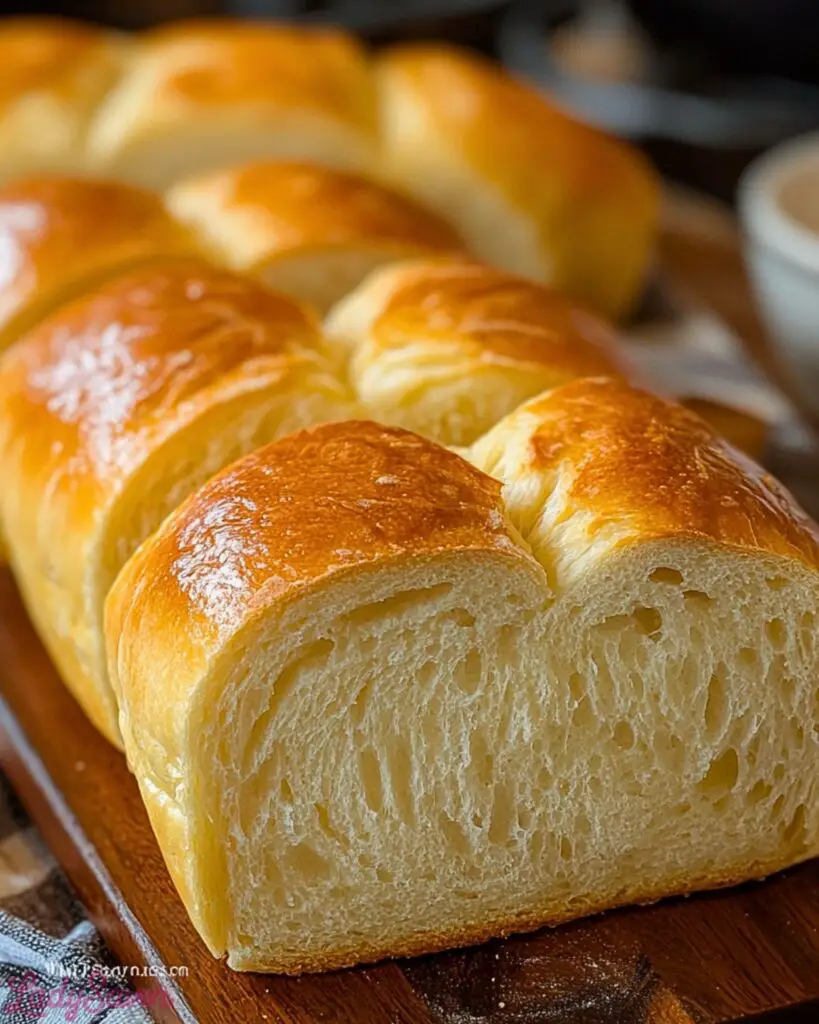
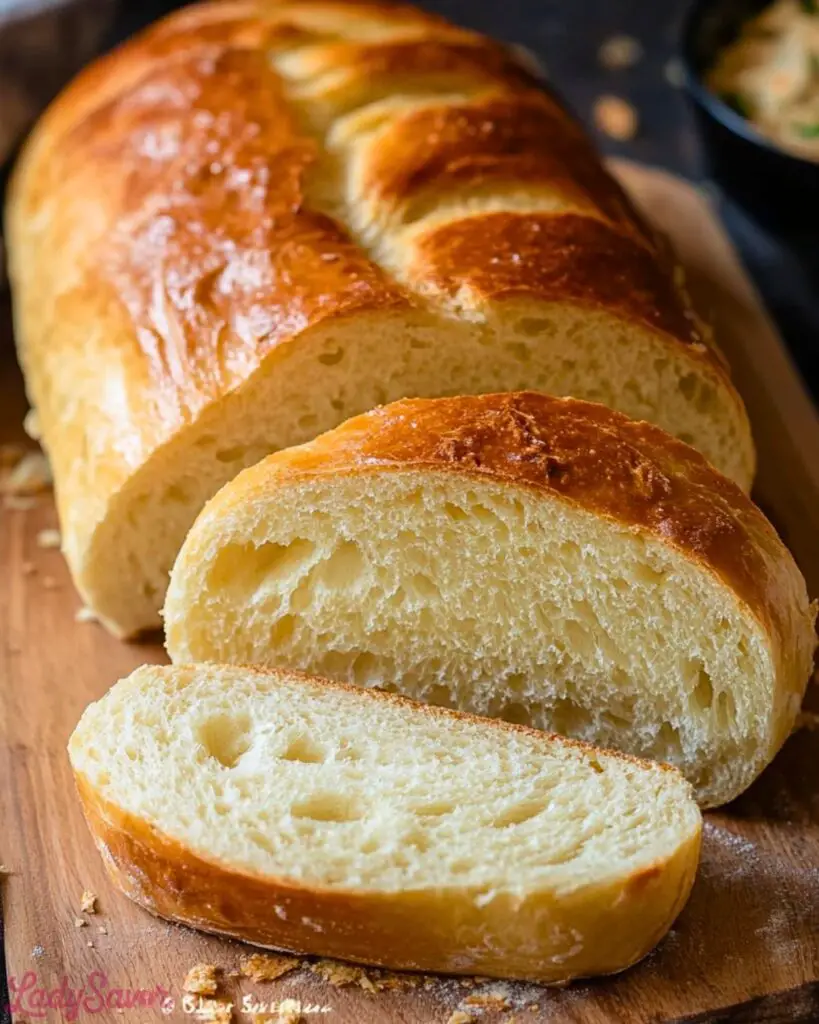
Few things compare to the aroma of freshly baked French bread filling your kitchen. With its crisp, golden crust and airy, soft interior, this bread is a staple in French cuisine and beloved worldwide. Whether paired with butter, used for sandwiches, or enjoyed on its own, its simple yet sophisticated flavor makes it a must-have in any baker’s repertoire.

Making homemade French bread from scratch is a rewarding experience. While it may seem intimidating at first, with the right ingredients and techniques, you can achieve a bakery-quality loaf in your own kitchen. The process of kneading, proofing, and baking creates a beautifully textured bread that is both rustic and elegant.
Why You’ll Love This Homemade French Bread
- Crispy on the outside, soft on the inside – This bread has the perfect balance of crunch and tenderness.
- Simple ingredients – No complicated or hard-to-find items, just pantry staples.
- Versatile – Use it for sandwiches, toast, or alongside soups and stews.
- Beginner-friendly – With step-by-step guidance, even novice bakers can succeed.
- No special equipment needed – You don’t need a bread machine or fancy tools.
Preparation Phase & Tools to Use
Before you start baking, gathering the right tools and understanding their importance will set you up for success.
Essential Tools and Equipment
- Mixing Bowls – Used to combine and proof the dough. A large bowl is ideal for allowing the dough to rise properly.
- Measuring Cups and Spoons – Precise measurements are crucial for the perfect bread texture.
- Stand Mixer (Optional) – Speeds up the kneading process, but you can also knead by hand.
- Bench Scraper – Helps with handling and shaping the dough without sticking.
- Baking Sheet or French Bread Pan – Provides a stable surface for baking and helps shape the bread.
- Lame (Bread Scoring Tool) or Sharp Knife – Used to score the dough before baking, allowing for controlled expansion.
- Pastry Brush – Useful for applying egg wash or butter for a glossy crust.
- Kitchen Towel or Plastic Wrap – Covers the dough while proofing to prevent drying out.
Each of these tools plays an important role in achieving a perfect French bread loaf, from mixing to shaping and baking.
Preparation Tips
- Use Fresh Yeast – Whether using active dry or instant yeast, make sure it is fresh for a proper rise. If uncertain, proof it in warm water with sugar to check its activity.
- Measure Accurately – Too much flour can make the dough dense, while too little can make it too sticky. Spoon and level flour for precise measurement.
- Knead Until Smooth and Elastic – Proper kneading develops gluten, which gives the bread its structure and chewiness. Aim for 8–10 minutes by hand or 5–7 minutes in a stand mixer.
- Let the Dough Rise Properly – Proofing in a warm, draft-free environment ensures the best texture. A slightly warm oven (turned off) or a covered bowl near a warm spot works well.
- Handle Gently After First Rise – Overworking the dough when shaping can push out too much air, resulting in a denser loaf.
- Steam for a Crusty Exterior – Placing a pan of hot water in the oven or spraying water inside creates steam, leading to a crispier crust.
Ingredients for This Homemade French Bread
Using simple, high-quality ingredients is key to achieving the perfect loaf of French bread.
Basic Ingredients:
- 4 cups (500g) bread flour – Provides structure and chewiness. All-purpose flour can also be used but may yield a slightly softer texture.
- 1 ½ cups (360ml) warm water – Activates the yeast and hydrates the flour. The water should be between 100-110°F (37-43°C) for best results.
- 2 ¼ teaspoons (1 packet) active dry yeast – Helps the bread rise and develop its light, airy texture. Instant yeast can be substituted.
- 2 teaspoons sugar – Feeds the yeast and enhances the flavor.
- 2 teaspoons salt – Strengthens the gluten structure and balances the taste.
- 1 tablespoon olive oil (optional) – Adds a slight richness and helps with dough elasticity.
For a Golden Crust:
- 1 egg white + 1 tablespoon water (for an egg wash) – Creates a glossy, crisp crust.
- 1 cup hot water – Used to create steam in the oven for a professional-style crust.

Step-by-Step Instructions for Homemade French Bread
Step 1: Activate the Yeast
- In a small bowl, combine warm water (100-110°F or 37-43°C), sugar, and yeast.
- Stir gently and let it sit for 5–10 minutes until it becomes frothy. This indicates that the yeast is active.
Step 2: Mix the Dough
- In a large mixing bowl, combine the bread flour and salt.
- Add the activated yeast mixture and mix until a shaggy dough forms.
- If using a stand mixer, use the dough hook and mix on low speed until the dough comes together.
Step 3: Knead the Dough
- Knead the dough by hand on a lightly floured surface for about 8–10 minutes, or in a stand mixer on medium speed for 5–7 minutes.
- The dough should become smooth, elastic, and slightly tacky but not sticky.
Step 4: First Rise
- Place the dough in a lightly greased bowl and cover it with a kitchen towel or plastic wrap.
- Let it rise in a warm, draft-free place for 60–90 minutes, or until doubled in size.
Step 5: Shape the Loaf
- Gently punch down the dough to release excess air.
- Divide the dough in half and shape each portion into a long, oval or baguette-like loaf.
- Place the loaves on a baking sheet lined with parchment paper or a lightly greased French bread pan.
Step 6: Second Rise
- Cover the loaves loosely with a kitchen towel and let them rise again for about 30–45 minutes until puffy.
Step 7: Score the Dough
- Preheat the oven to 425°F (220°C).
- Use a sharp knife or lame to make 3–4 diagonal slashes across the top of each loaf. This allows the bread to expand properly during baking.
Step 8: Bake with Steam
- Place a pan of hot water on the bottom rack of the oven to create steam.
- Bake the bread for 20–25 minutes, or until the crust is golden brown and the loaf sounds hollow when tapped on the bottom.
Step 9: Cool and Serve
- Remove the bread from the oven and let it cool on a wire rack for at least 15 minutes before slicing.
- Enjoy warm or at room temperature with butter, jam, or alongside your favorite meal.
Notes
- Flour Variations: While bread flour provides the best structure, all-purpose flour can be used for a softer texture.
- Yeast Substitutions: If using instant yeast, you can mix it directly with the dry ingredients without proofing it in water first.
- Enhancing the Flavor: For a deeper flavor, refrigerate the dough after the first rise for up to 24 hours, then proceed with shaping and baking.
- For a Softer Crust: If you prefer a softer crust, brush the bread with melted butter after baking.
Watch Out for These Mistakes While Cooking
1. Using Water That’s Too Hot or Too Cold
- Water hotter than 115°F (46°C) can kill the yeast, while cold water won’t activate it properly. Stick to 100-110°F (37-43°C).
2. Skipping the Kneading Process
- Proper kneading is essential for gluten development, giving the bread its chewy texture. Under-kneaded dough results in a dense loaf.
3. Not Letting the Dough Rise Fully
- Rushing the rise can lead to a dense bread. Wait until the dough has doubled in size for the best texture.
4. Over-Flouring the Dough
- Adding too much flour while kneading makes the dough too dry, leading to a tough loaf. The dough should be slightly sticky but manageable.
5. Forgetting to Score the Loaf
- Scoring allows the bread to expand properly in the oven. Without it, the crust may crack unpredictably.
6. Skipping Steam in the Oven
- Steam helps create a crisp, golden crust. Place a pan of hot water in the oven or mist the oven walls with water before baking.
7. Cutting the Bread Too Soon
- Slicing into hot bread releases steam and makes the interior gummy. Let it cool for at least 15 minutes before cutting.
What to Serve With Homemade French Bread
Homemade French bread is incredibly versatile and pairs well with a variety of dishes. Whether you’re using it as a side, dipping it into soups, or making a sandwich, it enhances any meal.
8 Delicious Pairing Ideas
1. Classic Butter & Jam
- A simple yet satisfying choice. Enjoy it warm with butter or fruit preserves for a comforting treat.
2. Cheese & Charcuterie Board
- Serve sliced French bread with an assortment of cheeses, cured meats, olives, and fresh fruit for an elegant appetizer.
3. Soups & Stews
- This bread is perfect for dipping into hearty soups like French onion soup, tomato bisque, or beef stew.
4. Garlic Bread
- Slice and toast it with butter, garlic, and herbs for a delicious homemade garlic bread.
5. Sandwiches & Paninis
- Use it to make French dip sandwiches, bruschetta, or an Italian-style panini. The crisp crust holds up well to fillings.
6. Pasta Dishes
- Pair it with spaghetti, lasagna, or Alfredo pasta to soak up the rich sauces.
7. Bruschetta & Crostini
- Top slices with tomatoes, basil, and balsamic glaze for a fresh and flavorful appetizer.
8. Bread Pudding or French Toast
- Leftover bread makes an excellent base for French toast or a rich bread pudding dessert.
Storage Instructions
Homemade French bread is best enjoyed fresh, but you can store it properly to maintain its quality.
Short-Term Storage (1-2 Days)
- Wrap the bread in a clean kitchen towel or paper bag and keep it at room temperature.
- Avoid plastic bags, as they trap moisture and make the crust soft.
Long-Term Storage (Freezing)
- Wrap the fully cooled loaf in plastic wrap followed by aluminum foil or place it in an airtight bag.
- Freeze for up to 3 months.
- To thaw, leave it at room temperature for a few hours or reheat it in a 350°F (175°C) oven for 10 minutes.
Reheating Tips
- To restore the crust’s crispiness, warm the bread in the oven at 350°F (175°C) for 5–10 minutes.
- If reheating a slice, a quick toast in the oven or toaster works well.
Estimated Nutrition (Per Slice)**
(Based on a standard 12-slice loaf)
- Calories: 140
- Carbohydrates: 28g
- Protein: 4g
- Fat: 1g
- Fiber: 1g
- Sugar: 1g
- Sodium: 290mg
This is an estimate and can vary depending on the flour type and additional ingredients.
Frequently Asked Questions
1. Can I use all-purpose flour instead of bread flour?
Yes! While bread flour gives the best chew and structure, all-purpose flour works fine. The texture may be slightly softer, but it will still be delicious.
2. How do I know if my yeast is still active?
If the yeast does not foam after mixing with warm water and sugar in 5–10 minutes, it may be expired or inactive. Always check the expiration date before using.
3. Why is my French bread dense?
Dense bread can be caused by not kneading enough, using too much flour, or rushing the rise time. Ensure the dough is kneaded properly and allowed to rise until doubled.
4. Can I make the dough ahead of time?
Yes! After the first rise, place the dough in the refrigerator overnight. When ready to bake, let it come to room temperature, shape, and continue with the second rise.
5. How do I get a really crispy crust?
Baking with steam is key! Place a pan of hot water in the oven or mist the bread with water before baking. This helps create a crackly, golden crust.
6. How can I shape the bread into a baguette?
Roll the dough into a rectangle, then tightly roll it from one long edge to the other. Pinch the seams and taper the ends slightly for the classic baguette shape.
7. Can I use a bread machine?
Yes! Use the dough cycle to mix and knead, then shape and bake it in the oven for a better crust.
8. What’s the best way to refresh day-old French bread?
Wrap the loaf in foil and place it in a 350°F (175°C) oven for 10 minutes. For extra crispiness, remove the foil in the last 2–3 minutes.
Conclusion
Making homemade French bread is a rewarding experience that fills your kitchen with warmth and delicious aromas. With a crispy crust and soft, airy interior, this bread is perfect for everything from sandwiches to simple buttered slices. Once you’ve mastered this recipe, you’ll never want store-bought French bread again!

Homemade French Bread: A Classic Delight
- Total Time: 2 hours 5 minutes
- Yield: 2 loaves 1x
Description
A classic French bread recipe with a crisp golden crust and soft, airy interior. Perfect for sandwiches, soups, or enjoying with butter. This simple, step-by-step recipe will help you achieve bakery-quality results at home.
Ingredients
- 4 cups (500g) bread flour
- 1 ½ cups (360ml) warm water (100-110°F / 37-43°C)
- 2 ¼ teaspoons (1 packet) active dry yeast
- 2 teaspoons sugar
- 2 teaspoons salt
- 1 tablespoon olive oil (optional)
- 1 egg white + 1 tablespoon water (for egg wash)
- 1 cup hot water (for steam)
Instructions
- Activate the Yeast: Combine warm water, sugar, and yeast in a bowl. Let sit for 5–10 minutes until frothy.
- Mix the Dough: In a large bowl, combine flour and salt. Add yeast mixture and mix until dough forms.
- Knead the Dough: Knead on a floured surface for 8–10 minutes or use a stand mixer for 5–7 minutes until smooth and elastic.
- First Rise: Place the dough in a greased bowl, cover, and let rise in a warm place for 60–90 minutes until doubled in size.
- Shape the Loaves: Punch down the dough, divide into two portions, and shape into oval or baguette-style loaves. Place on a baking sheet.
- Second Rise: Cover and let the dough rise for another 30–45 minutes.
- Score the Bread: Preheat oven to 425°F (220°C). Use a sharp knife to make diagonal slashes on top of each loaf.
- Bake with Steam: Place a pan of hot water in the oven to create steam. Bake for 20–25 minutes until golden brown.
- Cool & Serve: Let cool for at least 15 minutes before slicing. Enjoy!
- Prep Time: 15 minutes
- Rise Time: 1 hour 30 minutes
- Cook Time: 20 minutes

