
I’ve always had a soft spot for mac and cheese, but when I discovered how to make it without boiling the pasta first, it completely changed my kitchen game. No more fussing over multiple pots or worrying about overcooked noodles—just a single dish that goes straight from prep to oven, delivering that rich, creamy, golden-topped magic every time.
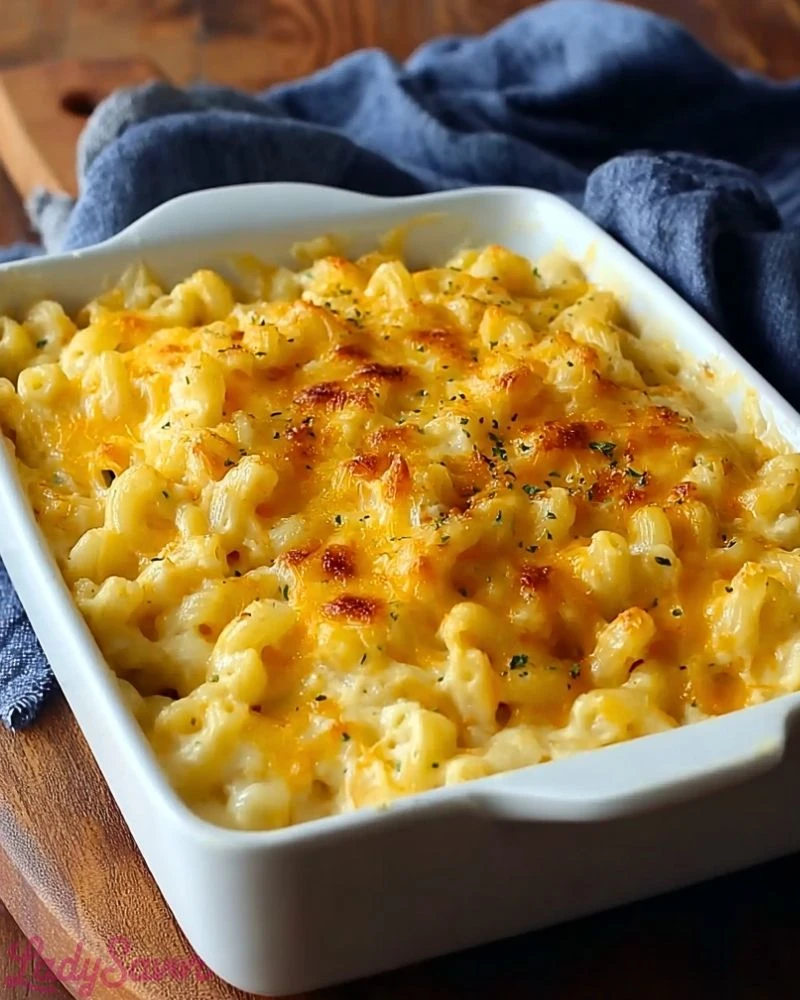
This Creamy No Boil Mac & Cheese is my go-to comfort food when I need something cozy and low-effort. It’s ridiculously easy to throw together, and the result is irresistibly cheesy with the perfect balance of creamy and crispy textures. Whether you’re feeding a crowd or just craving something indulgent, this one-dish wonder is about to become your new favorite.
Why You’ll Love This Creamy No Boil Mac & Cheese
There’s something wonderfully satisfying about a dish that delivers maximum flavor with minimal effort. This mac & cheese skips the boiling step entirely, saving you time without sacrificing taste or texture. It bakes up beautifully in one pan, with pasta that absorbs the rich cheesy sauce as it cooks. No soggy noodles—just pure, cheesy goodness.
What Kind of Pasta Works Best for No Boil Mac & Cheese?
Short-cut pasta like elbow macaroni is ideal for this dish. It cooks evenly in the oven and holds onto the cheese sauce perfectly. Other great options include small shells or cavatappi—anything with ridges or curves to catch the sauce. Just make sure it’s regular (not quick-cook) pasta, or it might get mushy.
Options for Substitutions
- Milk: Whole milk creates a rich base, but 2% or a non-dairy milk like oat or almond can also work.
- Cheese: Swap sharp cheddar with Monterey Jack, Gruyère, or even a spicy pepper jack for a twist.
- Butter: If you’re dairy-free, use vegan butter or a splash of olive oil.
- Add-ins: Stir in cooked bacon, caramelized onions, or a handful of peas for extra flavor and texture.
Ingredients for this Creamy No Boil Mac & Cheese
- Elbow Macaroni – The classic shape for mac and cheese, elbow pasta cooks perfectly in the oven and holds onto the sauce with every bite.
- Whole Milk – This provides a creamy base and helps cook the pasta evenly without making it watery.
- Heavy Cream – Adds richness and a luscious texture to the cheese sauce.
- Shredded Sharp Cheddar Cheese – Offers bold, cheesy flavor and melts beautifully.
- Shredded Mozzarella Cheese – For a stretchy, gooey texture that complements the cheddar.
- Butter – Adds flavor and richness, and helps smooth the sauce as it melts into the mix.
- Salt & Pepper – Basic seasoning to balance and enhance all the cheesy flavors.
- Garlic Powder – Optional, but adds a subtle depth to the overall flavor.
- Mustard Powder – A traditional secret ingredient in mac & cheese, enhancing the flavor without making it taste like mustard.
Step 1: Preheat and Prep
Preheat your oven to 350°F (175°C). Lightly grease a 9×13-inch baking dish with butter or non-stick spray to prevent sticking.
Step 2: Add the Pasta
Pour the dry elbow macaroni directly into the prepared baking dish. Spread it out evenly so it forms a level layer.
Step 3: Mix the Liquid Base
In a large mixing bowl or pitcher, whisk together the whole milk, heavy cream, salt, pepper, garlic powder, and mustard powder until fully combined.
Step 4: Stir in the Cheese
Add half of the shredded cheddar and mozzarella to the milk mixture, stirring until it’s evenly distributed.
Step 5: Combine in Baking Dish
Pour the liquid and cheese mixture over the dry pasta in the baking dish. Use a spoon to stir gently, making sure all the pasta is coated.
Step 6: Top with More Cheese
Sprinkle the remaining cheddar and mozzarella evenly over the top. Dot the top with small pieces of butter for a golden, bubbly finish.
Step 7: Bake Uncovered
Place the dish in the center rack of your preheated oven and bake uncovered for 50–60 minutes. The top should be golden brown, and the pasta tender with a creamy sauce.
Step 8: Let It Rest
Remove from the oven and let it rest for 5–10 minutes before serving. This helps the sauce thicken slightly and makes it easier to scoop.
How Long to Prepare the Creamy No Boil Mac & Cheese
Prep Time: One of the biggest perks of this recipe is how quickly you can get it into the oven. With no need to boil the pasta beforehand, prep takes only about 10 minutes. It’s as simple as mixing, pouring, and layering.
Cook Time: The baking time is around 50 to 60 minutes. That’s when the pasta slowly absorbs the creamy sauce, and the cheese on top bubbles and browns to golden perfection. Letting it rest for 5-10 minutes after baking ensures everything sets up nicely before serving.
Tips for Perfect Creamy No Boil Mac & Cheese
- Use freshly shredded cheese if possible—it melts better and avoids the anti-caking agents in pre-shredded.
- Stir the cheese into the liquid base before pouring to prevent clumping.
- Covering the dish for the first 30 minutes with foil can help the pasta cook more evenly; uncover for the final stretch to brown the top.
- Let it rest before serving to avoid a soupy texture.
- Always grease your baking dish to keep the cheesy edges from sticking.
Watch Out for These Mistakes While Cooking
- Using quick-cook pasta – It can overcook and turn mushy.
- Skipping the salt – Underseasoned mac and cheese will taste flat.
- Overbaking – This can dry out the pasta and cause the cheese to become oily.
- Not stirring the pasta and liquid – If the pasta isn’t well coated before baking, you’ll get uneven cooking.
- Using only one type of cheese – Combining at least two cheeses adds better flavor and texture.
What to Serve With Creamy No Boil Mac & Cheese?
1. Crispy Fried Chicken
The crunch of fried chicken complements the creaminess of the mac perfectly.
2. Garlicky Green Beans
A light and crisp veggie side to balance the richness.
3. Tangy Coleslaw
The acidity cuts through the cheese and refreshes your palate.
4. Roasted Brussels Sprouts
Adds a bit of savory bitterness that pairs well with creamy dishes.
5. Grilled Sausages
A meaty and flavorful addition that makes this dish a full-on comfort meal.
Storage Instructions
Refrigerator: Once cooled, store leftovers in an airtight container for up to 4 days. Reheat in the microwave with a splash of milk to restore creaminess.
Freezer: Portion the mac and cheese into freezer-safe containers. It will keep for up to 2 months. Thaw overnight in the fridge before reheating in the oven at 325°F until hot.
Make Ahead: You can assemble the dish up to 24 hours in advance and refrigerate it unbaked. Let it sit at room temperature for 20 minutes before baking.
Estimated Nutrition
(Per serving — based on 8 servings)
- Calories: 480
- Protein: 16g
- Carbohydrates: 45g
- Fat: 26g
- Saturated Fat: 15g
- Cholesterol: 75mg
- Sodium: 420mg
- Fiber: 2g
- Sugar: 5g
Frequently Asked Questions
What if I only have pre-shredded cheese?
You can use it, but expect the sauce to be slightly less smooth due to anti-caking agents.
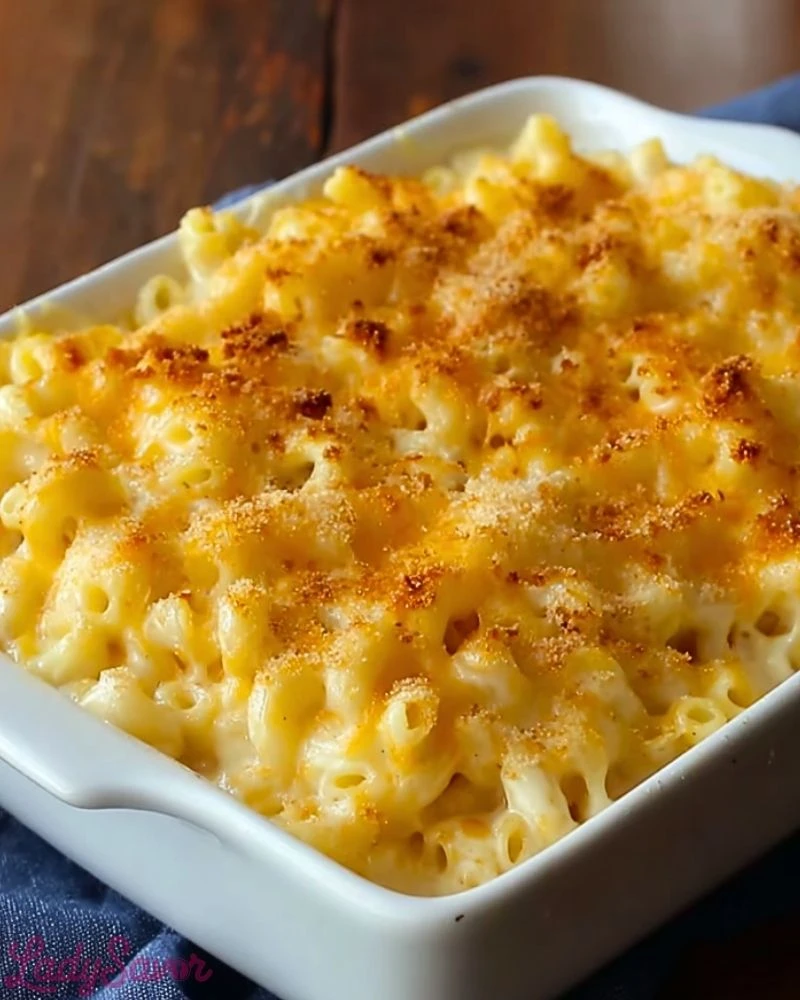
Can I add breadcrumbs on top?
Yes! For extra crunch, mix breadcrumbs with melted butter and sprinkle on before baking.
Is this recipe kid-friendly?
Absolutely—it’s creamy, cheesy, and simple, making it a favorite among kids.
Can I double the recipe?
Definitely, just use a larger baking dish or two separate ones, and increase the baking time slightly.
What’s the best way to reheat leftovers?
Microwave with a splash of milk or reheat covered in the oven at 325°F until warm.
Conclusion
Creamy No Boil Mac & Cheese is the kind of recipe that earns a permanent spot in your rotation. It’s quick to prep, endlessly comforting, and irresistibly cheesy. Whether it’s a weeknight dinner or a potluck showstopper, this one-dish meal brings everything you love about mac and cheese—without the hassle. Simple ingredients, big flavors, and minimal cleanup. What’s not to love?

Creamy No Boil Mac & Cheese
- Total Time: 65 minutes
- Yield: 8 servings 1x
Description
This Creamy No Boil Mac & Cheese is your answer to fast, rich, and satisfying comfort food. With no pre-boiling required, this easy dinner option combines elbow macaroni, sharp cheddar, mozzarella, and a luxurious milk-cream blend in one simple baking dish. Ideal for quick dinner ideas, a cozy side, or even a make-ahead meal. It’s a family-friendly, easy recipe that delivers bold flavor and gooey texture every time. If you’re searching for the ultimate food idea that blends convenience and indulgence, this is your perfect match.
Ingredients
2 cups elbow macaroni
2 cups whole milk
1 cup heavy cream
2 cups shredded sharp cheddar cheese
1 cup shredded mozzarella cheese
3 tablespoons butter, cut into small pieces
1 teaspoon salt
1/2 teaspoon black pepper
1/2 teaspoon garlic powder
1/2 teaspoon mustard powder
Instructions
1. Preheat your oven to 350°F (175°C). Grease a 9×13-inch baking dish.
2. Pour the dry elbow macaroni into the dish and spread it evenly.
3. In a large bowl, whisk together milk, cream, salt, pepper, garlic powder, and mustard powder.
4. Stir in half of the shredded cheddar and mozzarella cheeses into the milk mixture.
5. Pour the mixture over the dry pasta in the baking dish and stir gently to coat all noodles.
6. Sprinkle the remaining cheese on top and dot with butter.
7. Bake uncovered for 50–60 minutes until the top is golden and pasta is tender.
8. Let it rest 5–10 minutes before serving to thicken.
Notes
Freshly shredded cheese melts better and gives a smoother texture than pre-shredded.
For even cooking, cover with foil for the first 30 minutes, then uncover to brown the top.
Add a splash of milk when reheating to restore creaminess.
- Prep Time: 10 minutes
- Cook Time: 55 minutes
- Category: Dinner
- Method: Baked
- Cuisine: American
Nutrition
- Serving Size: 1 slice
- Calories: 480
- Sugar: 5g
- Sodium: 420mg
- Fat: 26g
- Saturated Fat: 15g
- Unsaturated Fat: 8g
- Trans Fat: 0g
- Carbohydrates: 45g
- Fiber: 2g
- Protein: 16g
- Cholesterol: 75mg