
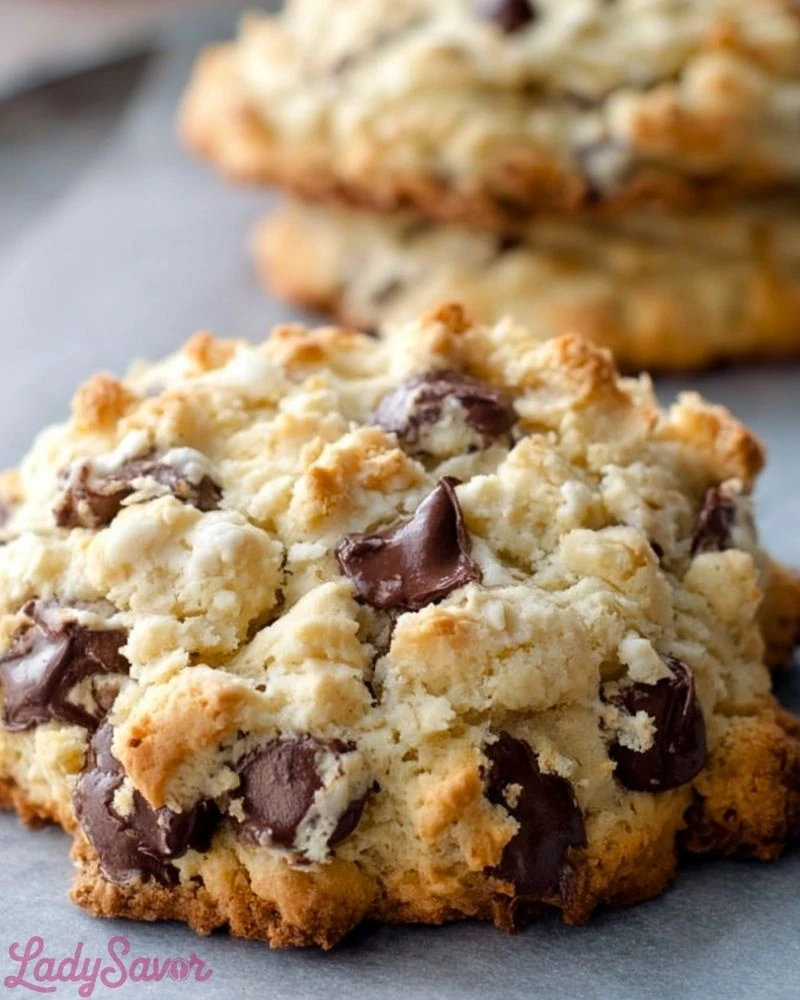
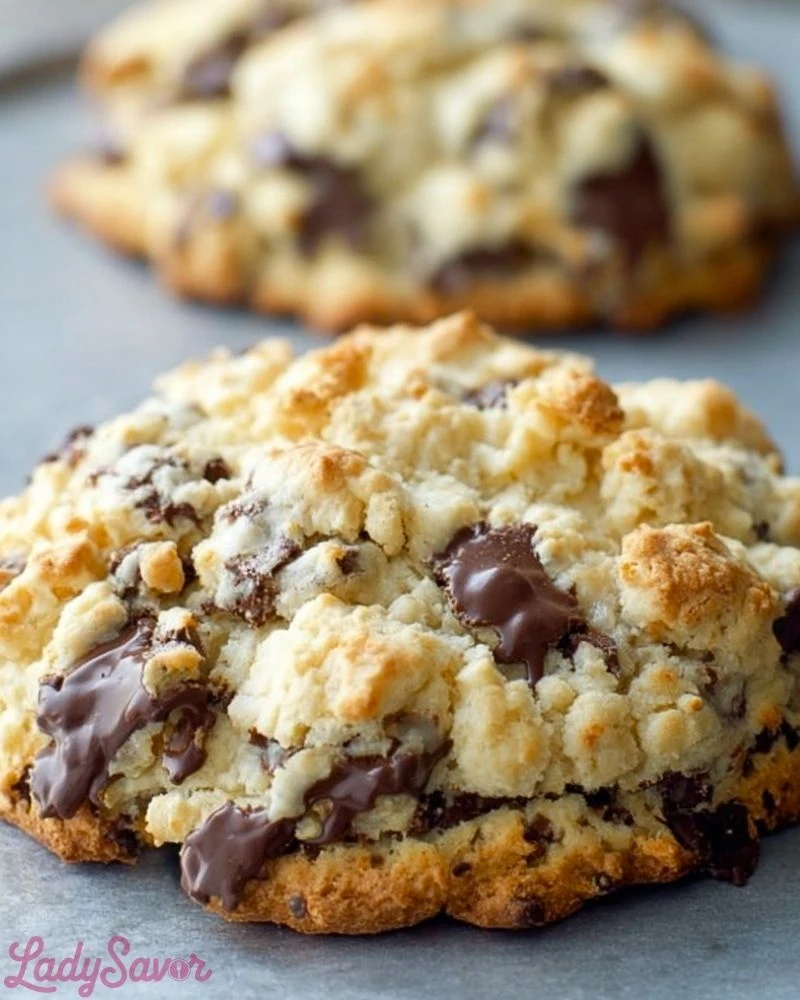
Big, buttery, and brimming with gooey chocolate, these bakery-style chocolate chip cookies are the definition of indulgence. With their slightly crisp edges, soft and chewy center, and the irresistible richness of high-quality chocolate chunks, they feel like a treat straight from your favorite bakery—but you can make them at home with ease. Each bite delivers a perfect balance of sweetness, texture, and that nostalgic cookie flavor that never goes out of style.
These cookies are the perfect reward after a long day or the showstopping centerpiece of a dessert platter. Whether you’re baking for a special occasion or just want to surprise your family with something comforting and delicious, this recipe transforms simple ingredients into unforgettable results. Get ready to fill your kitchen with the warm, welcoming aroma of freshly baked cookies that taste even better than they look.
Why You’ll Love This Cakes & Dessert Ideas Recipe
These cookies are a dream come true for dessert lovers. They’re thick and satisfying, with a delightful contrast between the crisp golden edges and the melt-in-your-mouth interior. Unlike many store-bought versions, these cookies are packed with rich, deep chocolate flavor and a homemade touch you can taste in every bite.
Perfect for gifting, sharing, or sneaking from the tray while they’re still warm, they deliver that classic cookie shop quality right from your own oven.
Preparation Phase & Tools to Use
To achieve that bakery-style finish, you’ll need some key kitchen tools:
- Mixing Bowls: Essential for combining wet and dry ingredients separately to ensure even mixing.
- Electric Mixer or Stand Mixer: Helps cream butter and sugar to the perfect light and fluffy consistency, critical for cookie texture.
- Baking Sheets: Use heavy-duty, rimless baking sheets for even browning.
- Parchment Paper or Silicone Baking Mat: Prevents sticking and promotes evenly baked bottoms.
- Cookie Scoop: Ensures uniform cookie sizes for consistent baking results.
- Cooling Rack: Cools cookies quickly and prevents them from becoming soggy on the bottom.
Each tool plays a vital role in not only simplifying the process but ensuring that you achieve bakery-level cookies every time.
Preparation Tips
Start with room temperature butter—it creams more easily with sugar and traps air for a lighter cookie. Don’t skip chilling the dough if time allows; it prevents spreading and enhances flavor. Use high-quality chocolate chunks or chopped chocolate bars for gooier pockets of melted chocolate. Lastly, slightly underbake the cookies; they’ll continue cooking on the baking sheet after you remove them from the oven, giving you that irresistible soft center.
Ingredients for this Cakes & Dessert Ideas Recipe
- 1 cup (2 sticks) unsalted butter, softened
- 1 cup granulated sugar
- 1 cup packed light brown sugar
- 2 large eggs
- 2 teaspoons pure vanilla extract
- 3 cups all-purpose flour
- 1 teaspoon baking soda
- 1/2 teaspoon baking powder
- 1 teaspoon salt
- 2 cups semi-sweet chocolate chunks or chopped chocolate
- Optional: 1 cup chopped nuts (walnuts or pecans)
Step 1: Cream the Butter and Sugars
Using an electric mixer or stand mixer, beat the softened butter with both granulated and brown sugars on medium-high speed until the mixture becomes pale and fluffy. This step is essential for achieving a light texture in your cookies.
Step 2: Add Eggs and Vanilla Extract
Crack in the eggs, one at a time, beating well after each addition. Then, mix in the vanilla extract. This combination enriches the dough and enhances the overall flavor of the cookies.
Step 3: Mix the Dry Ingredients Separately
In a large bowl, whisk together the flour, baking soda, baking powder, and salt. This step ensures that the leavening agents are evenly distributed throughout the dough, avoiding uneven baking.
Step 4: Combine Wet and Dry Ingredients
Gradually add the dry ingredients into the butter mixture, mixing just until incorporated. Be careful not to overmix—this helps keep the cookies tender and prevents them from becoming too dense.
Step 5: Fold in Chocolate and Nuts
Using a spatula or wooden spoon, fold in the chocolate chunks and nuts (if using). Stir gently to evenly distribute the mix-ins without deflating the dough.
Step 6: Chill the Dough
Cover the dough and refrigerate for at least 1 hour or up to overnight. Chilling allows the flavors to meld and prevents the cookies from spreading too much during baking.
Step 7: Preheat and Prepare
Preheat your oven to 350°F (175°C). Line baking sheets with parchment paper or silicone mats. This ensures the cookies bake evenly and don’t stick.
Step 8: Scoop and Shape the Dough
Using a cookie scoop or spoon, portion out equal-sized balls of dough onto the prepared sheets, leaving space between each for spreading. For a bakery look, press a few extra chocolate chunks into the tops of each dough ball.
Step 9: Bake to Perfection
Bake for 12–14 minutes or until the edges are golden and the centers look just slightly underbaked. This ensures a soft, chewy middle once the cookies cool.
Step 10: Cool and Serve
Allow cookies to rest on the baking sheet for 5 minutes before transferring them to a cooling rack. Enjoy warm for gooey goodness, or let them cool completely for a firmer bite.
Notes
If you want your cookies to have even more texture and dimension, consider using a mix of chocolate types—like semi-sweet, dark, and milk chocolate chunks. You can also add a pinch of sea salt on top before baking for a gourmet touch. Letting the dough rest overnight in the fridge develops the flavor further and gives you a deeper, toffee-like taste. Remember, slight underbaking keeps the centers soft and luscious.
Watch Out for These Mistakes While Cooking
- Overmixing the dough: This can result in tough cookies. Mix just until the flour disappears.
- Not chilling the dough: Skipping this step often leads to overly flat cookies.
- Incorrect butter temperature: Butter that’s too warm won’t cream properly and can lead to greasy cookies.
- Overbaking: Cookies continue to cook on the sheet after removing from the oven. Don’t wait for a firm center while baking.
- Uneven cookie sizes: Using different-sized scoops can lead to inconsistent baking times and textures.
- Skipping the parchment or silicone mat: This can cause uneven browning or sticking.
- Using expired leavening agents: Old baking soda or powder can ruin your rise.
- Neglecting to preheat the oven: Starting cookies in a cold oven can lead to uneven baking.
Storage Instructions
Once completely cooled, store the cookies in an airtight container at room temperature for up to 5 days. For longer storage, freeze the baked cookies in layers separated by parchment paper in a freezer-safe container or bag for up to 3 months. You can also freeze the raw cookie dough balls and bake straight from frozen—just add a couple of extra minutes to the bake time.
Estimated Nutrition (per cookie, based on 24 cookies)
- Calories: 240
- Total Fat: 12g
- Saturated Fat: 7g
- Trans Fat: 0g
- Unsaturated Fat: 4g
- Cholesterol: 35mg
- Sodium: 140mg
- Total Carbohydrates: 32g
- Dietary Fiber: 1g
- Sugars: 19g
- Protein: 3g
Frequently Asked Questions
What makes these cookies “bakery-style”?
Their large size, chewy texture, and gooey chocolate chunks mimic the rich, decadent cookies you’d find in a professional bakery.
Can I substitute the chocolate chunks with chips?
Yes, but chunks or chopped chocolate create larger pockets of melted chocolate for a more indulgent bite.
Do I have to chill the dough?
Chilling is highly recommended as it prevents spreading and enhances flavor, but in a pinch, you can bake immediately with slightly flatter results.
Can I make the dough ahead of time?
Absolutely! The dough can be refrigerated for up to 48 hours or frozen in scoops for up to 3 months.
Can I make these cookies gluten-free?
Yes, use a 1:1 gluten-free baking flour blend designed for cookies. The texture will vary slightly.
Why are my cookies spreading too much?
Common reasons include butter being too soft, skipping chilling, or too little flour.
How do I keep cookies soft after baking?
Store them in an airtight container with a slice of bread or apple to maintain moisture.
Can I double the recipe?
Yes, this recipe scales well—just be sure to mix the dough in batches if your mixer is small.
Conclusion
With their chunky edges, rich flavor, and soft centers, these bakery-style chocolate chip cookies are sure to become a family favorite. Simple ingredients and smart techniques make it possible to bake a cookie that rivals even the best professional bakeries. Whether you’re a beginner or a seasoned home baker, this recipe delivers consistently crowd-pleasing results with every batch. Treat yourself—you deserve it.

Cakes & Dessert Ideas
- Total Time: 29 minutes
- Yield: 24 cookies 1x
- Diet: Vegetarian
Description
Looking for the ultimate cookie indulgence? These bakery-style chocolate chip cookies deliver on every level—thick, golden, chewy, and bursting with pools of melted chocolate. Whether you’re after a quick dessert idea, a cozy treat for the weekend, or want to explore classic cakes and dessert ideas, this recipe is the perfect blend of rich flavor and comforting texture. It’s an easy recipe that never fails to impress, making it one of the best food ideas for home bakers of all skill levels. Great for quick baking, holiday desserts, or whenever you’re craving a nostalgic sweet bite.
Ingredients
1 cup unsalted butter, softened
1 cup granulated sugar
1 cup light brown sugar, packed
2 large eggs
2 teaspoons vanilla extract
3 cups all-purpose flour
1 teaspoon baking soda
1/2 teaspoon baking powder
1 teaspoon salt
2 cups semi-sweet chocolate chunks or chopped chocolate
1 cup chopped walnuts or pecans (optional)
Instructions
1. Cream the softened butter with the granulated and brown sugars until pale and fluffy.
2. Add eggs one at a time, beating well after each, then mix in vanilla extract.
3. In a separate bowl, whisk together flour, baking soda, baking powder, and salt.
4. Gradually add dry ingredients to the wet mixture, mixing until just combined.
5. Fold in chocolate chunks and nuts if using.
6. Chill the dough for at least 1 hour or overnight for best flavor and texture.
7. Preheat oven to 350°F (175°C) and line baking sheets with parchment paper or silicone mats.
8. Scoop cookie dough onto sheets, leaving space between each. Add extra chocolate chunks on top if desired.
9. Bake for 12–14 minutes, until edges are golden and centers look slightly underbaked.
10. Cool on baking sheet for 5 minutes, then transfer to a wire rack.
Notes
Use room temperature butter to achieve the ideal cookie texture.
Chill the dough before baking—it prevents excessive spreading and enhances flavor.
Slightly underbake the cookies to keep the centers perfectly chewy as they continue cooking on the tray.
- Prep Time: 15 minutes
- Cook Time: 14 minutes
- Category: Cakes & Dessert Ideas
- Method: Baking
- Cuisine: American
Nutrition
- Serving Size: 1 cookie
- Calories: 240
- Sugar: 19g
- Sodium: 140mg
- Fat: 12g
- Saturated Fat: 7g
- Unsaturated Fat: 4g
- Trans Fat: 0g
- Carbohydrates: 32g
- Fiber: 1g
- Protein: 3g
- Cholesterol: 35mg